Do you have a question about the ERBA EC 90 and is the answer not in the manual?
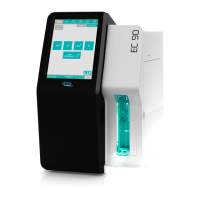
The interactive display for operating the EC 90 analyser.
Provides access to the EC cartridge compartment for installation or removal.
Allows access to internal fluidic components, pumps, valves, and tubing.
Covers the sample aspiration unit during operation.
Connects the analyser to external fluid lines or waste.
Mechanism to secure or release the EC cartridge.
The housing designed to hold the EC cartridge.
Part of the EC cartridge responsible for performing the measurement.
Interface for electrical and fluidic connection of the cartridge.
Needle that draws the sample into the analyser.
Detects the presence or position of the sample aspiration unit.
Remove foam block & clamp pump tube from maintenance door.
Remove tube clips from valves V1, V2, V3 & V5.
Access valve V5, connect peripherals, and power cord.
Close maintenance door and left side panel.
Log in with dummy account and set system parameters.
Confirm tube clamping, remove clips, and prepare EC cartridge.
Insert new EC cartridge, close lever and front door.
Confirm insertion and wait for startup completion.
Insert printer paper if the printer is used.
Select parameters on the main screen and start the measurement.
Enter sample type, volume, mode, and other details.
Lift sample cover and pass sample to aspiration needle.
Trigger aspiration via proximity sensor or status button.
Close sample cover and wait for measurement completion.
Test results are automatically displayed in the results menu.
Start calibration directly from the main screen.
1P or 2P calibration performed as per system requirements.
Access QC material screen and press add to register a new lot.
Provide all necessary information to complete QC material registration.
Start measurement in the QC results screen.
Select QC level and lot number before proceeding.
| Brand | ERBA |
|---|---|
| Model | EC 90 |
| Category | Laboratory Equipment |
| Language | English |