6. Setting the positive stops on the guide
fence:(See Fig 30-32)
The positive stops at 90° and 45° are set at the
factory to ensure accuracy, however over time
they may need to be reset.
• Loosen the fence angle lock handle (20).
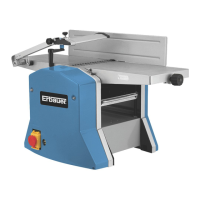
• Sit a 90° square firmly on the planer table.
• Set the guide fence against the square, this will
give an angle of 90° between the bed and the
fence.
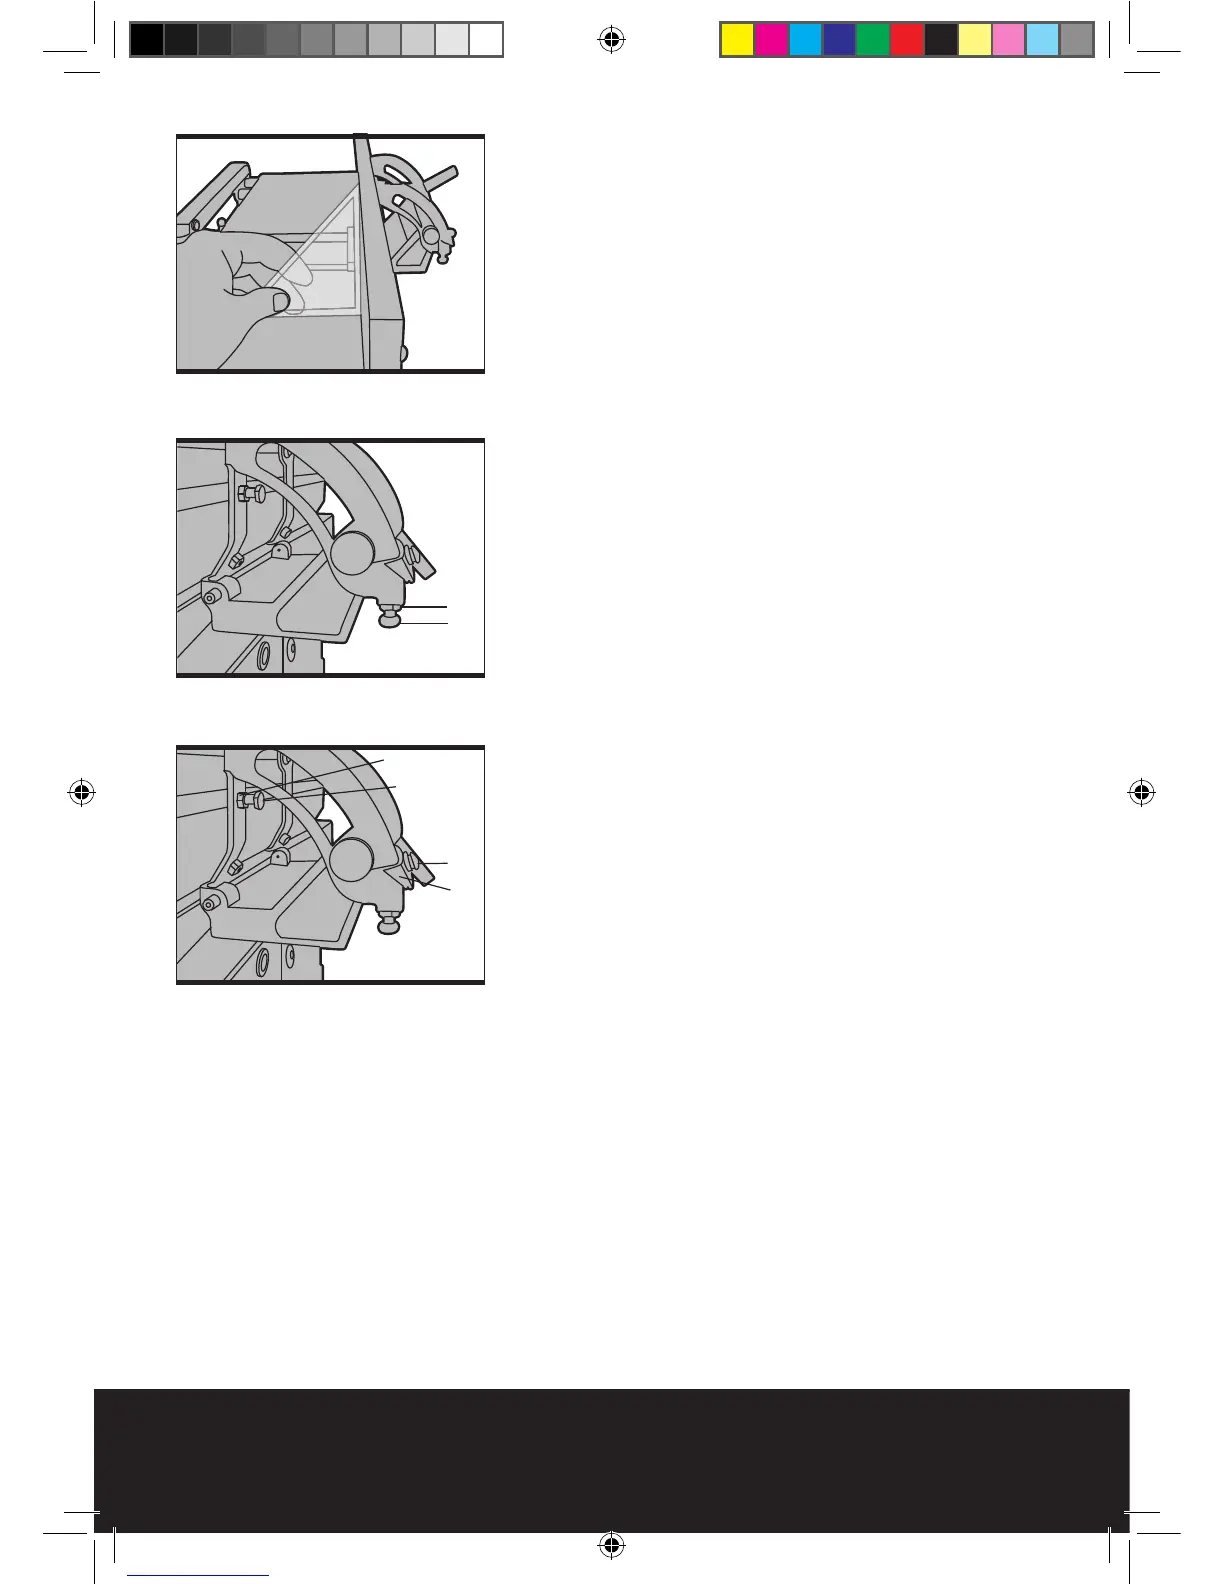
• Loosen the lock nut (a).
• Tighten / loosen the angle locking bolt until it sits
against the angle stop on the angle guide (19),
whilst ensuring that the 90° angle is kept.
• Re-tighten the lock nut to hold the bolt securely
in place.
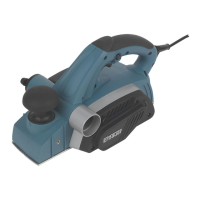
• Loosen the angle pointer screw (c) and set the
angle pointer so that it reads 90°.
• To set the 45° positive stop, set the guide fence
so that the angle pointer is at 45° .
• Loosen the 45° lock nut (b).
• Tighten / loosen the angle locking bolt until it sits
against the 45° stop on the angle guide.
• Re-tighten the locking nut to secure.
Fig 31
Fig 30
Fig 32