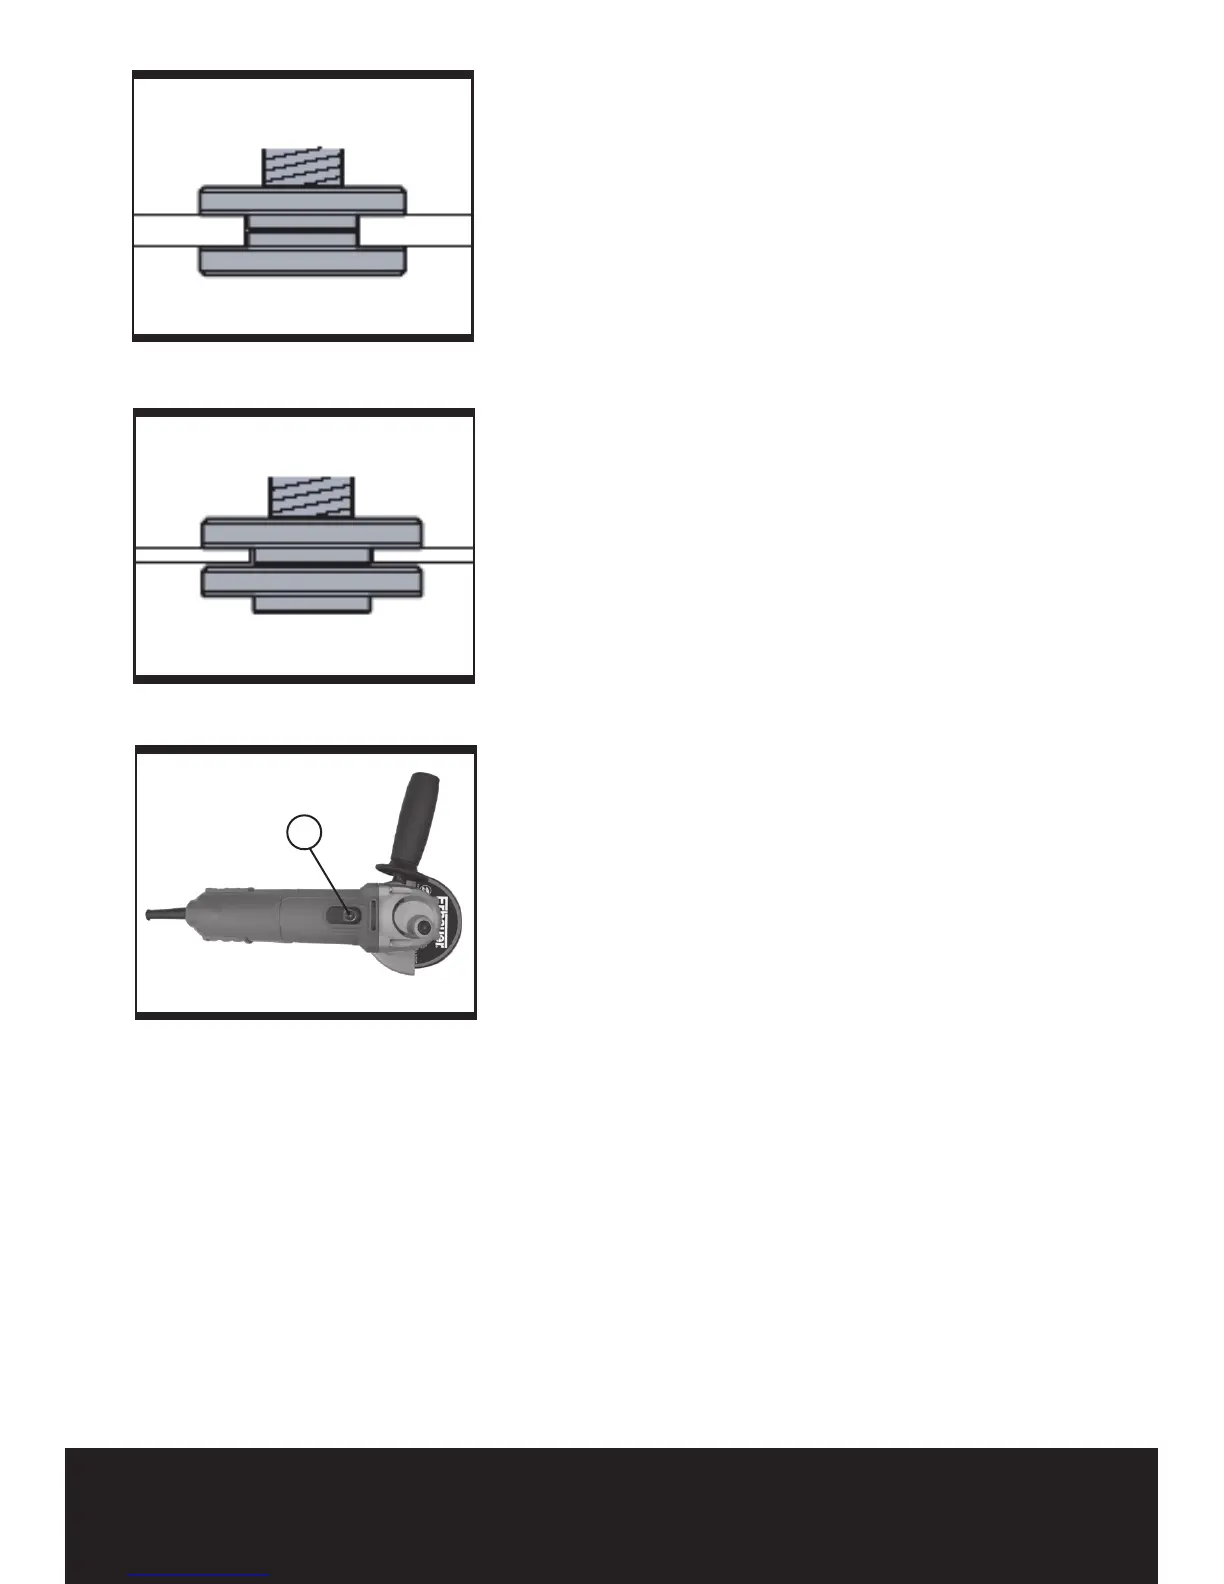
3. ADJUSTABLE OUTER FLANGE CLAMPING
The outer flange (5) should be adjusted to suit different
disc thickness. For thinner cutting discs the raised
part of the outer flange is fitted facing away from
the disc (See Fig.3-1). For thicker grinding discs the
raised part of the outer flange is fitted facing towards
the disc to provide improved support for the disc hole
(See Fig.3-2). Always ensure your disc is securely
clamped.
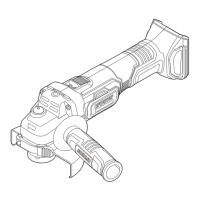
ADJUSTING THE PROTECTION GUARD
Before any work on the machine itself, pull the
mains plug.
For work with grinding or cutting discs, the
protection guard must be mounted.
The coded projection (12) on the protection guard
(10/13) ensures that only a guard that fits the machine
type can be mounted.
Loosen the clamping screw (11), if necessary.
Place the protection guard (10/13) with coded
projection (12) into the coded groove on the spindle
collar of the machine head and rotate to the required
position (working position).
The closed side of the protection guard (10/13)
must always point to the operator.
Tighten clamping screw (11).
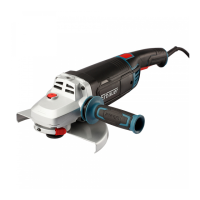
OPERATION
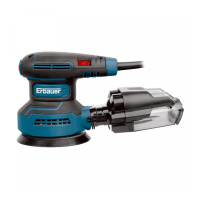
STARTING OPERATION
To start the power tool, push the on/off switch (1)
forward.
To lock the on/off switch (1), press the on/off switch
(1) down at the front until it engages.
To switch off the power tool, release the on/off switch
(1) or, if it is locked, briefly push down the back of the
on/off switch (1) and then release it. (See Fig. 4)
OPERATING INSTRUCTIONS
• Clamp the workpiece if it does not remain stationary
due to its own weight.
• Do not strain the machine so heavily that it comes
to a standstill.
• Grinding and cutting discs become very hot while
working; do not touch until they have cooled.
• Pull the plug from the socket-outlet when not
using the machine. With the plug inserted and
mains voltage existing, the power tool still has low
power consumption even when it switched off.
Fig. 3-1
Fig. 3-2
Fig. 4