240W 1/4 SHEET SANDER
without the dust box/bag properly installed.
Empty dust bag (See Fig. 3-1, 3-2)
For more efcient operation, empty dust bag every
5-10mins. This will permit the air to ow through the
bag better. To empty the dust bag, remove it from
the dust extraction port, shake out dust.
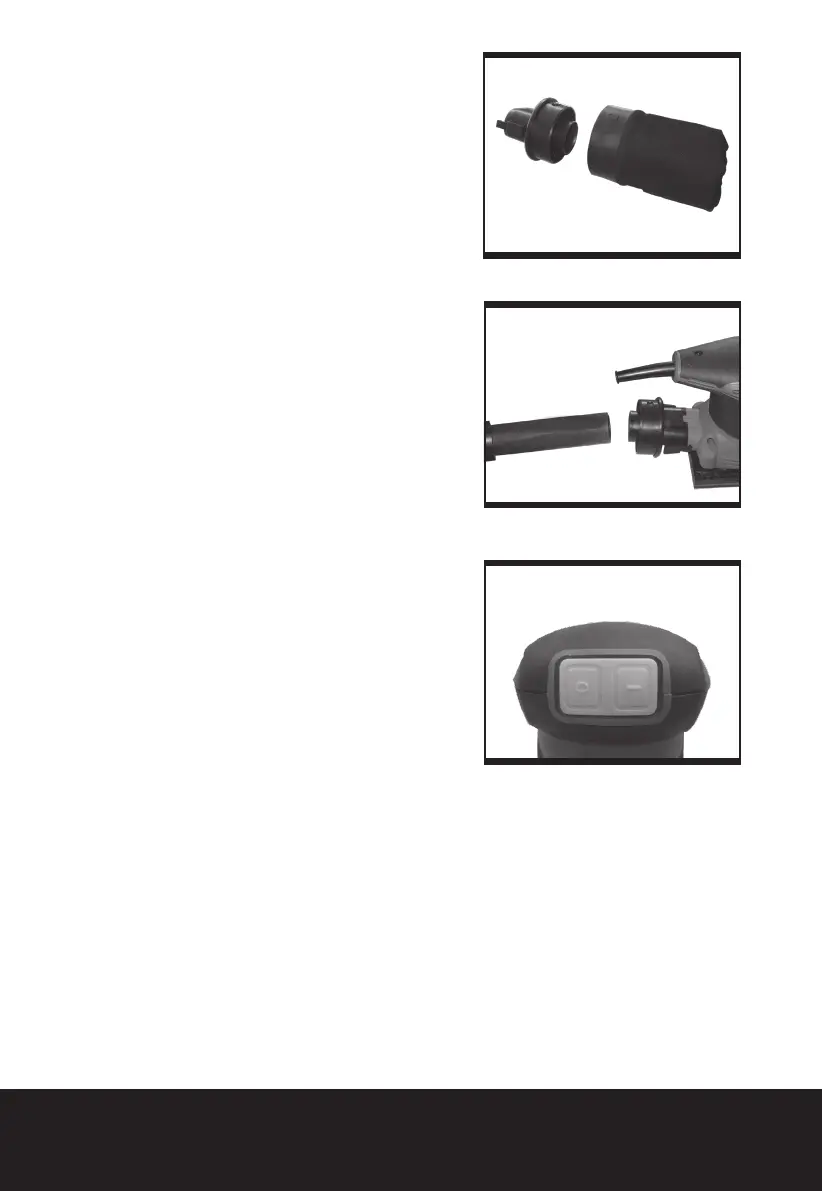
Using the dust extraction adaptor (See Fig. 3-3)
Your sander is equipped with a dust extraction
adaptor, which is designed for collecting dust task.
Connect the dust extraction adaptor into the hose of
a vacuum cleaner.
First please turn on the vacuum cleaner, then turn
on the sander. If you stop sanding, rst turn off the
sander, then turn off your vacuum cleaner.
4. OPERATING THE SWITCH (See Fig. 4)
To start your sander, depress the protective cover
over the switch at the position marked“I”. To stop
your sander, depress the protective cover at the
position marked “0”.
5. FLUSH SANDING FACILITY
Your sander can sand ush on three sides of the
baseplate which allows easy access to corners and
edges of mouldings.
6. ORBITAL SANDING
Your sander operates in small circular rotations
which allows efcient material removal. Operate
your sander in long sweeping movements across
your workpiece and even across the grain. For a
ner nish, always use a ne grain sanding paper
and only move the sander in the direction of the
grit and never across the grain. Do not allow your
sander to remain in the same position otherwise you
will remove material and create an uneven surface.
WORKING HINTS FOR YOUR PALM
SANDER
If your power tool becomes too hot, especially when
used at low speed, set the speed to maximum and
run it with no load for 2-3 minutes to cool the motor.
Avoid prolonged usage at very low speeds. Always
use sand paper that is suitable for the material you
want to sand. Always ensure the work-piece is
rmly held or clamped to prevent movement. Any
movement of the material may affect the quality of
Fig. 3-2
Fig. 3-3
Fig. 4
 Loading...