Für einen sicheren und dauerhaften Betrieb des
Lötwerkzeuges sind die folgenden Punkte unbe-
• Überprüfen Sie vor dem Einschalten, ob die
Netzspannung mit dem auf dem Typenschild
angegebenem Wert übereinstimmt.
• Netzschalter ausschalten.
• Korrekten Sitz der Lötspitze überprüfen (s.
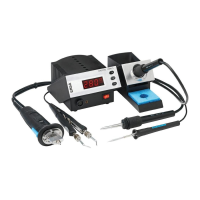
5.12). Anschlussstecker des Lötkolbens mit
der Anschlussbuchse an der Vorderseite der
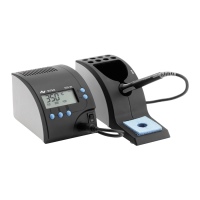
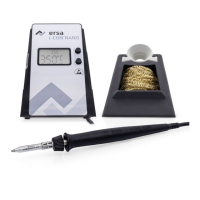
• Lötkolben im Ablageständer ablegen.
• Viskoseschwamm mit enthärtetem Wasser
• Netzanschlussleitung mit Netzsteckdose ver-
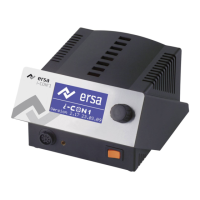
• Elektronikstation einschalten (Netzschalter
• Nach kurzer Aufheizzeit ist das Gerät ein-
Inbetriebnahme Starting operation4.
4.2 Switching on for the fi rst time
Be sure to do the following to ensure the safe
and long-lasting operation of the soldering tool:
• Check whether the supply voltage matches
the value stated on the rating plate.
• Switch off the power switch.
• Insert the connecting plug of the soldering
iron in the socket on the front of the control
station. If appropriate, select the desired sol-
dering tip and attach. See also Sec. 5.12
• Set the soldering iron in the holder.
• Moisten the viscose sponge with soft water.
• Connect the power cable to the network
• Switch on the Electronic Station (set the
• The device is ready for use after a brief pre-