35
SECTION 6 TROUBLESHOOTING
6.1 General
ELECTRIC SHOCK CAN KILL!
DO NOT PERMIT UNTRAINED PERSONS TO INSPECT OR REPAIR THIS
EQUIPMENT. ELECTRICAL WORK MUST BE PERFORMED BY AN EXPE
RIENCED ELECTRICIAN.
WARNING
Stop work immediately if power source does not work properly.
Have only trained personnel investigate the cause.
Use only recommended replacement parts.
CAUTION
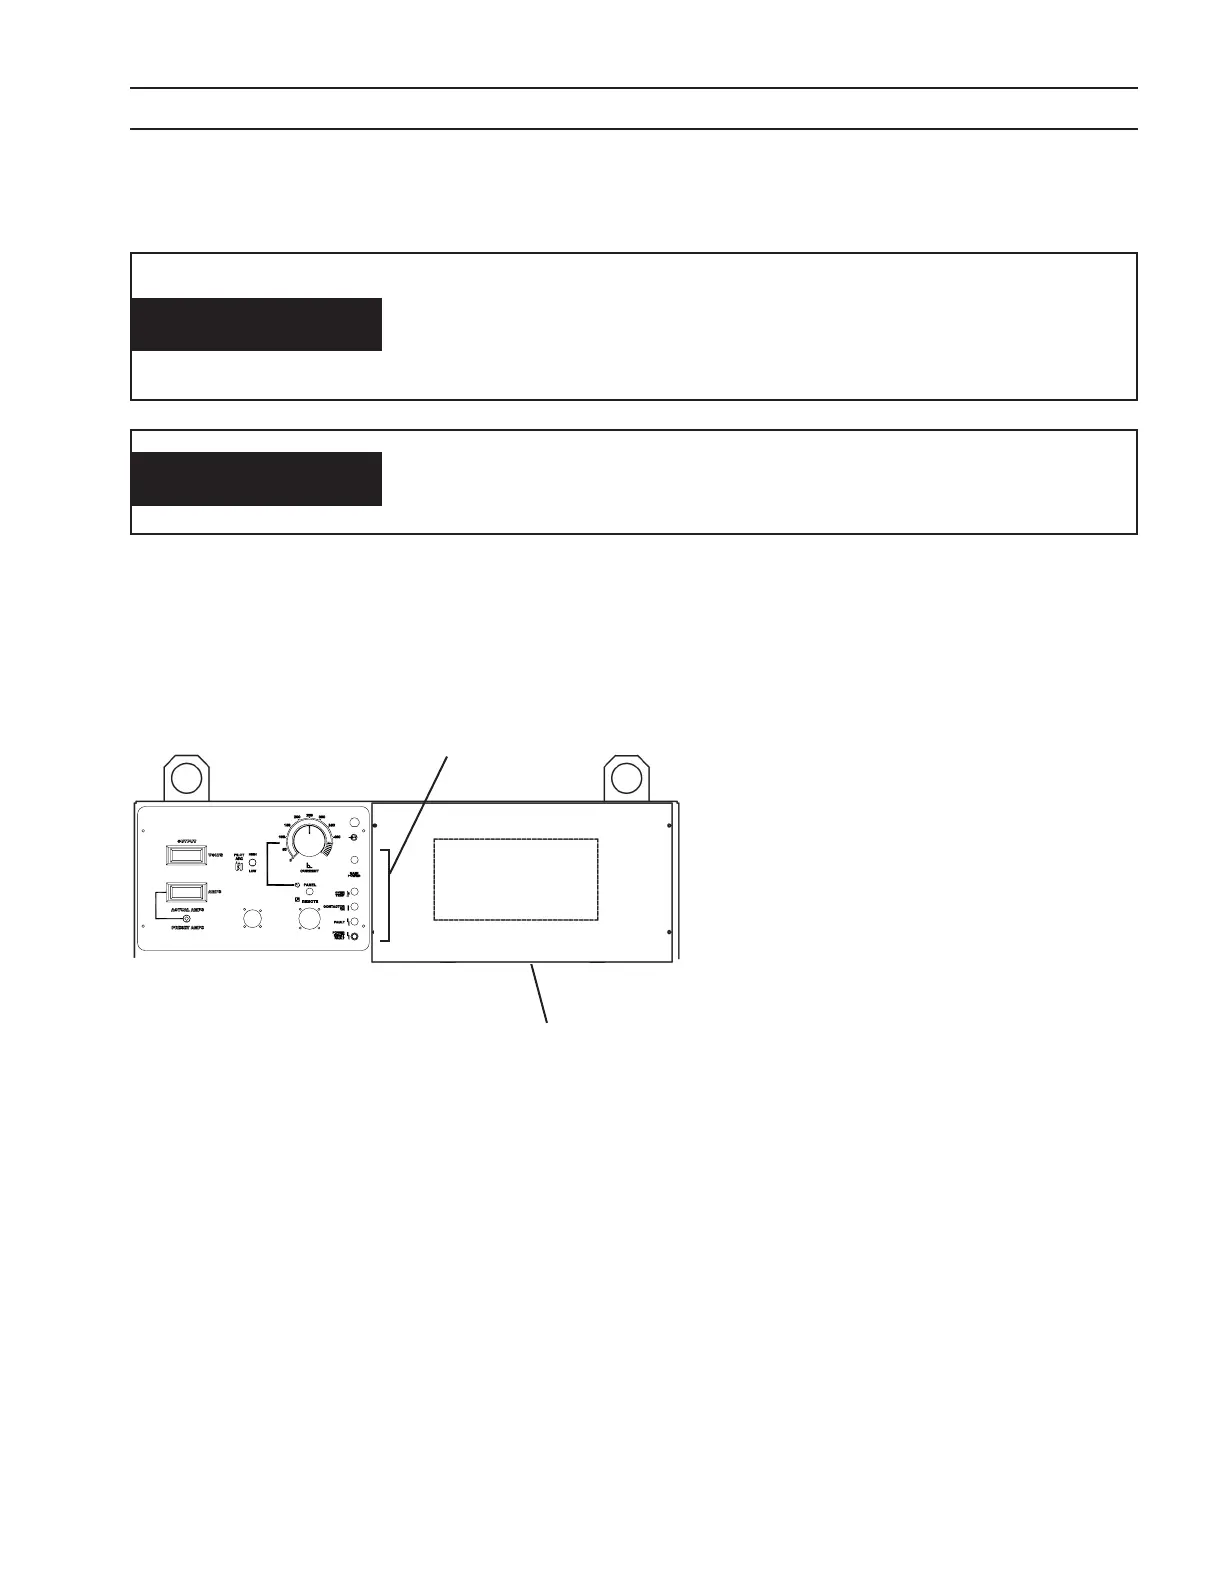
6.2 Fault Indicators
Fault indicators are found on the front panel Used with
the LEDs on PCB1 (located behind the cover with the
EPP label) problems can be diagnosed.
NOTE:
It is normal for momentary light-
ing (ashing) of the fault indicator
and LED 3 when a “contactor on”
signal is applied at the beginning
of each cut start.
Fault Indicator used with:
LED 3 - Bus Ripple
LED 4 - High Bus
LED 5 - Low Bus
LED 7 - Arc Voltage Saturation
LED 8 - Arc Voltage Cuto
Power Reset Fault Indicator used with:
LED 6 - Right Overcurrent
LED 9 - Left Overcurrent
LED 10 - Left IGBT Unsaturated
LED 11 - Right IGBT Unsaturated
LED 12 - Left -12V Bias Supply
LED 13 - Right -12V Bias Supply
PCB1 Located behind
this panel.
Front Panel Fault
Indicators