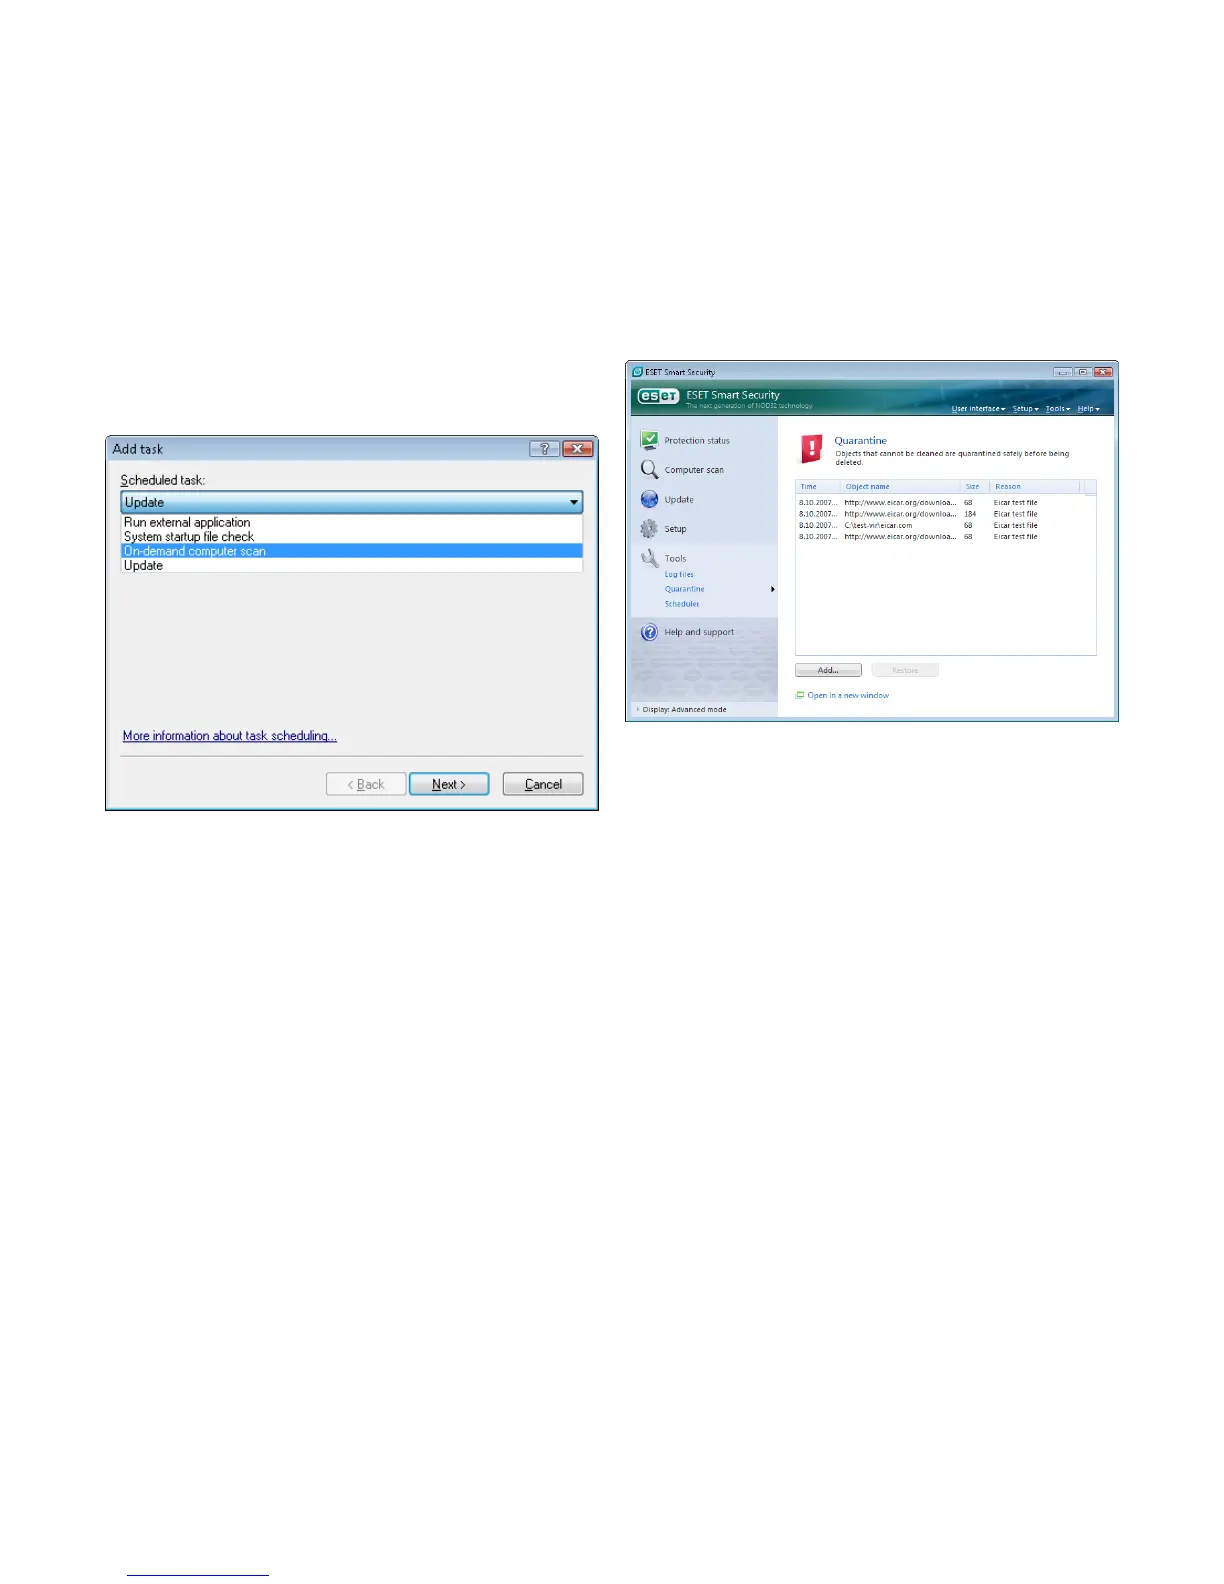
4.5.2 Creating new tasks
To create a new task in Scheduler, click the Add... button or right‑click
and select Add... from the context menu. Five types of scheduled
tasks are available:
▪ Run external application
▪ Log maintenance
▪ System startup file check
▪ On‑demand computer scan
▪ Update
Since On‑demand computer scan and Update are the most
frequently used scheduled tasks, we will explain how to add a new
update task.
From the Scheduled task: drop‑down menu, select Update. Click
Next and enter the name of the task into the Task name: field.
Select the frequency of the task. The following options are available:
Once, Repeatedly, Daily, Weekly and Event‑triggered. Based on
the frequency selected, you will be prompted with dierent update
parameters. Next, define what action to take if the task cannot be
performed or completed at the scheduled time. The following three
options are available:
▪ Wait until the next scheduled time
▪ Run task as soon as possible
▪ Run task immediately if the time since its last execution
exceeds specified interval (the interval can be defined
immediately using the Task interval scroll box)
In the next step, a summary window with information about the
current scheduled task is displayed; the option Run task with specific
parameters should be automatically enabled. Click the Finish button.
A dialog window will appear, allowing you to select profiles to be used
for the scheduled task. Here you can specify a primary and alternative
profile, which is used in case the task cannot be completed using
the primary profile. Confirm by clicking OK in the Update profiles
window. The new scheduled task will be added to the list of currently
scheduled tasks.
4.6 Quarantine
The main task of quarantine is to safely store infected files. Files
should be quarantined if they cannot be cleaned, if it is not safe or
advisable to delete them, or if they are being falsely detected by ESET
Smart Security.
The user can choose to quarantine any file he or she wants to. This
is advisable if a file behaves suspiciously but is not detected by the
antivirus scanner. Quarantined files can be submitted for analysis to
ESET’s virus laboratories.
Files stored in the quarantine folder can be viewed in a table which
displays the date and time of quarantine, the path to the original
location of the infected file, its size in bytes, reason (added by user…),
and number of threats (e.g., if it is an archive containing multiple
infiltrations).
4.6.1 Quarantining files
The program automatically quarantines deleted files (if you have
not cancelled this option in the alert window). If desired, you can
quarantine any suspicious file manually by clicking the Add... button.
If this is the case, the original file is not removed from its original
location. The context menu can also be used for this purpose –
right‑click in the quarantine window and select Add...
4.6.2 Restoring from Quarantine
Quarantined files can also be restored to their original location. Use
the Restore feature for this purpose; this is available from the context
menu by right‑clicking on the given file in the quarantine window.
The context menu also oers the option Restore to, which allows
you to restore a file to a location other than the one from which it was
deleted.
NOTE:
If the program quarantined a harmless file by mistake, please exclude
the file from scanning after restoring and send the file to ESET
Customer Care.
4.6.3 Submitting file from Quarantine
If you have quarantined a suspicious file that was not detected by
the program, or if a file was incorrectly evaluated as infected (e.g. by
heuristic analysis of the code) and subsequently quarantined, please