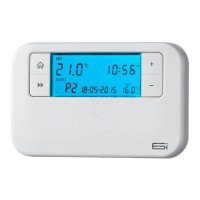
10
date which is automatically set together with the
actual room temperature.
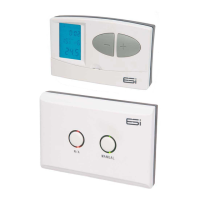
2.7 Fitting the Receiver
Installation
1. Loosen the screws on the back-plate and remove from
the Unit.
2. Fix the back-plate, terminals at the top, either direct
onto a flat wall using wall plugs and screws or on a flush
mounting single conduit box. Route the wires through
the back of the wall plate and fit the wires to the wall-
plate in accordance with the relevant diagram and in
accordance with I.E.E. regulations.
3. Fit the Unit onto back-plate, and tighten the screws.
4. Ensure an appropriate fuse is fitted to the circuit before
reconnecting to the mains supply.
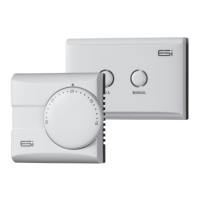
2.8 Commissioning/Configuring
1. If the receiver and thermostat have been supplied as
a kit, the units have already been paired in the factory
and no pairing is needed.
2. Power up the receiver and press M/A (Manual/Auto)
button
1
for approximately 10 seconds until the
MANUAL (green) light
2
begins to flash.
3. On the thermostat, switch the slider to OFF. Press and
hold the A, H and + buttons for 3 seconds until the
symbol flashes.
4. When the light on the receiver stops flashing the two
units are paired.
5. If unsuccessful, repeat steps 2-3. If still unable to pair,
leave the unit powered on for 5 minutes and repeat the
steps above.
 Loading...