Do you have a question about the Eureka AS2000 series and is the answer not in the manual?
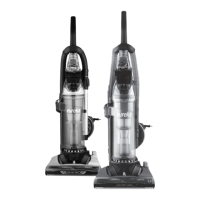
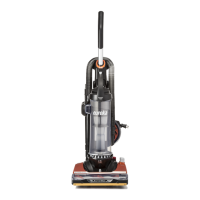
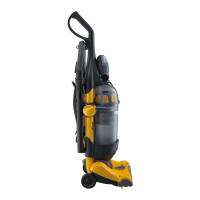
Lists all vacuum components included in the package for verification.
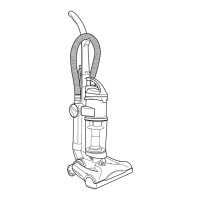
Provides a step-by-step visual guide for assembling the vacuum cleaner.
Details the correct methods for storing the vacuum hose and included accessories.
Instructions on adjusting settings and operating the vacuum for floor cleaning.
Guidance on using the vacuum with its hose and various attachments for specialized cleaning.
The Eureka AS2000-AS2039 Series Quick Start Guide provides essential information for assembling and using this upright vacuum cleaner. This document serves as a comprehensive guide, detailing the vacuum's components, assembly process, and operational instructions for both floor and hose cleaning.
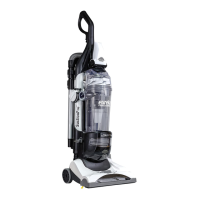
The Eureka AS2000-AS2039 Series is an upright vacuum cleaner designed for general household cleaning. Its primary function is to effectively remove dirt and debris from various floor surfaces, including carpets and bare floors, and to provide versatile cleaning capabilities with its integrated hose and tools for above-floor tasks. The vacuum features an adjustable height setting to optimize cleaning performance across different floor types and a powerful suction system to ensure thorough cleaning. Its design emphasizes ease of assembly and user-friendly operation, making it suitable for everyday use. The inclusion of specialized tools like a crevice tool, dusting brush, and turbo nozzle (on some models) extends its utility to hard-to-reach areas, upholstery, and pet hair removal.
While specific technical specifications like motor wattage, suction power (AW), or dust cup capacity are not explicitly detailed in this quick start guide, the visual components and assembly steps imply a standard upright vacuum cleaner configuration. Key components include:
The vacuum operates with a power switch for turning it on and off, and an "air path knob" to switch between "floors" and "tools" modes, indicating a mechanism to divert suction power.
The Eureka AS2000-AS2039 Series is designed for intuitive use, offering several features to enhance the cleaning experience:
While the guide primarily focuses on assembly and usage, the design implies certain maintenance aspects:
In summary, the Eureka AS2000-AS2039 Series is a user-friendly upright vacuum cleaner designed for efficient cleaning of various floor types and above-floor surfaces, with a focus on easy assembly, versatile operation, and convenient tool storage.
| Brand | Eureka |
|---|---|
| Model | AS2000 series |
| Category | Vacuum Cleaner |
| Language | English |