8
After Sales Support
(AU) 1300 886 649 (NZ) 0800 836 761 | info@tempo.org
Getting Started (Cont.)
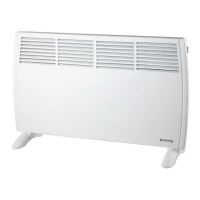
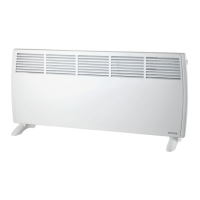
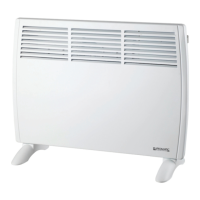
Wall-mounting instructions
IMPORTANT!
• Your wall must be structurally sound and sturdy enough to support the
weight of the heater. If in doubt about the suitability of your wall, please
consult a builder. If mounting the heater to a plasterboard wall, make
sure you mount it onto a wall stud.
• A power point must be in easy reach, but not directly below the heater.
• Ensure you are mounting the fan heater in a safe location on the wall; do
not mount it directly above a bed, cot or similar location.
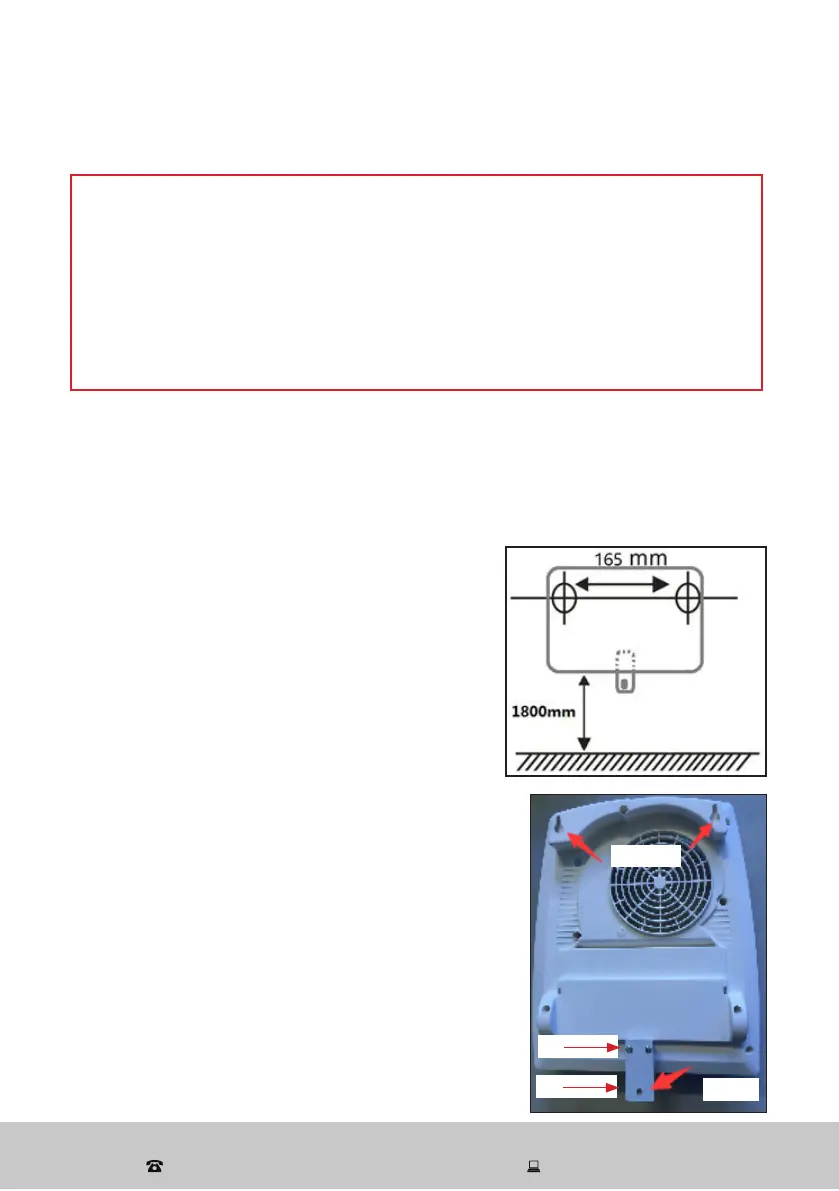
• In accordance with the safety instructions, determine the place on the wall
where you want to mount the fan heater. Mark two holes for the screws
165mm apart and at a minimum distance of 1.8m above the floor (Fig. 1).
• If you are mounting the heater above a shelf or other wall-mounted object,
then there must be a minimum clearance of 700mm between the shelf and
the air outlet.
• Using the two small screws provided, affix
the small metal plate to the back of the
heater, as illustrated (Fig. 2: a).
• Drill two holes in the wall where you have
marked the spots – their diameter should be
wide enough so they just tightly contain the
plastic wall plugs. Insert two of the plugs into
the holes, then screw in two screws, keeping
the tips protruding approximately 5mm.
• When the wall plugs and screws are secured
in the wall, hang the heater with the holes at the
back (Fig. 2: b) over the protruding screw tips.
Ensure that the heater is hanging straight, then
mark the spot for the third wall plug through the
hole in the metal plate (Fig. 2: c). Take the heater
off the wall, drill a hole where you marked the
spot and insert the third wall plug.
• Hang the heater back on the wall (over the two
protruding screw tips) and fasten it with the third
screw into the wall plug at the bottom.
• To check that the heater is securely mounted,
try to gently slide the heater upwards. It should
not move.
Fig. 1
Fig. 2
(a)
(b)
(c)