5
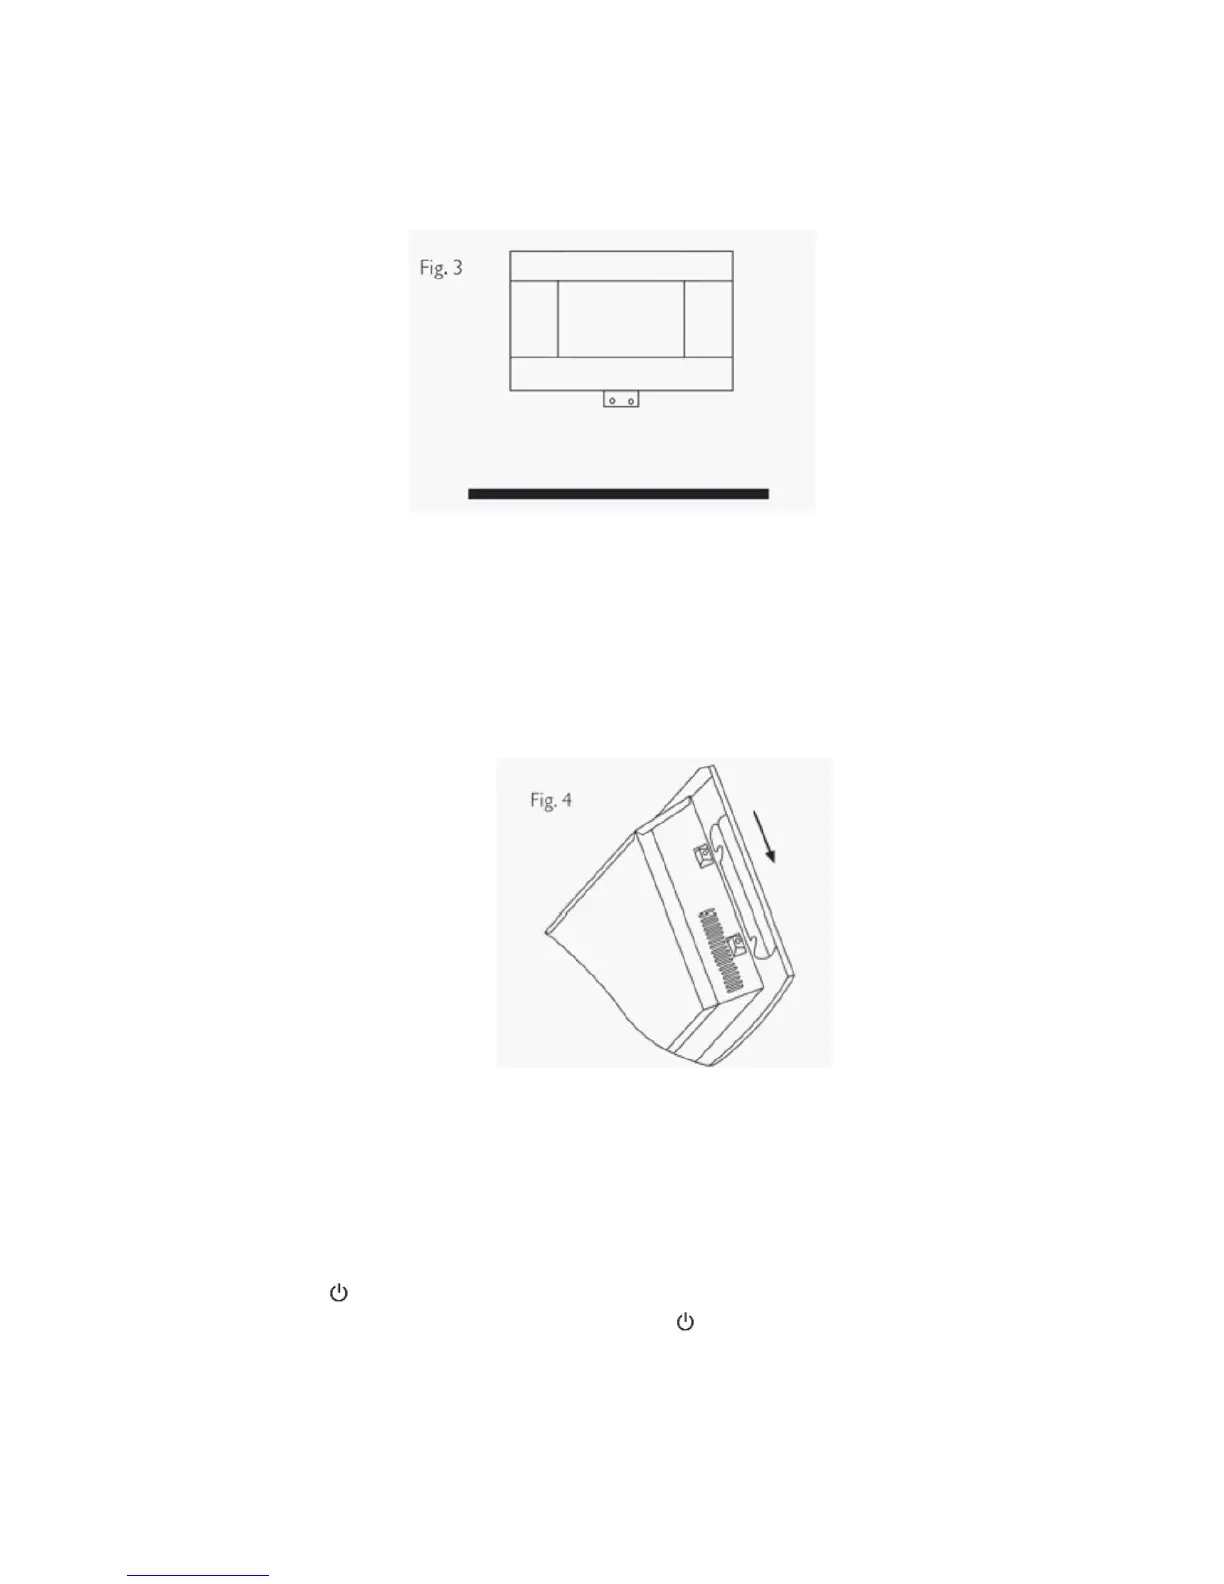
! Mark the bottom holes position-see Fig.3, remove the fireplace ensuring that the bottom fixing
bracket is rotated up.
! Drill and fit wall plug.
! Refit the fireplace on the wall fixing bracket and rotate the bottom fixing bracket down again
and use the screw provided to permanently fix the fireplace in place.
! Unpack the pebbles from the bag and place them along the light unit in the desired position.
! Place the front glass surround over the front of the fireplace aligning the slots in the brackets at
each side of the glass panel with the lugs on the sides of the fire-see Fig.4. Again two people
will be required for this operation.
Instructions for Use
! This fireplace can be operated either by the switches located on the top right hand side of the
fireplace or the supplied remote control.
Manual Operation
! The switches are located on the top right hand side of the fireplace .The standby switch must
be first switched ON.
! Press the
button once to turn on the fireplace and flame effect. A red indicator light will
appear to indicate that the function is ON. Press the
button for 3 seconds this will operate
the dimmer mode.
! Press the 750W button once for low heat setting; press twice to turn off the heat.
! Press the 1500W button once for high heat setting; press twice to turn off the heat.