12
www.evolutionpowertools.com
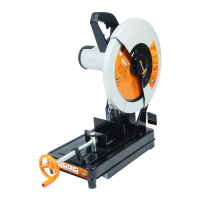
INSTALLING/REMOVING A DISC
£ WARNING: Always disconnect the machine from the power
supply before attempting to install or remove a Cutting Disc.
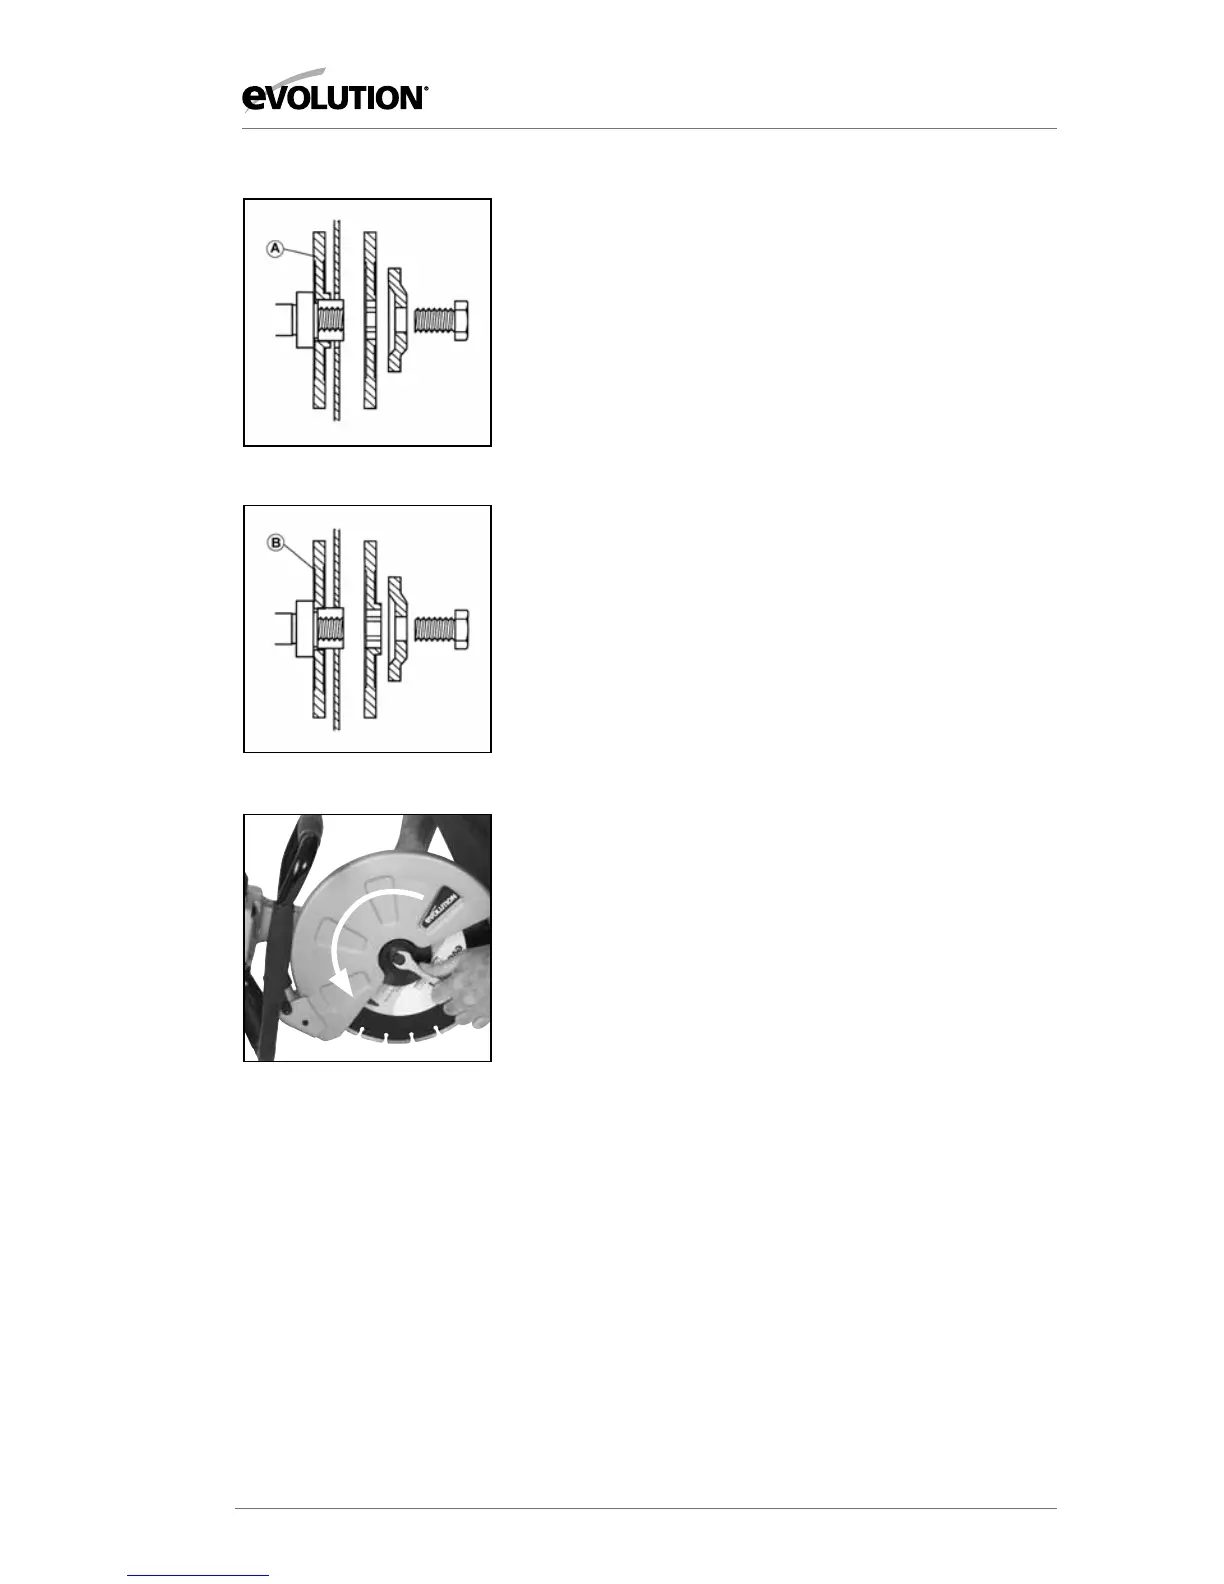
• Ensurethatthemachinesarborandthebladeflangesare
clean and free from dust and debris.
• Ensurethatthedirectionofrotationmarkedontheblade
matches the direction of rotation marked on the machines
guard.
Note: This machine is supplied with two (2) blade flanges. These
can accommodate blades with either a ø20mm (ø3/4”) or ø22.2
(ø7/8”) arbor hole depending upon how they are installed.
• Installbladeflange‘A’ontheinnersidewhenthearborhole
in the cutting disc is ø22.2mm (ø7/8”). FIG. 1
• Installthebladeflange‘B’ontheinnersidewhenthearbor
hole in the cutting disc is ø20mm (ø3/4”) FIG. 2
• Installthecuttingbladeandouterbladeflange,washerand
arbor bolt.
• Pressthearborlocktolockthemachinesarbor.
• Tightenthearborboltusingthesuppliedspanner.FIG. 3
• ReleasethearborlockandcheckbyhandthattheCutting
Disc is secure and correctly positioned on the arbor and that
if rotates freely.
Note: The arbor bolt has a Left Hand thread. Turn
counterclockwise to tighten the arbor bolt. Turn clockwise to
loosen the arbor bolt.
To remove a Cutting Disc, reverse the above Installation
procedure.
OPERATING INSTRUCTIONS
FIG. 1
FIG. 3
FIG. 2