64
S
TICK
— scan control from S
TICK
device
p)
Pressing the
c
key allows you to enter a new header
and continue scanning more data into the same file,
starting from Step
g)
on page 61.
You can keep adding as many sub-sections to your file
as you like. Each will be separated by the header.
An example where this may be use is when you change
to the next core box in the hole you are scanning.
q)
Pressing the
e
key stops the program, closes the data
file on the computer and returns control to the KT-9.
S
TICK
— scan control from S
TICK
device
This program is similar to
S
CAN7
, except that the start and stop
measuring commands are controlled by the trigger button on
the
S
TICK
device. You can also specify a speed at which you will
be moving the stick in order to provide distance/length data
along with the susceptibility data. This does require reasonably
steady and constant movement of the sensor on your part, in
order to minimize positional error.
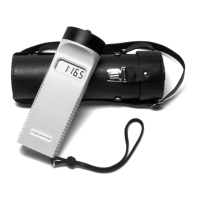
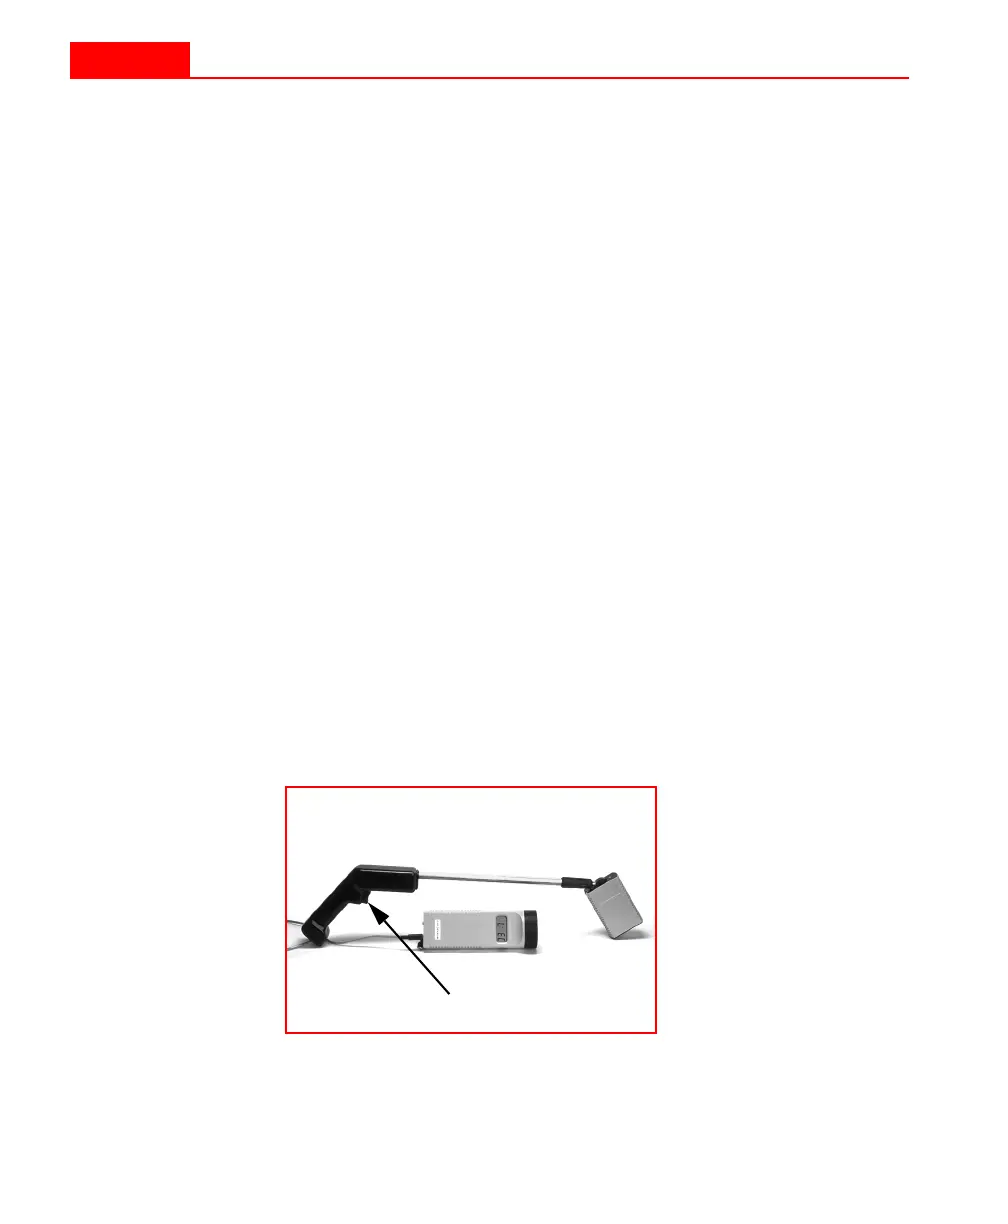
Figure 20
S
TICK
and trigger button.
Trigger button
64
S
TICK
— scan control from S
TICK
device
p)
Pressing the
c
key allows you to enter a new header
and continue scanning more data into the same file,
starting from Step
g)
on page 61.
You can keep adding as many sub-sections to your file
as you like. Each will be separated by the header.
An example where this may be use is when you change
to the next core box in the hole you are scanning.
q)
Pressing the
e
key stops the program, closes the data
file on the computer and returns control to the KT-9.
S
TICK
— scan control from S
TICK
device
This program is similar to
S
CAN7
, except that the start and stop
measuring commands are controlled by the trigger button on
the
S
TICK
device. You can also specify a speed at which you will
be moving the stick in order to provide distance/length data
along with the susceptibility data. This does require reasonably
steady and constant movement of the sensor on your part, in
order to minimize positional error.
Figure 20
S
TICK
and trigger button.
Trigger button