10
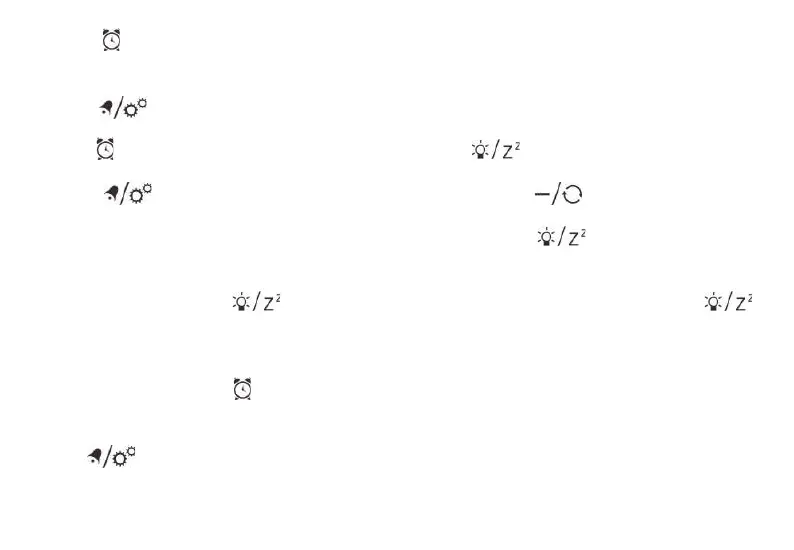
2. Press [ ] button once to switch to alarm mode.
Monday to Friday alarm time will be shown and (1-5)
will flash.
3. Press [ ] button once to turn on/off Monday
to Friday alarm.
4. Press [ ] button again to show Saturday to Sunday
alarm time. (6-7) will flash.
5. Press [ ] once to turn on/off Saturday to
Sunday alarm.
OPERATION
1. At the set time, alarm signal rings.
2. During the alarm, press the [ ] button to delay
the alarm by 8 minutes.
3. If you do not press any button to stop the alarm, it
will automatically turn off after 5 minutes.
4. To stop the alarm, press the [ ] or any other button.
5. The alarm will start again at the next alarm time,
unless you switch off the alarm function by pressing
the [ ] button.
PROJECTION
The projector displays the time on your ceiling or wall
and it can rotate 180°. It is easier to view in a darkened
room. For the optimal projection results, place the unit
within 1.5 - 2 m (5-6.5 ft) from the ceiling or wall.
1. Press [ ] button to activate the backlight and
projection for 5 seconds.
2. Press and hold [ ] button, flip the projection
display 180°.
3. Press and hold [ ] button, toggle continues
projection on in case of using adapter power source
and toggle projection on for 5 minutes in case of
using batteries power only. Press and hold [ ]
button again, turn off projection and toggle continues
projection off.
NOTE: The projection is disabled during the RCC signal
reception.
SPECIFICATIONS
Dimensions (Main unit):