High fidelity engineering
EXPOSURE 3010 Power Amplifier
Thank you for buying the Exposure 3010 Power Amplifier,
designed to enhance your musical enjoyment.
Before you start
Contents:
1) Exposure 3010 Power Amplifier
2) Mains Cable
1 Installation
• Please note that your Exposure 3010 Power Amplifier
may take up to 48 hours to "run-in" before
reaching its optimal performance. Each subsequent
"run-in" will then take about 20 minutes.
48hr!
• Ensure that your unit is switched off and that the
volume control on the system’s integrated amp or
pre-amp is set at its minimum.
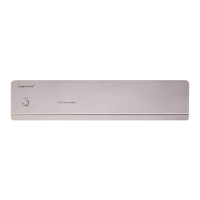
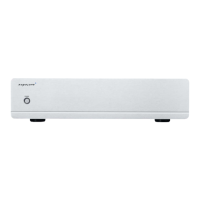
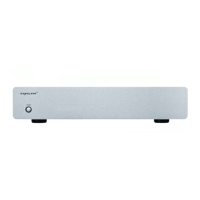
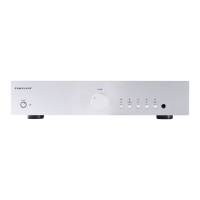
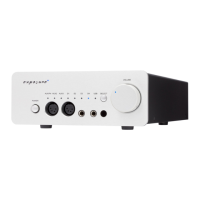
Exposure 3010 Power Amplifier: Front View
4 Operation
a) Turn the Integrated Amplifier or
pre-amplifier volume control to minimum.
b) Press power switch. The LED power
indicator will light up.
c) Without playing any CD Player/Tuner
/Tape/Disc Recorder/Turntable
/Video Player, turn the volume control knob
slowly clockwise to around 30%. You
should only hear a faint hiss.
d) Select a live source component (CD/Player
/Tuner/Tape/Disc Recorder/Turntable
/Video Player) on the system’s integrated
amplifier or pre-amplifier.
e) Audio should now be heard when the
source component is played.
3 Loudspeaker Connection
2 Pre-Amp/Integrated Amp Connection
a) Connect cables from RCA Phono inputs of power amp to the PRE-OUT
sockets of pre-amp/integrated amp.
b) Ensure left and right channels are connected appropriately. (Right channels
are marked in red)
c) If the Power Amplifier is used in mono mode, only the left input sockets
should be used. See section on Operational Modes in “Extended Set-Up”
overleaf for further details.
a) Connect the
mains cable to the
IEC mains input
socket.
b) Connect to the
mains outlet on
the wall. DO NOT
switch on until all
output connections
are made.
Exposure 3010 Power Amplifier: Back View
Note: The Exposure 3010 Power Amplifier has a heat
sensor which will automatically switch off the power
amplifier section when an abnormally high
temperature is reached. To reset the output, switch
off the amplifier and allow to cool for 10 to
15 minutes.
a) Connect left and right loudspeakers to corresponding left and right speaker
outputs on amplifier.
b) Connect (+) terminal of loudspeaker to (+) terminal of the amplifier.
c) Connect (-) terminal of loudspeaker to (-) terminal of the amplifier.
+
-
+
-
RIGHT SPEAKER LEFT SPEAKER
RIGHT
LEFT
SPK 1 SPK 2 SPK 1 SPK 2
+
-
+
-
BACK VIEW OF 3010 POWER AMPLIFIER
INPUT
Bi-wiring
Bi-wiring may provide a useful gain in subjective performance. Should you
choose this option, please refer to the “Extended Set-Up” section overleaf for
detailed instructions.