IR400-en-US_v2.0 7/22
Operating Instructions
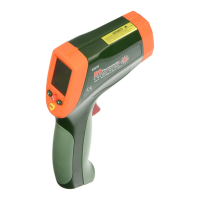
Basic IR Measurements
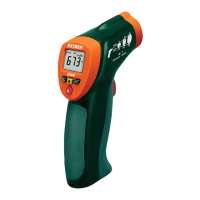
1. Hold the meter by its handle and point it toward the surface to be measured.
2. Pull and hold the trigger to turn the meter on and begin testing. The temperature reading, the
flashing ‘SCAN’ icon, the unit of measure, and € = 0.95 will appear.
3. Release the Trigger and the reading will hold for approximately 10 seconds (HOLD will appear
on the LCD) after which the meter will automatically shut off.
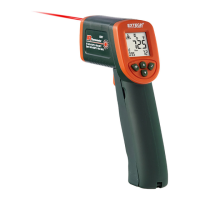
Laser Pointer
1. When the trigger is pressed, the laser pointer will turn on and identify the spot being measured.
The icon on the display indicates that the pointer is on.
2. To turn the laser pointer off, press the button while scanning. Press the button again to
turn the pointer back on.
MAX - MIN
The Max / Min feature provides a means to display the highest (MAX) or lowest (MIN) temperature
measured during a scan.
1. While the trigger is pressed, press the MAX/MIN button. The “MAX” icon will appear and the
maximum measured temperature will appear in the display. The displayed temperature will not
change until a higher temperature is measured.
2. Press the MAX/MIN button again and the “MIN” icon will appear. The minimum temperature
only will be displayed
3. Press the MAX/MIN button again to return to a real time display.
Temperature Units C/F
To change the temperature units, press and release the trigger. Momentarily press the C/F button
and the temperature unit will change.
Backlight
When the meter is on, press the backlight button
to turn the backlight on. Press the button again
to turn the backlight off.
Note: Constant use of the backlight feature will reduce battery life.
Over-Range Indication
If the temperature measurement exceeds the specified temperature range, the thermometer will
display “HI” or “LO” in place of a temperature reading.