RH101-EU V3.0 11/07
7
Battery Replacement
The battery symbol appears on the lower right of the LCD when the 9V battery needs
to be replaced.
Replace the 9V battery as follows:
1. Turn the meter off and disconnect the air temperature probe.
2. Remove the large flat-head screw on the rear of the meter to remove the probe holder.
3. Remove the rubber holster that surrounds the entire meter by pulling it over the top of
the meter.
4. Remove the small Phillips head screw on the rear of the meter.
5. Open the battery compartment and replace the 9V battery.
6. Re-assemble the meter before operating.
You, as the end user, are legally bound (Battery ordinance) to return all used
batteries and accumulators; disposal in the household garbage is prohibited!
You can hand over your used batteries / accumulators, gratuitously, at the
collection points for our branches in your community or wherever batteries /
accumulators are sold!
Disposal
Follow the valid legal stipulations in respect of the disposal of the device at the
end of its lifecycle
WARNING: To avoid electric shock, do not operate the meter until the battery cover is in
place and fastened securely.
NOTE:: If your meter does not work properly, check the fuses and batteries to make sure that
they are still good and that they are properly inserted.
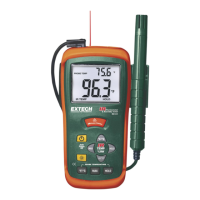
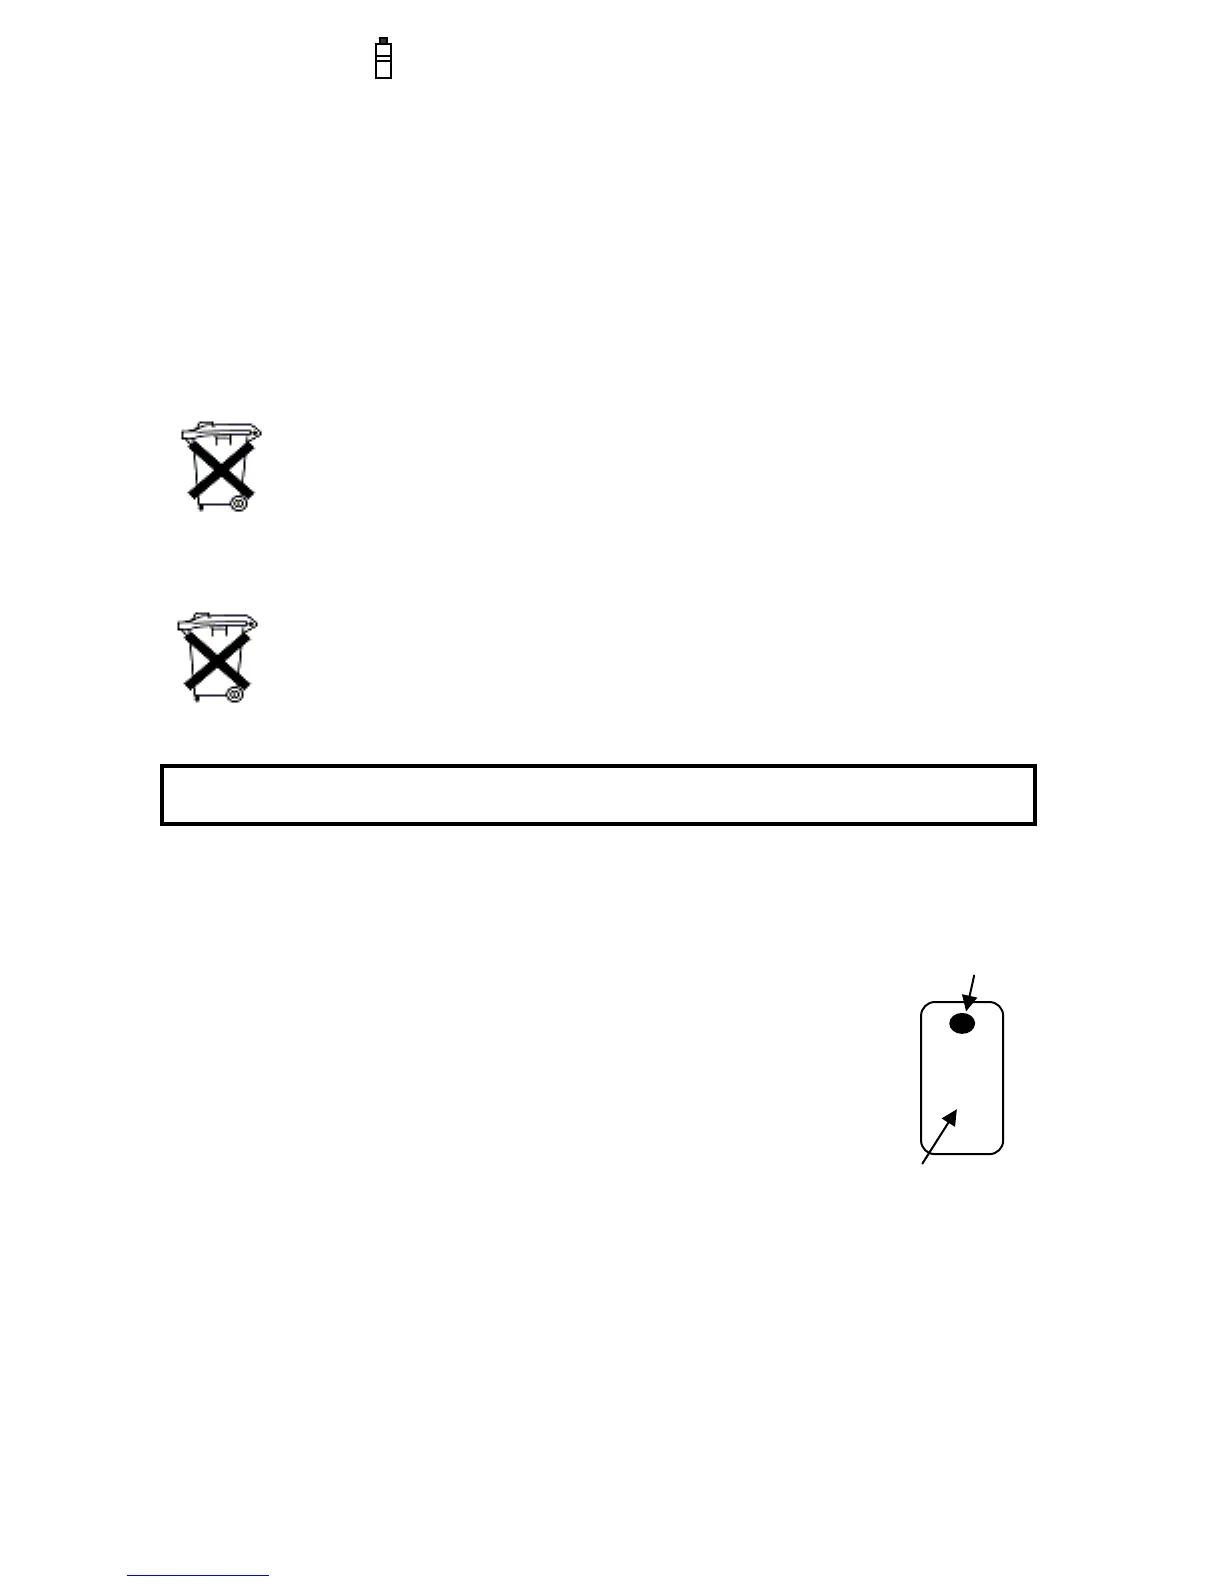
Calibration
A humidity calibration adjustment is located in the battery compartment.
1. Remove the battery door and move the battery to one side.
2. Place the humidity probe in a humidity chamber or humidity
calibration bottle and wait 20 minutes
3. Turn the meter on and turn the adjustment until the humidity reading
on the display agrees with the calibration source.
Copyright © 2007 Extech Instruments Corporation.
All rights reserved including the right of reproduction in whole or in part in any form.
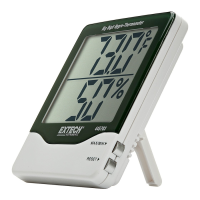
Battery
Compartment
Cal
Adjust