3 Insert the AP onto the keyhole posts and slide the AP.
4 Lock the AP into place at about 1/4 inch.
Optional Installation: Mounting to a wall using the Philips Pan-head screws
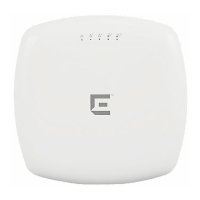
You can mount the AP3915i access point directly onto a dry/solid wall using the Philips Pan-Head
screws. This is an optional installation method and not the preferred mode of installation.
Warning
Installing the AP using this method will result in the logo, LEDs, and E/N being positioned
opposite to the desired installation orientation.
1 Drill two holes 104 mm (4.100”) apart from each other on the wall where you want to mount the AP.
2 Insert the screws into the holes and use the screw-in anchors if needed.
Note
Leave 1/8” gap between the screw head and the wall.
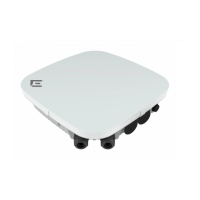
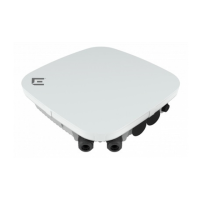
Figure 4: Mounting the AP directly on a dry/wood wall and solid flat ceiling using
the Philips Pan-Head screws
3 Insert the Ethernet cable’s RJ45 connector into the LAN1/GE1 port.
Installation Process
ExtremeWireless™ AP3915i FCC/ROW Installation Guide 12

 Loading...