93
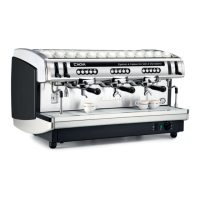
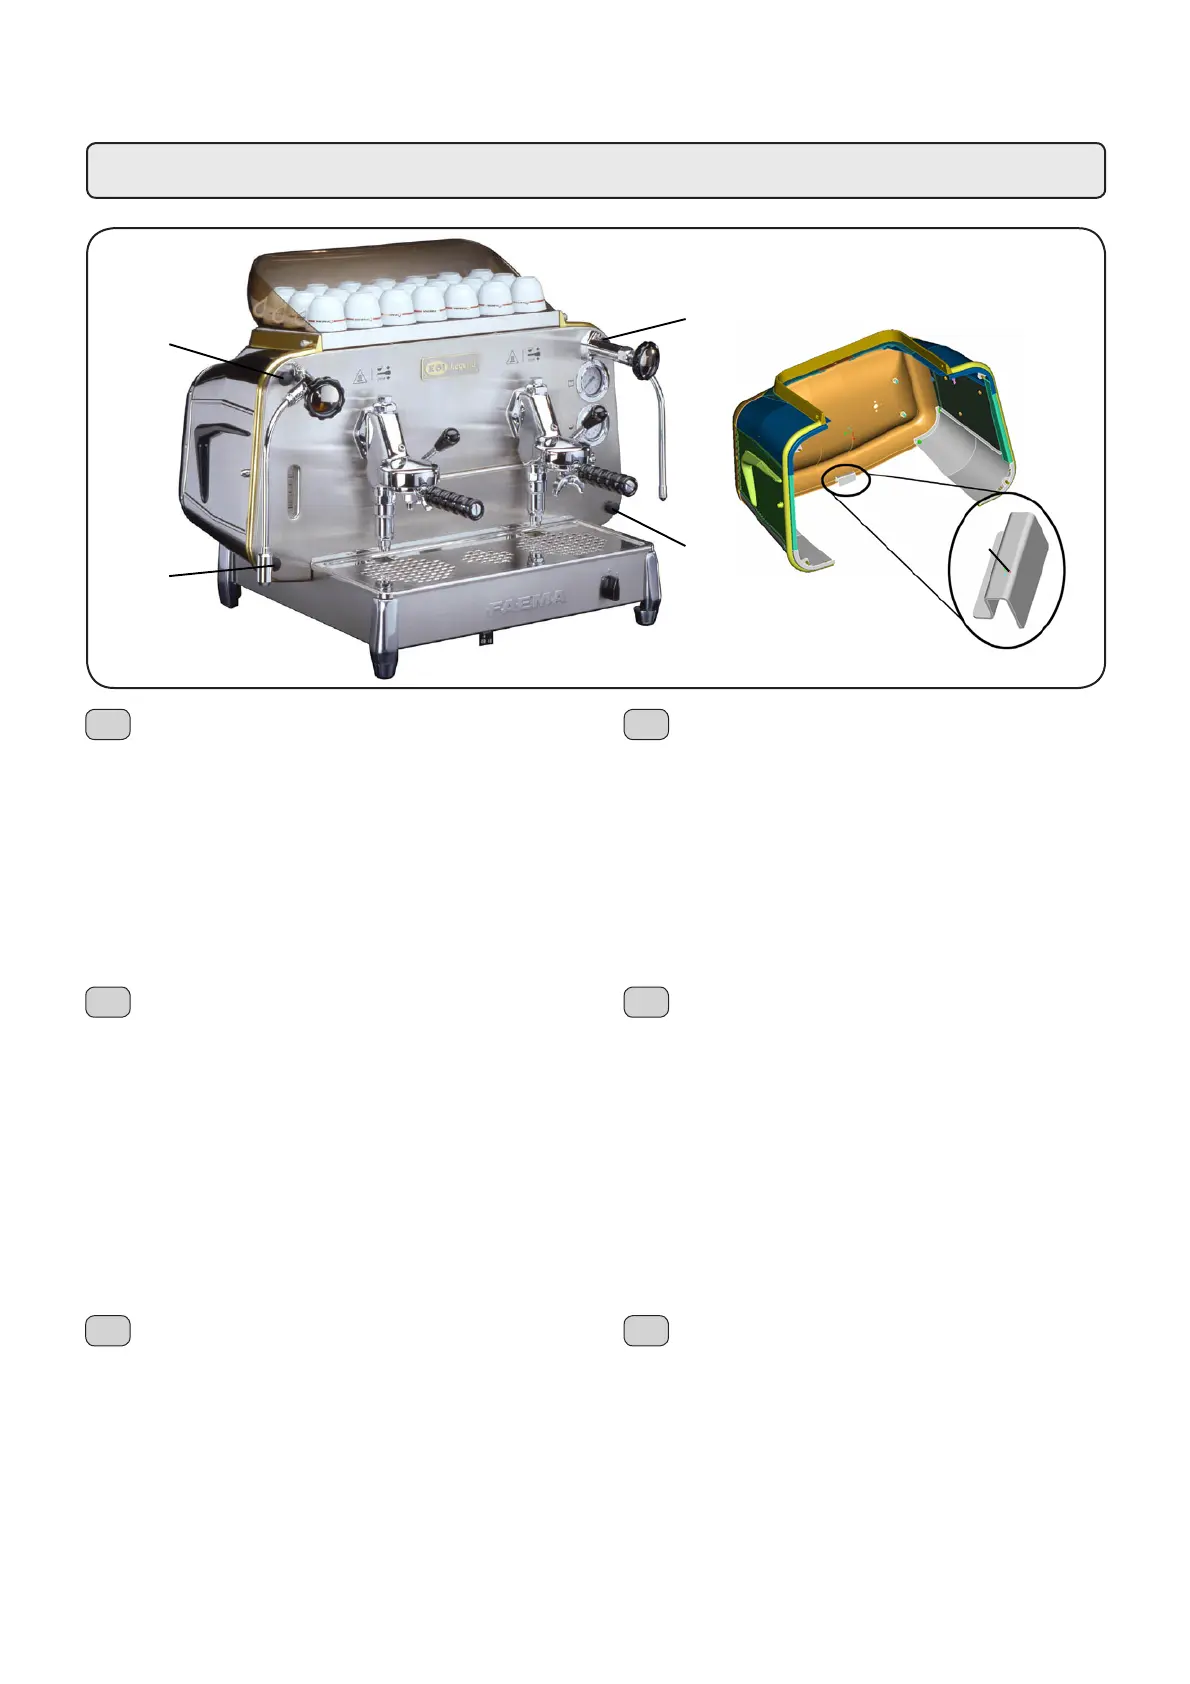
Smontaggio carrozzeria
1 - Smontare piano scaldatazze, vetrinetta e pannello superiore
2 - Svitare le manopole (D) ai 4 angoli della carrozzeria.
3 - Estrarre la carrozzeria dal retro, prendendola dai due lati
LQIHULRUL H IDFHQGROD UXRWDUH OHJJHUPHQWH YHUVR ODOWR ¿QR
al disimpegno dei 4 prigionieri dal pannello frontale (F).
Alzare quindi la carrozzeria liberando la squadretta di tenuta
(C).
4 - Scollegare il connettore del pannello illuminato.
5 - Appoggiare la carrozzeria con cautela sui 4 prigionieri
verso terra, lontano dalla zona di lavoro.
$OOD¿QHGHOODULSDUD]LRQHVHJXLUHOHLVWUX]LRQLLQVHQVR
inverso da 6 a 1.
Disassembly of the framework
1 - Disassembly of the cup warmer tray, glass panel and of the top
panel.
2 - Unscrew the knobs (D) at the four corners.
3 - Remove the framework from the rear, holding it by the two
lower sides and slightly rotating towards the top, until the
disengagement of the 4 stud bolts from the frontal panel (F).
Therefore disengage the mounting plate (C) releasing the
framework
4 - Disconnect the connector of the lighted panel.
5 - Place the framework down carefully on the the 4 stud bolts
towards the ground, away from the work area.
6 - Upon completion of the repair, follow the instructions from 6 to 1.
Smontaggio - Disassembly - Demontage - Abmontierung - Desmontaje - Desmontage
Desmontaje revestimiento
'HVPRQWDMHEDQGHMDFDOLHQWDWD]DVYLWULQD\SDQHOVXSHULRU
2 - Destornillar los pomos (D) situados en los 4 ángulos de la
carrocería.
3 - Quitar la carrocería de la parte posterior, cogiéndola de los dos
lados inferiores y haciéndola girar ligeramente hacia arriba,
hasta el retiro de los 4 pernos prisioneros de panel frontal (F).
Elevar pues la carrocería liberando el punto de apoyo (C).
4 - Desconectar el conector del panel iluminado.
5 - Apoyar la carrocería con cautela su los 4 pernos prisioneros
KDFLDWLHUUDOHMRVGHOD]RQDGHWUDEDMR
$O¿QDOGHODUHSDUDFLyQYROYHUDUHDOL]DUODVPLVPDV
instrucciones pero desde el punto 6 al 1.
Desmontagem da estrutura
1 - Desmontagem do tabuleiro para aquecer as chávenas, da
montra e do painél superior
2 - Desaparafusar os manípulos (D) colocados nos 4 cantos da
estrutura.
([WUDLUD HVWUXWXUD D SDUWLU GD SDUWH WUDVHLUD SHJDQGR QHOD QRV
dois lados inferiores e fazendo-a rodear levemente para cima,
até liberto dos 4 parafusos prisioneiros do painel frontal (F).
OHYDQWDUSRUFRQVHJXLQWHDFDUURoDULDOLEHUDQGRRSRQWRGHDSRLRC).
4 - Desligar o conector do painel iluminado.
5 - Apoiar a estrutura cuidadosamente sobre os 4 parafusos
prisioneiros para terra, longe da zona de trabalho.
1R¿QDOGDUHSDUDomRVHJXLUDVLQVWUXo}HVHPVHQWLGRFRQWUiULR
de 6 a 1.
Démontage de la carrosserie
1 - Démontage du plan de chauffe-tasses, de petite vitrine et de
panneau supérieur.
2 - Dévisser les poignées (DDX[DQJOHVGXFKkVVLV
([WUDLUHOHFKkVVLVGXGHUULqUHHQOHSUHQDQWSDUOHVGHX[&{WpV
LQIpULHXUV HW HQ OH IDLVDQW SLYRWHU OpJqUHPHQW YHUV OH KDXW
MXVTX¶jMHGpJDJHGHVSULVRQQLHUVGXSDQQHDXIURQWDOF).
Élever donc la carrosserie en libérant le point de support (C).
4 - Débrancher le connecteur du tableau illuminé
3RVHUVRLJQHXVHPHQWOHFKkVVLVVRXVOHVSULVRQQLHUVYHUVOH
sol, loin de la zone de travail
$OD¿QGHODUpSDUDWLRQVXLYUHOHVLQVWUXFWLRQVGHj
'HPRQWDJHGHV*HKlXVHV
'HPRQWDJHGHU$EVWHOOÀlFKH]XU7DVVHQYRUZlUPXQJXQGGHU
ober Paneel
2 - Schrauben Sie die Drehschrauben (D) an den 4 Ecken des
*HKlXVHVDE
1HKPHQ6LHGDV*HKlXVHYRQGHU5FNZDQGDELQGHP6LHHV
an der unteren Kante anfassen und leicht nach oben drehen,
bis die Befreiung der 4 Feststellbolzen von der frontalen
Verkleidung (F). Lösen Sie folglich die Montageplatte (C), die
den Rahmen freigibt.
4 - Ziehen Sie den Steckverbinder von der beleuchteten Tafel ab.
6HW]HQ6LHGDV*HKlXVHYRUVLFKWLJPLWGHQ)HVWVWHOOERO]HQ
auf dem Boden in einem angemessenen Abstand zum
Arbeitsbereich ab.
)KUHQ6LHGLHRD$UEHLWVFKULWWHQDFK$XVIKUXQJGHU
Reparatur in umgekehrter Reihenfolge aus.
I GB
F
PE
D
F
D
D
D
D
C
 Loading...