3
1
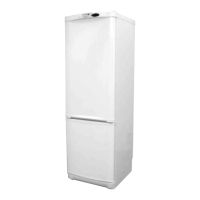
Instruction manual
Very important: Read this manual carefully before installing and operating your refrigerator.
Installation
1.1 Unpacking. Remove all protective packing
materials. The packing materials are
completely recyclable.
Warning: Keep packing materials out of
the reach of children, these materials are
potentially hazardous. During disposal
observe local standards for this type of
waste materials.
1.2 Placement. Install the refrigerator away
from heat sources and protect it from
direct sunlight in order to conserve energy.
Do not install the refrigerator outdoors or
where it can be exposed to rain.
Air should be able to circulate behind the
refrigerator. Leave two inches between the
rear of the refrigerator and the wall. Do not
enclose the space between the refrigerator
and the fl oor or ceiling with any object.
Level the refrigerator to prevent vibration
and noise. Remember that if the
refrigerator is situated next to a wall or
cupboard, it might make some noise.
Make sure that the trays are correctly
placed and position the containers with a
space between them to prevent vibration.
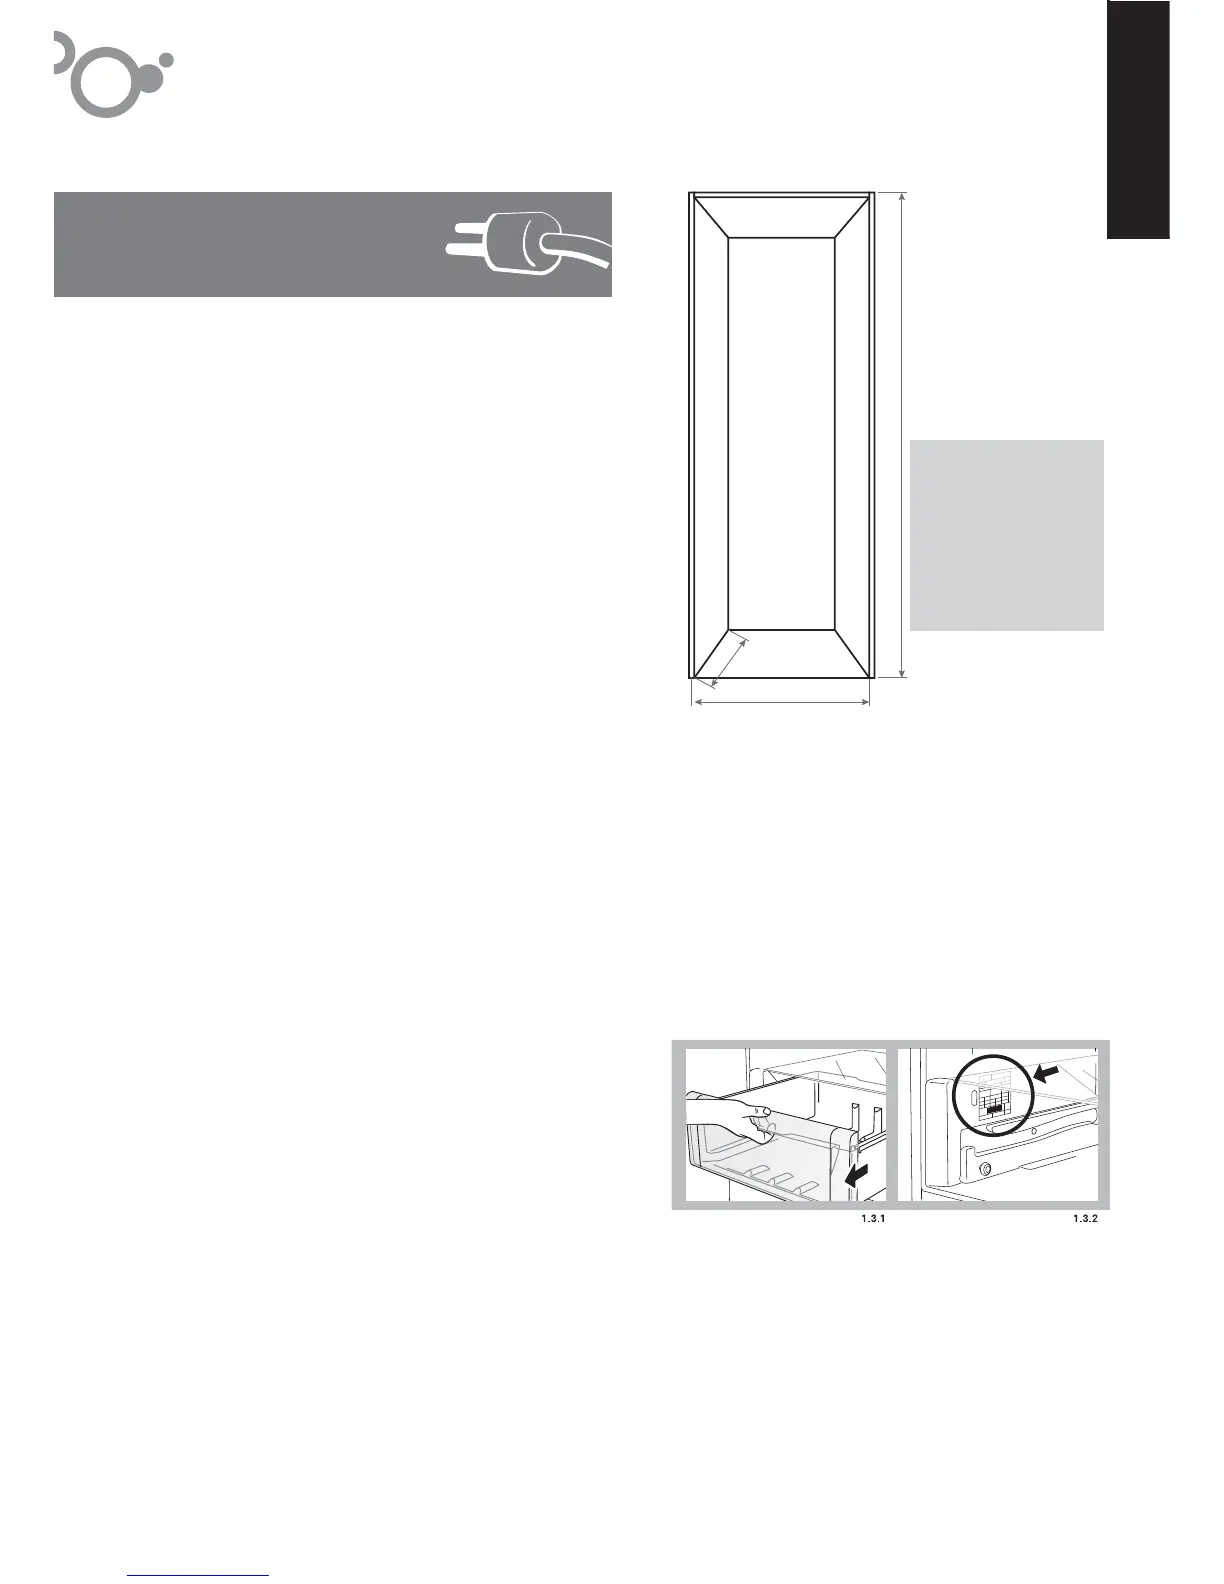
Dimensions, (Height x Width x Depth):
79” (2007mm) x 23 1/2” (598mm) x 24”
(610mm)
This refrigerator can be inserted into a
kitchen cabinet. The space must have the
minimum dimensions shown in the fi gure
(1.2.1). To assure the proper working
conditions, air must be allowed to circulate
on the back and above the refrigerator
by leaving a 2-inch (50 mm) space
between the back wall and the refrigerator
condenser, and a 2-inch (50 mm) space
between the top of the refrigerator and the
cabinet or ceiling above it.
1.3 Connecting to power.
Let the refrigerator sit in an upright position
for at least 2 hours before plugging it in.
Check the information on the rating plate
(110-120V with ground wire) (1.3.1, 1.3.2).
Do not use adapters or extension cords.
Prevent the cord from coming in contact
with the motor or getting trapped beneath
it.
english
1.2.1
23 5/6 inch
26 inch
81 inch
Minimum installation
clearance:
- Top: 2 inch
- Back: 2 inch
- Right side: 0.15 inch
- Left side: 0.15 inch