11
english
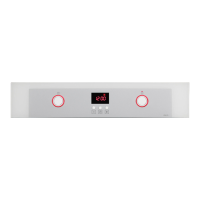
2.6 Selecting the temperature
. Select the
temperature by turning the selector dial. The
pilot light will switch o when the selected
temperature is reached.
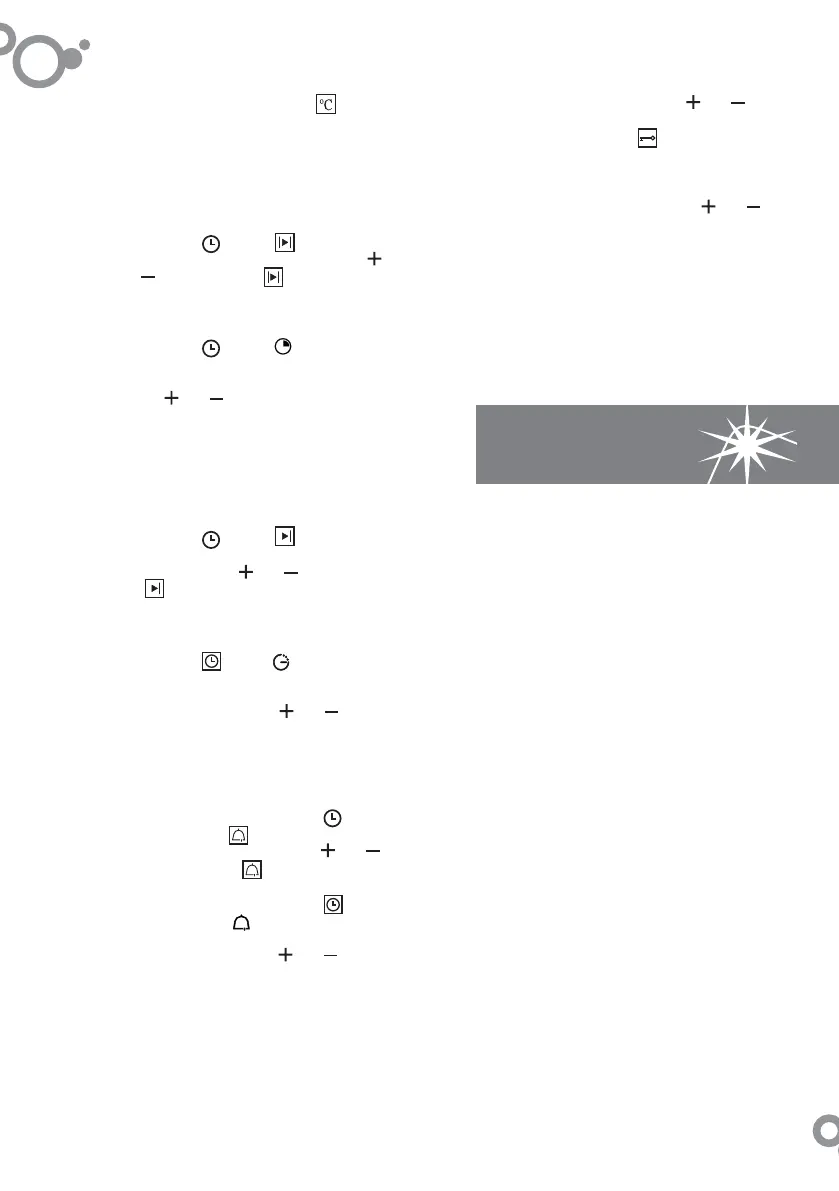
TIME FUNCTIONS
2.7 Digital clock: c,d
press the
button.
will start to fl ash
(2.7.1). Adjust the duration using the and
buttons (2.7.3).
will stop fl ashing after
a few seconds.
Digital clock: a,b
press the button.
will be marked
(2.7.2). Information showed on the display
will start to fl ash. Adjust the duration using
the and buttons (2.7.4). After a few
seconds, information on the display will stop
fl ashing.
2.8 Selecting the end time.
Digital clock c,d: after selecting the
programme, temperature and cooking time,
press the button.
will start to fl ash
(2.8.1). Set the desired end of cooking time
by pressing the
and buttons (2.8.3).
will stop fl ashing after a few seconds.
Digital clock a,b: after selecting the
programme, temperature and cooking time,
press the
button. will be marked,
Information showed on the display will
start to fl ash (2.8.2). Set the desired end of
cooking time pressing and (2.8.4). After
a few seconds information showed on the
display will stop fl ashing (2.8.5).
2.9 Beeper function.
Digital clock (c,d): press the button
several times.
will start to fl ash (2.9.1).
Adjust the duration using the and
buttons (2.9.4).
will stop fl ashing.
Digital clock (a,b): press the
button
several times.
will be marked,information
on the display will start to fl ash (2.9.2). Adjust
the duration using the and buttons
(2.9.4). After a few seconds information on
the display will stop fl ashing.
This works with the oven switched off and
switched on.
2.10 Child lock. To prevent children from playing
with the oven.
Digital clock (c,d): press the
and
buttons at the same time and hold them
down for 3 seconds.
will appear on the
display (2.10.1). To remove the child lock,
repeat the process.
Digital clock (a,b): process the
and
buttons at the same time and hold them
down for 3 seconds. LOC will appear on the
display (2.10.2). To remove the child lock,
repeat the process.
Warnings: when the cooking time has elapsed,
turn the function and temperature dials to 0 .
Open the oven door, taking care as hot steam
may come out.
3
Maintenance and
cleaning
3.1 Cleaning the accessories. The accessories
are dishwasher-safe. To wash them up by
hand, use normal detergent. Leave them to
soak for easier cleaning.
3.2 Cleaning the side rails. Remove the side
rails (3.2.1, 3.2.2). They are dishwasher-
safe. To wash them up by hand, use normal
detergent and a sponge or washing-up
brush.
3.3 Cleaning the inside of the oven. Switch on
the internal oven light (3.3.1, 3.3.2). Smooth-
walled models: manual cleaning. Clean the
oven when warm, using a cloth soaked in
warm water and soap, or see pt 3.6.
3.4 Cleaning the outside of the oven. Use
neutral cleaning products and dry the oven
well with a soft cloth.
Warnings: 1. Make sure the oven is switched off
2. Never use steam cleaning machines.
3.5 In the self-cleaning rough-walled models
both side shields and the fan shield are
coated with catalytic enamel with self-
cleaning qualities. During normal use the
chamber of the oven becomes very hot
inside, which facilitates the absorption of
odours by catalytic enamel.
NOTE!
Do not use special detergents for oven
cleaning to clean the shields coated with
catalytic enamel.
 Loading...