4
I. Tools needed
1) Step ladder to go on the FE19R and install the wind indicator.
2) Tension gauge (Loos PT-2)
3) Flathead screwdriver (optional)
4) 1x set of Allen key
5) Metric Wrench or adjustable wrench
II. Mast rigging
The rigging method for the first time you will take delivery of your Fareast 19R or the first time you rig
it at the beginning of the season is very similar. It should take you 3h for the first time and less than
45 minutes with practice.
a) Remove the top cover on the Fareast 19R. If it is wet, let it dry and roll it.
b) Remove the stern ratchet strap for the hull. KEEP THE FORWARD RATCHET STRAP AND THE
TRAILER BOW STRAP ATTACHED. KEEP THE TRAILER ATTACHED TO YOUR VEHICULE.
c) Screw in the wind indicator to the top of the mast.
d) Move the mast back until you can insert the mast’s cutter pin through the mast feet and
heel. A flathead screwdriver can be used to open the split ring.
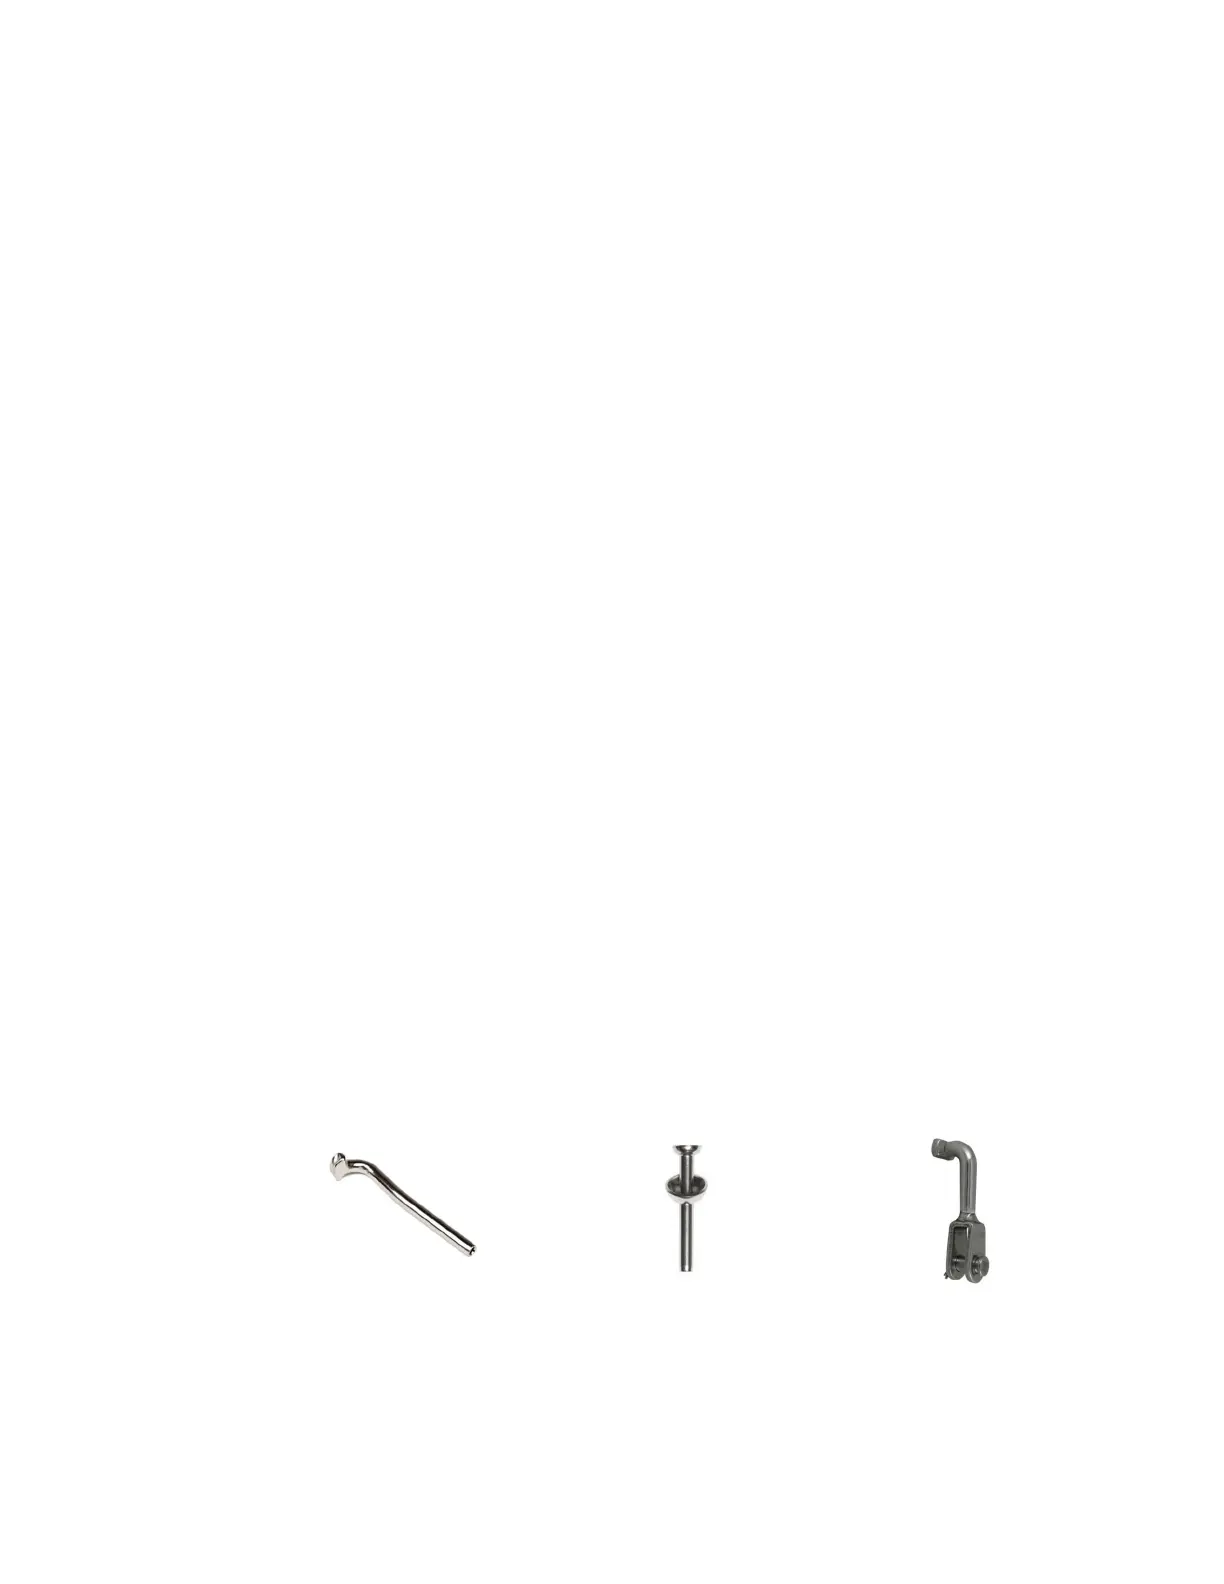
e) If the side stays were removed from the mast, find the lower and upper side stays of the
FE19R. The upper stay is longer than the lower stay. The upper stay also has a T terminal and
the lower stay has a stem ball terminal with a cup. The forestay has a T terminal with an eye.
upper side stays
: Stem ball terminal with
a cup for lower side stays
forestay
 Loading...