7 8
Setup and Adjustment Setup and Adjustment (continued)
3) Belt Guide Adjustment
Belt tension on the PAMFast AutoFeed
tool is preset for 1
3
⁄4" fasteners. Use
of alternate size fasteners may require
adjustment of the belt tension.
Turn the red Tension Knob clockwise
to increase belt tension, or counter-
clockwise to reduce belt tension.(Fig 3a).
I Do not overtighten This will prevent the collated screw
strip from properly feeding through the belt guide. Proper tension
prevents excessive slack in the collated strip and ensures precise
advancement of the strip between drives.
Fig. 3a
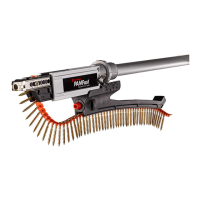
1) Screw Size Adjustment for Depth Control
Start by adjusting the PAMFast AutoFeed
attachment to accommodate the correct
screw length. The screw length is always
displayed on the side of the box of your
genuine PAMFast collated screws.
Loosen the shoulder screws on both sides
of the Depth Control and slide it to the
appropriate setting using the numbers
stamped on the Depth Control (Fig 1a).
When appropriately adjusted, the tip
of the fastener will be approximately
1
⁄
8
"
inside the face of the nose piece (Fig 1b).
I Note that the screws holding the Depth Control/
Nosepiece have collars so be sure that the collars of the
screws sit down in the cutouts of the Depth Control. If they
are not fully recessed, the gliding piece will not go back into
the housing fully and screw will not countersink.
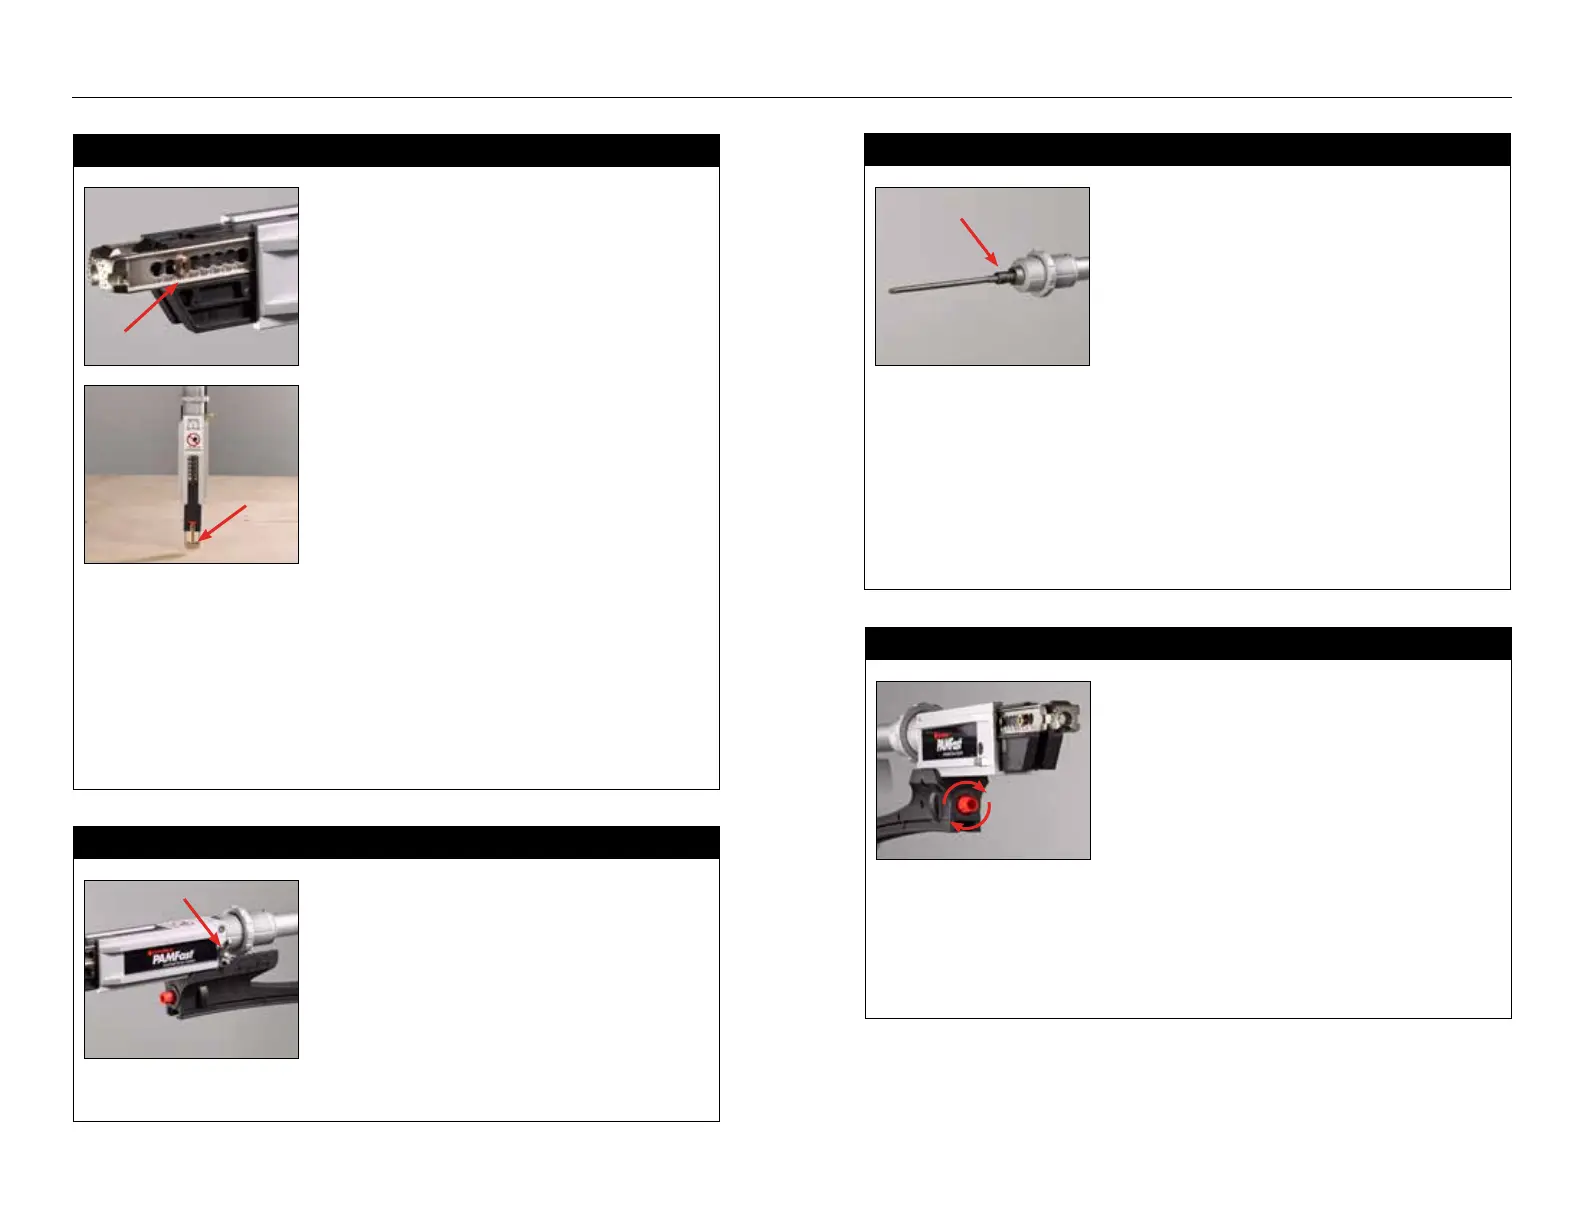
2) Bit Replacement
For smooth operation and to reduce
cam-out, FastenMaster recommends
replacing drive bits after every
1,000 screws.
• Loosen the Wing Nut on the side
of the attachment assembly (Fig 2a).
2) Bit Replacement (continued)
• Remove the attachment assembly
to reveal the bit (Fig. 2b).
• Depress the lock collar and remove
the bit. After inserting the new bit,
release the collar to lock the bit
into place.
I Use only genuine PAMFast bits. Every tool comes
with one PAMDrive bit installed on tool. Additional bits such
as Phillips and Torx may be purchased.
• Bit should be approximately the same length as housing.
• Ensure bit type (Phillips, Torx or PAMDrive) matches
screw recess.
Fig. 1a
Fig. 1b
Fig. 2a
Fig. 2b