3
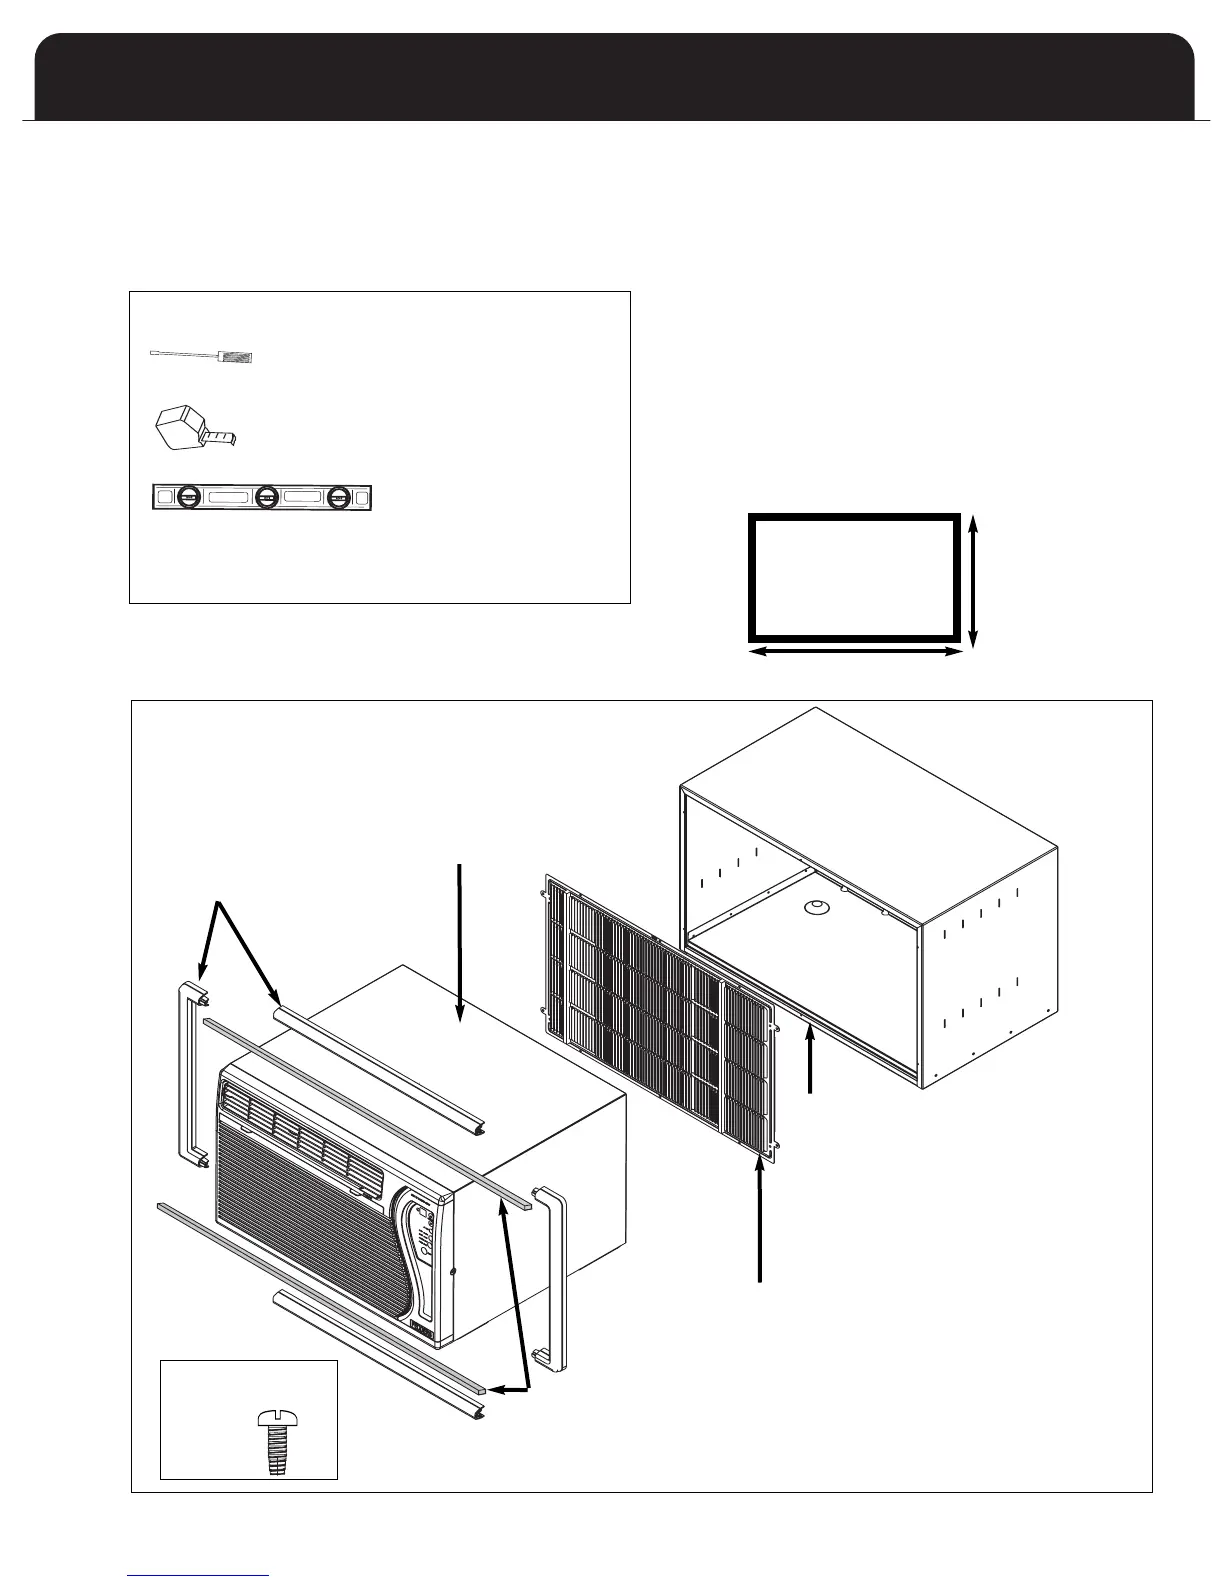
Installation Parts
Several components are included with your air conditioner
to complete a successful installation. Please compare the
contents of the carton with this illustration.
Before you start
You have purchased a Through-the-Wall style air conditioner.
This type of air conditioner is designed to be installed inside
a
wall sleeve mounted into a wall opening.
Phillips screwdriver
R
ule or tape measure
Level
Tools Needed
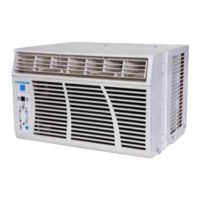
Through-the-wall air
conditioner
Trim frame
(4 pieces)
# 8-32 self tapping
Phillips head screws
(6 pieces)
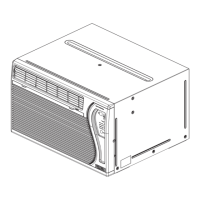
Rear Grille: This rear grille is designed
to achieve maximum performance from
your new air conditioner. This new
grille should be installed in all wall
sleeves. Failure to install this rear grille
will void your air conditioner warranty.
Wall Sleeve (sold separately)
Fedders wall sleeve (A70052) includes
front and rear covers, plus a rear grille.
A
vailable through your local distributor.
Sleeve dimensions: 26
3
/4”W x 15”D x 15
3
/4”H
I
nstallation Requirements
Check the location where the air conditioner will be
installed. Proper installation is your responsibility. Make
sure you have read the instructions thoroughly and have
everything necessary for correct installation.
T
he location should provide:
• Grounded electrical outlet within 4 ft. (122 cm) of
where the power cord exits the air conditioner.
NOTE: DO NOT USE AN EXTENSION CORD.
• Free movement of air in room to be cooled.
• A large enough opening for the air conditioner and
sleeve.
• Adequate wall support for weight of air conditioner
over an extended period of time.
Wall Opening
Width: 27”
Height 16”
Trim frame
insulation foam
(2 pieces)
20” x 1/2” x 1/8”
You may also need a drill with 1/8” or smaller bit,
depending on your installaton requirements.