5
Grinder service and maintenance
INSTALLATION, ADJUSTMENT AND SERVICE….......
THESE SECTIONS ARE FOR PROFESSIONAL USE ONLY!
Danger of fire or electric shock, do not open panels. No user serviceable parts inside.
All adjustments and service to be performed by authorized professional personnel.
Grind Adjustment
1. Empty the hopper(s).
GR-1: Scoop out as many beans as possible. Lift the window up and sweep out the remaining beans.
GR-2: Remove both hoppers and dump the beans out. Place both hoppers back in grinder.
2. Press one of the large portion switches. This will clear the grinding chamber of any remaining beans.
3. Remove the front cover. There are 2 screws in front and 2 underneath near the coffee outlet.
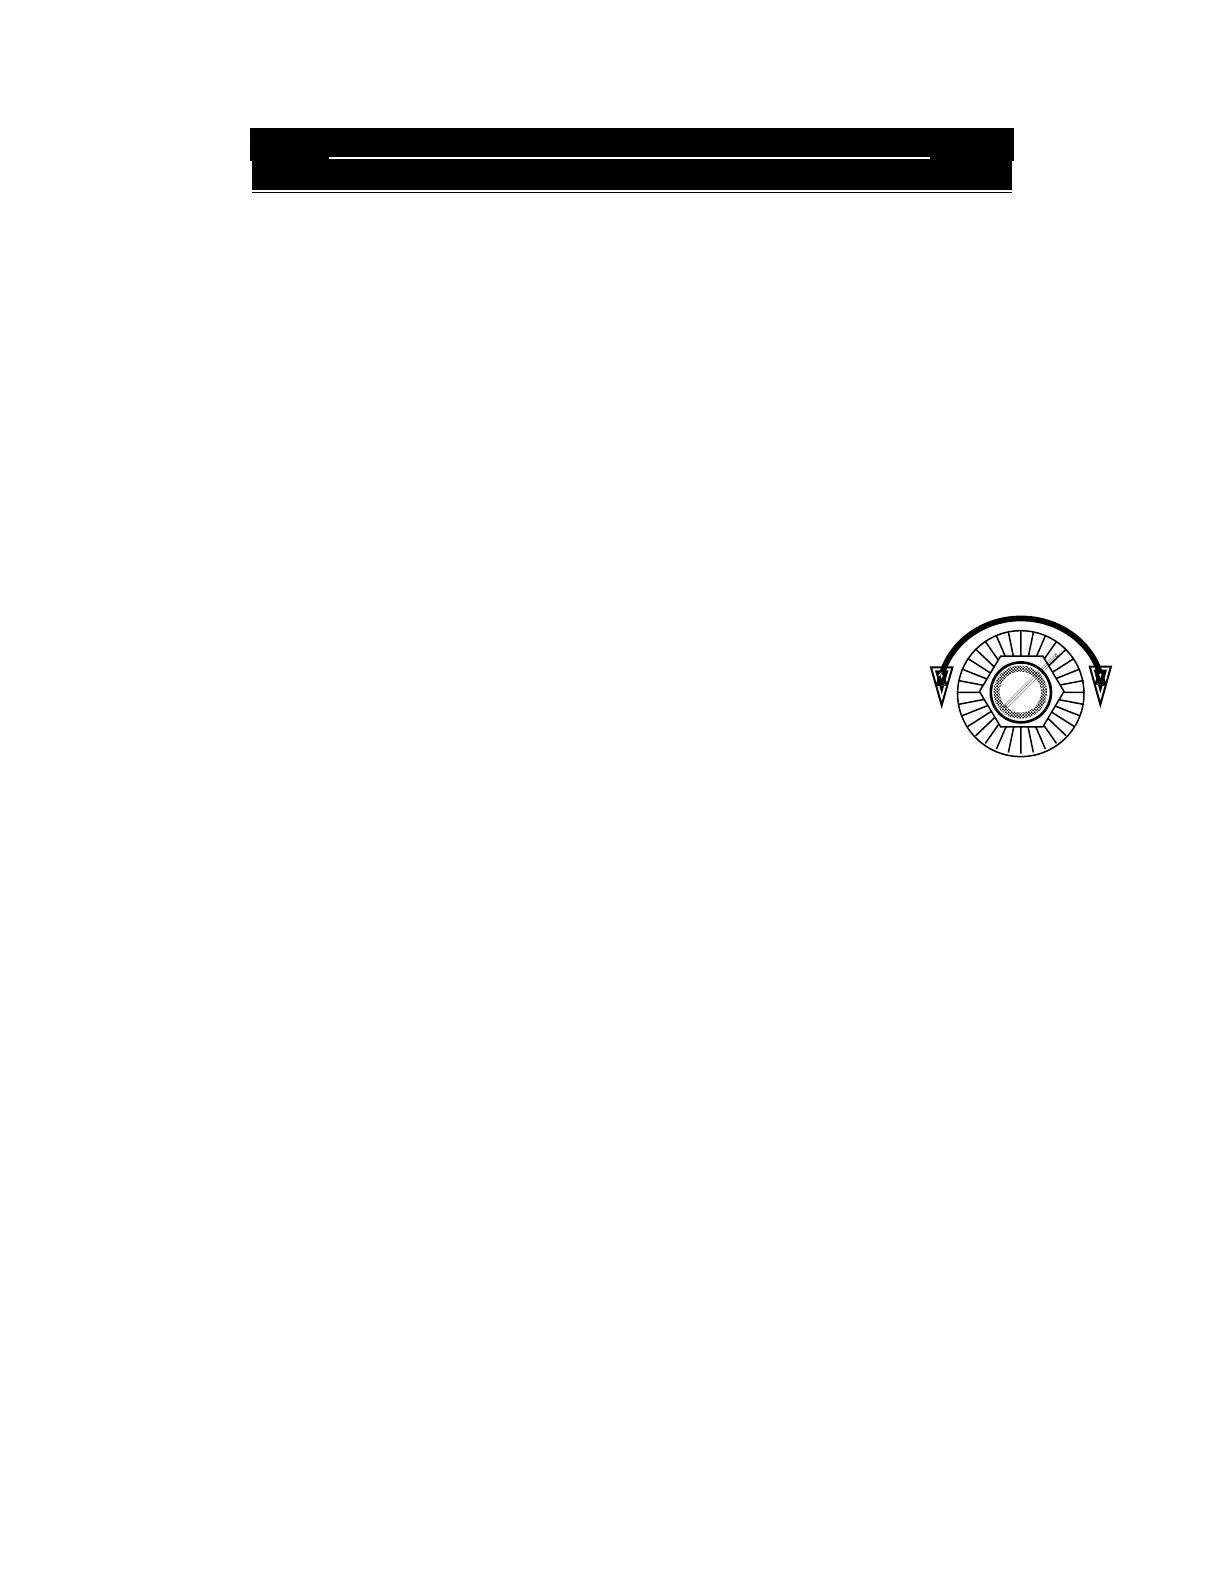
4. Using a 7/8” or 22 mm wrench turn the retaining nut counter-clockwise at least one turn.
5. Using a 3/8” to 1/2” standard screwdriver turn the adjustment screw clockwise for a finer grind, counter-
clockwise for a coarser grind.
Note: Do not exceed more than a 1/4 turn in either direction.
6. Turn retaining nut clockwise, locking adjustment screw in place.
7. Grind a small amount of coffee beans to test the setting. Repeat the above steps if necessary.
To reset the grind setting to the factory default:
• Follow steps 1 - 4 of the grind adjustment procedure.
• Turn the adjustment screw clockwise until the grinding discs touch, then
back off slightly.
• Using a marker, mark the twelve o’clock position of the adjustment screw.
• Turn the screw counter clockwise to just past the four o’clock position.
• Turn retaining nut clockwise locking adjustment screw in place.
• Test by grinding a small batch.
Note: It may be necessary to adjust the grind time to compensate for the new grind setting.
A finer grind will produce less ground coffee per minute and a coarser grind will produce more ground coffee per minute.