Sidus F1B – free flight electronic timer
10/11
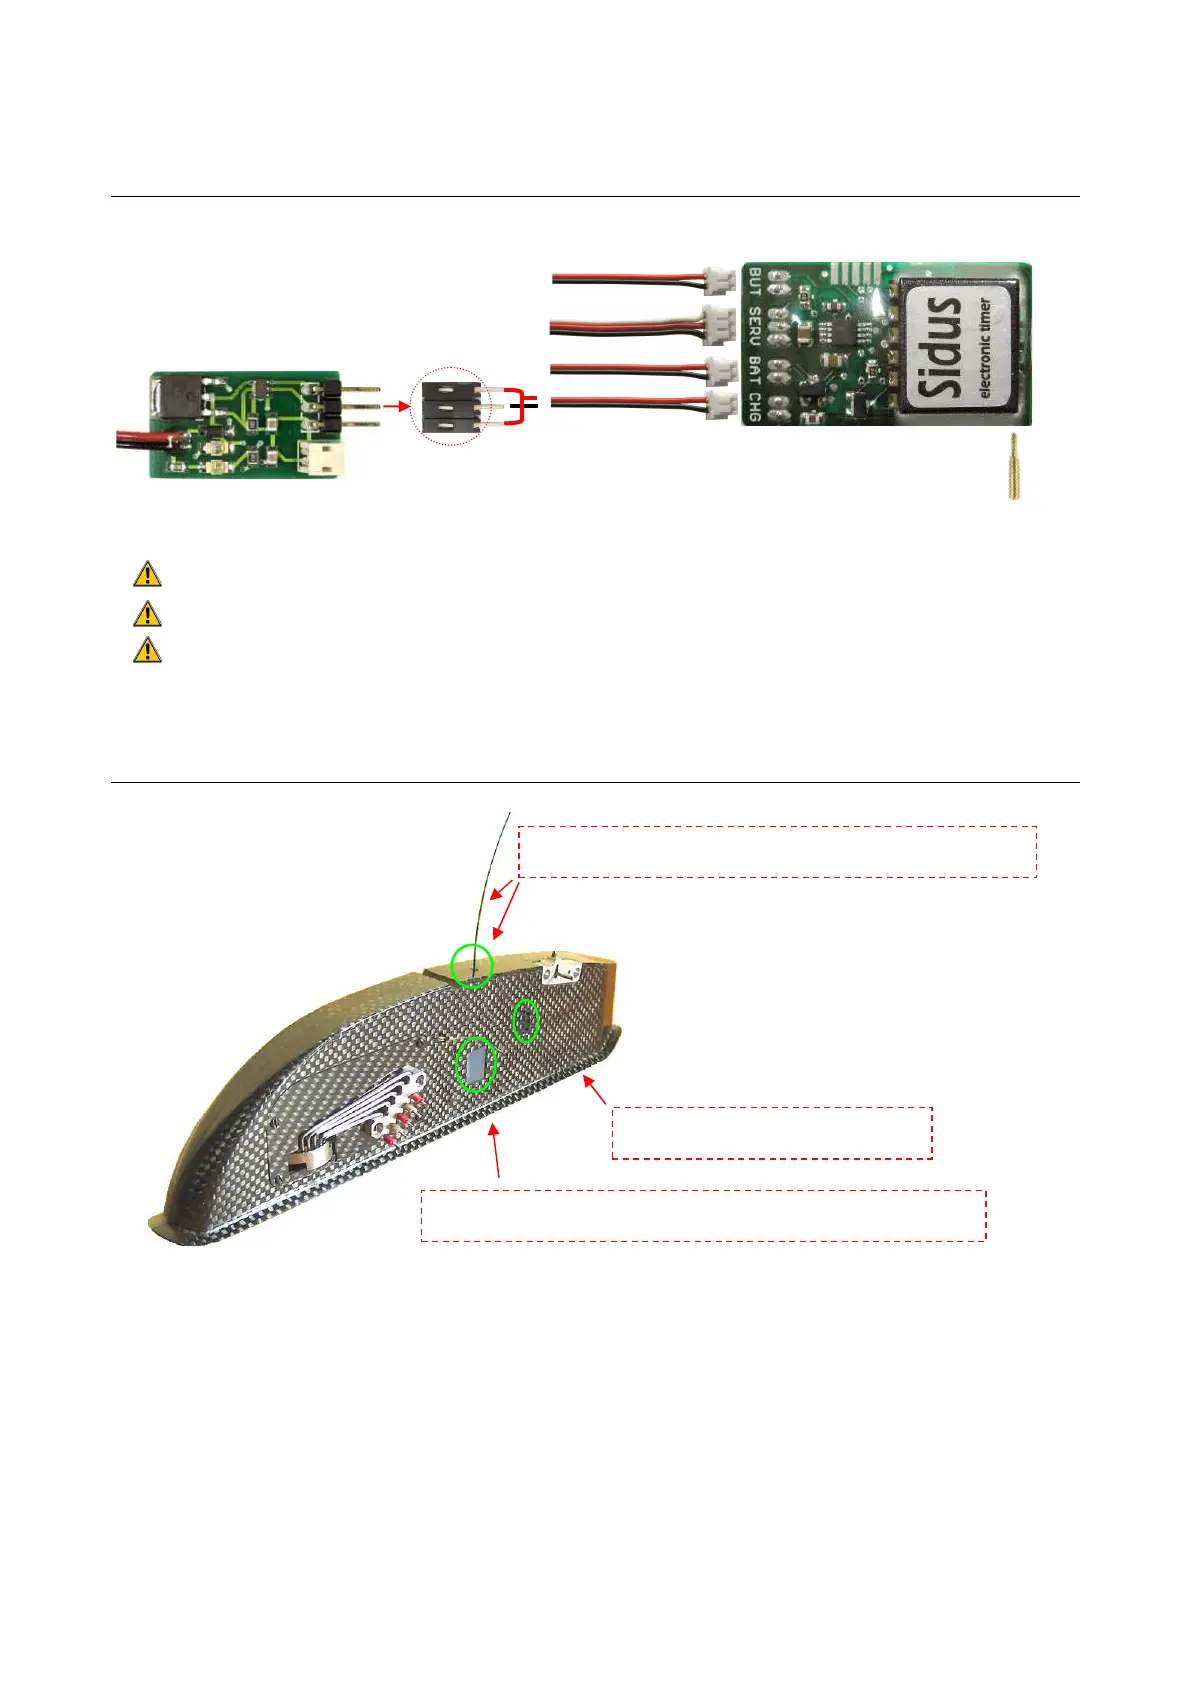
Wiring
Fitting the pylon
start switch
micro servo
battery
CONTROL BOARD
LiPo CHARGER
recharge socket
recharge
the battery may remain permanently connected for months (sleep current is a few microA)
observe the polarities of the wires when soldering them to the recharge socket!!!
connect the start switch freely as it has no polarities
+
++
+
+
++
+
-
--
-
RDT antenna
9-12Vdc
place the control board with the IR sensor and the led close to the pylon
side to have them clearly visible through a small transparent window.
glue the recharge socket to a pylon side
to have it easily accessible from outside
the RDT antenna must come out from top of the pylon and be
insulated from carbon or aluminum parts through a plastic spacer