4
3
a) Disc leveling: - To eliminate uneven penetration and side draft, leveling is
done by means of top link.
4. Don’t allow anyone to come across the disc ridger.
6. Lift the disc ridger before approaching the road.
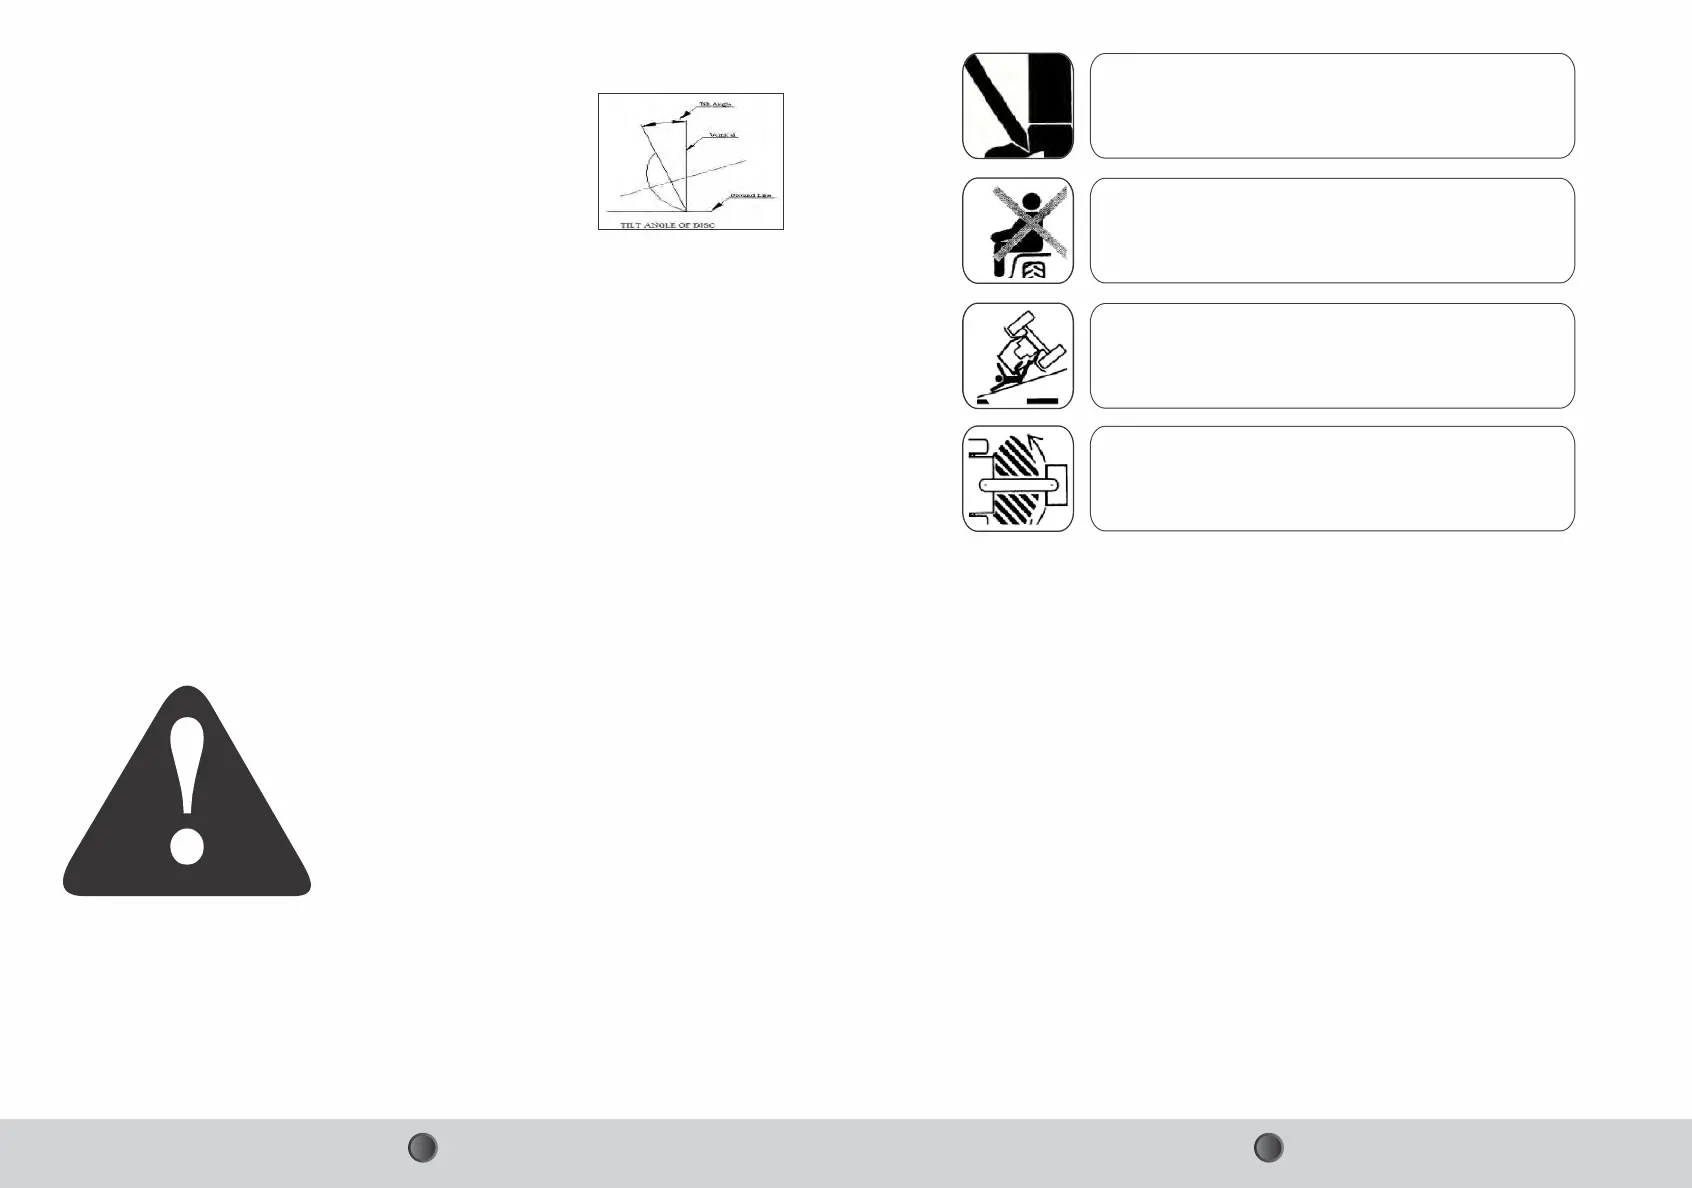
b) Tilt Angle is the angle which the plain of the cutting
edge makes with the vertical line. Its ranges lie
between 150 - 250. Increasing the tilt angle improves
disc penetration in heavy, sticky soils. Decreasing the
tilt angle improves disc penetration in loose and brittle
soils.
c) Depth control:-
The depth at which the implement is required to work is controlled hydraulically
by raising or lowering the control lever on the tractor.
1. Before you start working, Please check all nuts & bolts of the disc ridger.
3.3 WARNING FOR THE DRIVER
2. Be vigilant about the tree roots and stones. Don’t work on stony soil.
3. Tractor should be in first high or fourth low gear.
5. Lift the disc ridger during turning.
3.4 SAFETY
Understanding the Machine Safety Labels
The machine safety labels shown in this section are
placed in important areas on your machine to draw
attention to potential safety hazards.
The operator’s manual also explains any potential
safety hazards whenever necessary.
On your machine the words DANGER WARNING and
CAUTION are used with this safety-alert symbol.
DANGER identifies the most serious hazards.
† Before ploughing with disc ridger take care that nobody stands near it.
Safety-Alert Symbol
Never allow riders on the tractor or implement
unless an additional seat is available.
Be careful when moving around steep gradient to
avoid sharp turn.
Never transport the implement on rough roads
during the night. When operating, avoid sharp
turns that may cause tractor colliding with the
implement.
In order to protect yourself always wear adequate
clothes and shoes during the operations.
4.1 MAINTENANCE INSTRUCTIONS
4. MAINTENANCE
If you work with the disc ridger on stony land, maintenance also increases. Please
follow these rules to get the best results.
1. If the soil has entered the grease nipple, then change the nipple.
2. If disc ridger is new after initial working of first two hours, tighten all nuts & bolts.
3. After every fifty hours grease all greasing points with grease gun and tighten all
nuts & bolts.
4. After every fifty hours, open the bearing hub of disc ridger & cleanse with diesel
oil & pump in new grease.
2. Replace the worn out nuts & bolts.
3. If disc ridger has to remain unused for long time then clean it & apply a layer of
used oil for rust prevention.
4.2 STORAGE OF MACHINE AFTER WORK
These steps will enhance the life of your disc ridger.
1. Wash the disc ridger after work.
 Loading...