5
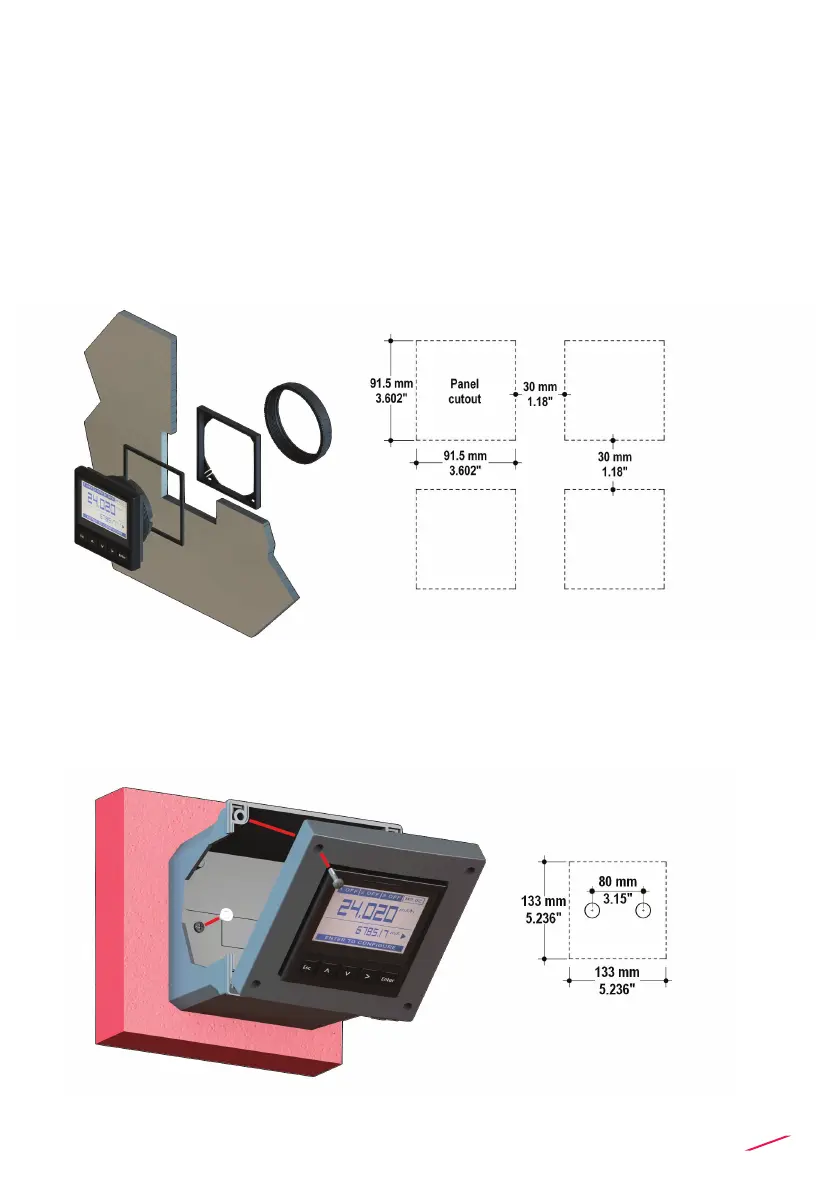
Mechanical installation
The ow monitor & transmitter is available just in one packaging for compact
eld version, panel or wall installation. The compact eld version is mounted
on top of the sensor using the compact mounting kit (F6.KC1), the panel
version is installed using the panel mounting kit (M9.LN1), while the wall
mounting version is got xing the panel mounting version on the wall
mounting kit (M9.KWX). The mounting kits can be ordered directly connected
to the monitor or separately and then simply installed on it.
Panel installation
Fix instrument on the panel tightening by hand plastic nut (M9.LN1).
Wall installation
Use the panel mounting kit (M9.LN1) to x the M9.02 on the dedicated frontal
cutout of the wall mounting kit (M9.KWX).
Tighten front screws of box and waterproof connectors of cables, internally
mount caps on screw sites to get a IP65 watertight installation.

 Loading...