Contact us for assistance: (866) 985-7877 | www.wtliving.com 6
ASSEMBLY
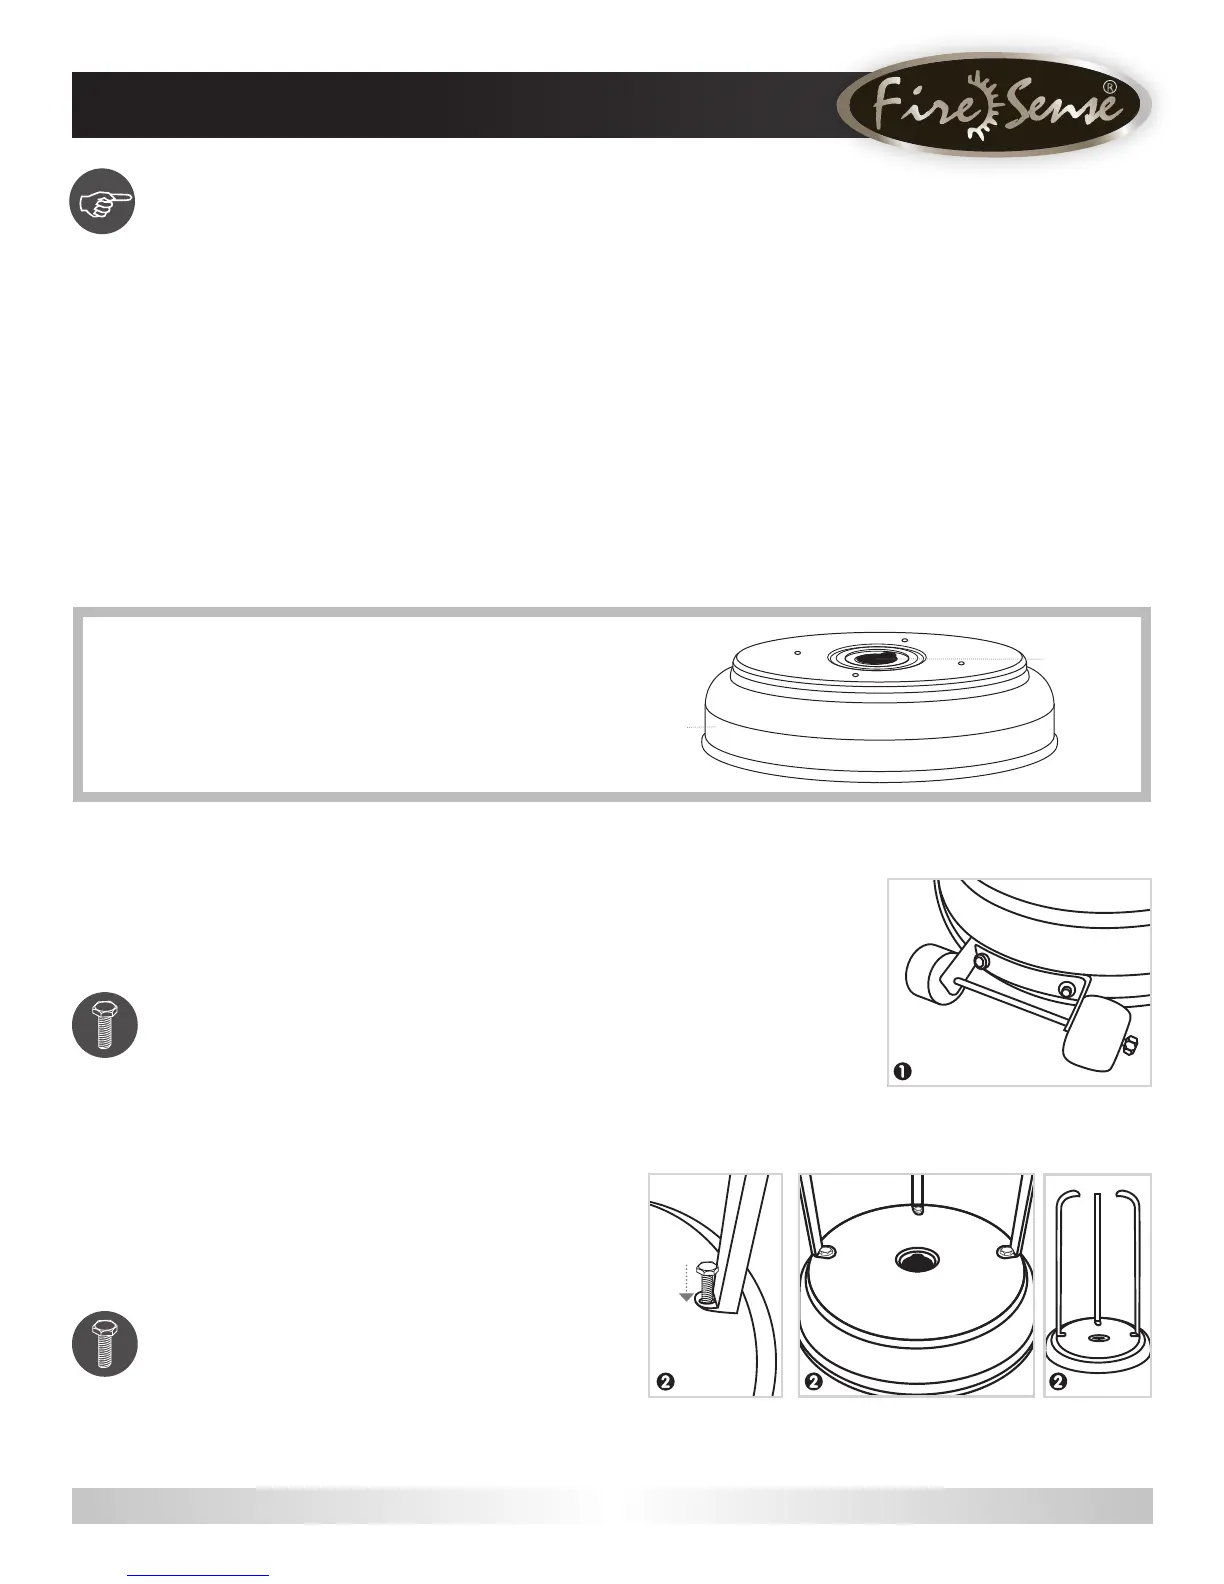
The Waterbox will be pre-assembled to the base. To ll, pull
open the plastic cap on top of the waterbox and ll with water
or sand. Place the plastic cap back on top. You may nd it
easier to ll the waterbox prior to attaching wheels.
1
Attach Wheel Assembly
K
to Base
J
. Align holes to the
Base, and insert 2 Small Bolts
N
through the holes and
nger tighten. Be sure that the Wheel Assembly is parallel to
the Base
J
and tighten with the Wrench
X
.
Hardware Used: 2x Small Bolts
N
2
Attach the Post Supports
I
to the Base
J
. Align the holes
in the bottom of each Post Support with the hole on the
Base. Insert 1 Small Bolt
N
through the hole in the support and
into the Base and hand tighten. Repeat with the other 2 Post
Supports and then tighten all bolts with the Wrench
X
.
Hardware Used: 3x Small Bolts
N
Waterbox Cap
Base
PREPARATION
Before beginning assembly of this appliance, make sure all parts are present. Compare all parts with package contents list
and hardware contents as listed on page 4 of this manual. If any part is missing or damaged, do not attempt to assemble
this product. Contact customer service for replacement parts.
ESTIMATED ASSEMBLY TIME: 60 minutes
Tools Required for Assembly (NOT included):
• 7/16” open-end wrench • Phillips screwdriver w/medium blade
• Adjustable wrench • Leak test solution (see page 10)
Note: This heater has an Electronic Ignition and will require installation of 1 – AAA battery. The battery should be installed
by unscrewing the RED IGNITER BUTTON – battery not included.