yellow/green (Earth) power supply wire using the
wire nuts provided. (FIGURE 10)
Earth
Yellow/Green
White
Black
Neutral
Live
GASKET
FIGURE 10
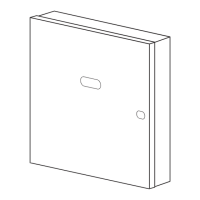
(5) Place the wiring box and secure it with the two
screws provided (FIGURE 11).
FIGURE 11
(6) Adjust the antenna upright and vertically to the
ground.
SETTING THE LIGHTING SYSTEM
(1) TEST MODE
z Turn the Lux control and the Time control
counter-clockwise to the edge – the TEST position
(T) See Figure 12 and Figure 13
z Turn on the wall switch. The floodlight will turn on
for about 90 seconds to warm up. Then it turns
off.
z Walk through the detection area. The floodlight
turns on when you move and turns off when you
stop. Wait for the floodlight to turn off before
moving again to test the sensor.
z Adjust the motion sensor to cover the desired
detection area. See Installation for details.
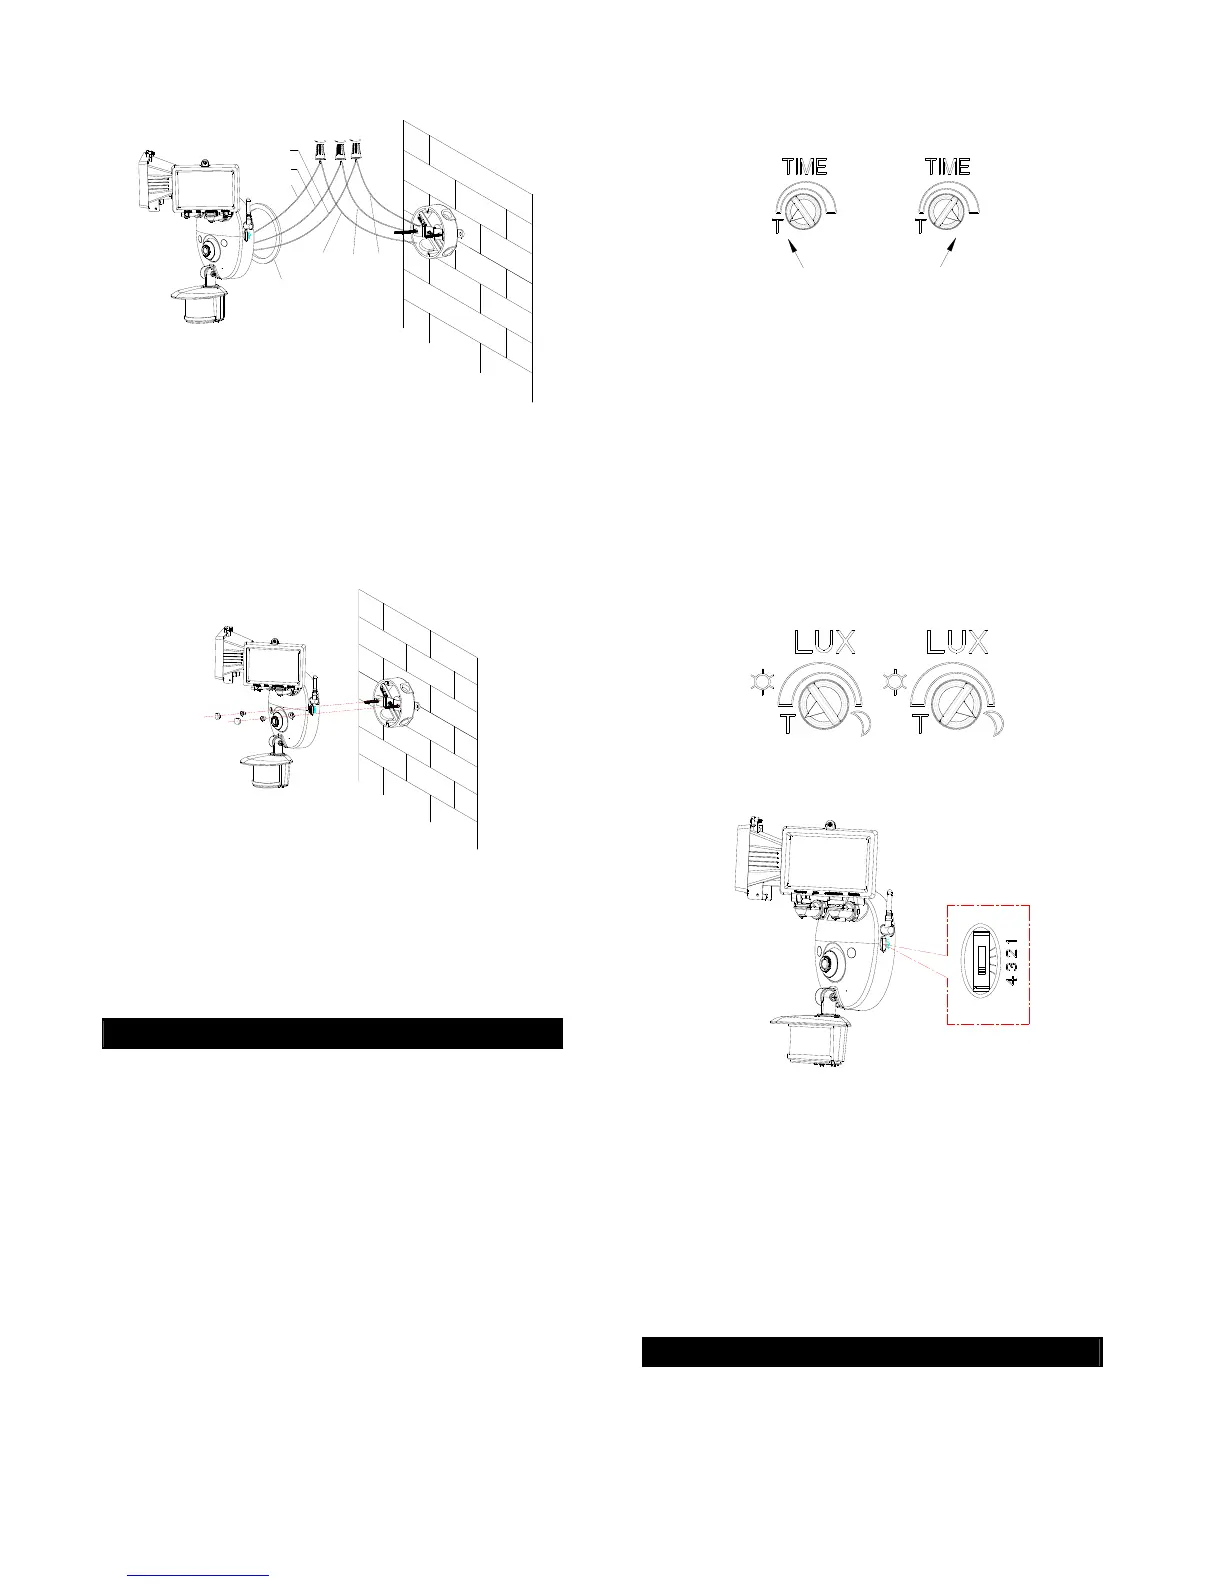
(2) TIME ADJUSTMENT
The TIME adjustment controls how long the floodlight
will stay on after the motion has been detected.
Turn the TIME control knob clockwise to increase (up to
about 12 minutes) how long the floodlight stays on or
counter-clockwise to decrease (down to about 5
seconds) the time delay (FIGURE 12).
ABOUT 5 SECONDS
ABOUT 12 MINUTES
FIGURE 12
(3) LUX ADJUSTMENT
The LUX adjustment determines at what light level the
floodlight will start operating when you set the sensor to
automatic operation.
Provisionally turn the Motion Sensor LUX control knob to
the edge at the moon (dusk) position (FIGURE 13). In
this provisional setting mode, the Motion Sensor remains
inactive during daylight. At dusk when you find it is the
LUX level desired for operation, simply set the LUX
control knob to the position that will become active as
daylight declines.
FIGURE 13
(4) CHANNEL SELECTION SWITCH
FIGURE 14
The channel between the Lighting Camera and Wireless
Receiver must be the same. In case of interference,
adjust the channel selection switches for better
resolution. (FIGURE 14)
Note: Turn off the wall switch or power source before
setting the channel switch. Set the channel switch to
the channel you desired prior to turning on the wall
switch or power source, thus ensuring users’ safety and
product’s stability.
OPERATION
By using the wall switch connected to your motion
sensor, you can easily select one of two modes of
operation: Automatic Operation and Manual Override.
(1) AUTOMATIC OPERATION