https://
.install.myfirstech.com
Copyright 2021 Firstech, LLC DASII Programming
Page
6
b. Example 2. Current level is set at 4, we send lock + lock + lock, after 1 second of no
incoming commands we should receive 3 chirps or horn honks
c. Example 3. Current level is now set at 7, we send unlock + unlock, after 1 second of no
incoming commands we should receive 2 chirps/horn honks/park light flashes
STEP 7: 5 seconds after the last setting change confirmation the CM will chirp/horn honk/flash the
sensitivity level *you will have an additional 5 seconds to make any adjustments
STEP 8: Programming completed, turn vehicle off, close all windows and doors and begin testing
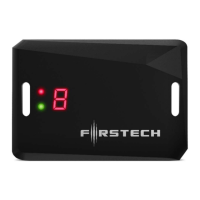
DC3 DASII programming procedure
STEP 1: Turn the ignition to the ‘on’ position
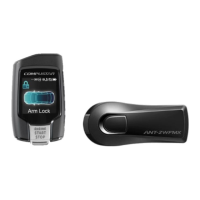
STEP 2: Send Unlock command 2 times (unlock => unlock) using any Firstech remote. At
this time the DAS-II display will initialize and stay powered up for at least 5 minutes or until
ignition is off.
STEP 3: Push the programming button repeatedly until the desired sensor has been selected
1-5 shown in the table below**. (The programming button will be used to navigate the
sensor adjustments and sensitivity once a sensor has been selected.)
STEP 4: Once the sensor has been selected hold the programming button for 2 seconds to
confirm selection and enter sensitivity adjustment. The adjustment options will now be
accessible with default setting displayed. (Sensitivity options will be shown in table below.)
STEP 5: push the programming button repeatedly until desired sensitivity level is reached
(setting 0 will indicate sensor is OFF => except option 2 window break sensor
conditions)
STEP 6: Hold programming button for 2 seconds to save sensitivity setting. After the setting
is saved the sensor will start over at sensor 1 again. (if the programming button is not
pressed within 5 seconds after setting the LED will flash 2 times save the setting and exit
that sensor programming)
NOTE: FOR DC3 it is recommended the sensor levels be set to H or the highest setting.
At this point make further adjustments or fine tuning using the sensitivity dial
(OFF=>1-10)on the end of the DC3. This will allow for easier continuous adjustment
throughout the testing process.
STEP 7: Programming completed, turn vehicle off, close all windows and doors and begin
testing
 Loading...