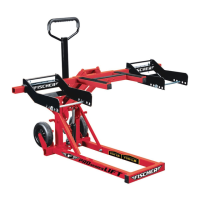
Page 3;&(%$*4.8"4,7%<'*#$"&8#=%/7*,#*%4,77%>?@@@?@AA?BCDC1Item 63298
EF;6GHIJ6KFGLIMNFLMG6MFMO6 FEE6NPQH
EF;6GHIJ6KFGLIMNFLMG6MFMO6 FEE6NPQH
F##*5+7R%L8#$('4$"&8#
K*,9%$.*%6MGLK6%LNJIKGFMG%EF;6GH%LM;IKNFGLIM%#*4$"&8%,$%$.*%+*3"88"83%&2%$."#%9&4'5*8$%
"847'9"83%,77%$*V$%'89*(%#'+.*,9"83#%$.*(*"8%+*2&(*%#*$%'/%&(%'#*%&2%$."#%/(&9'4$1
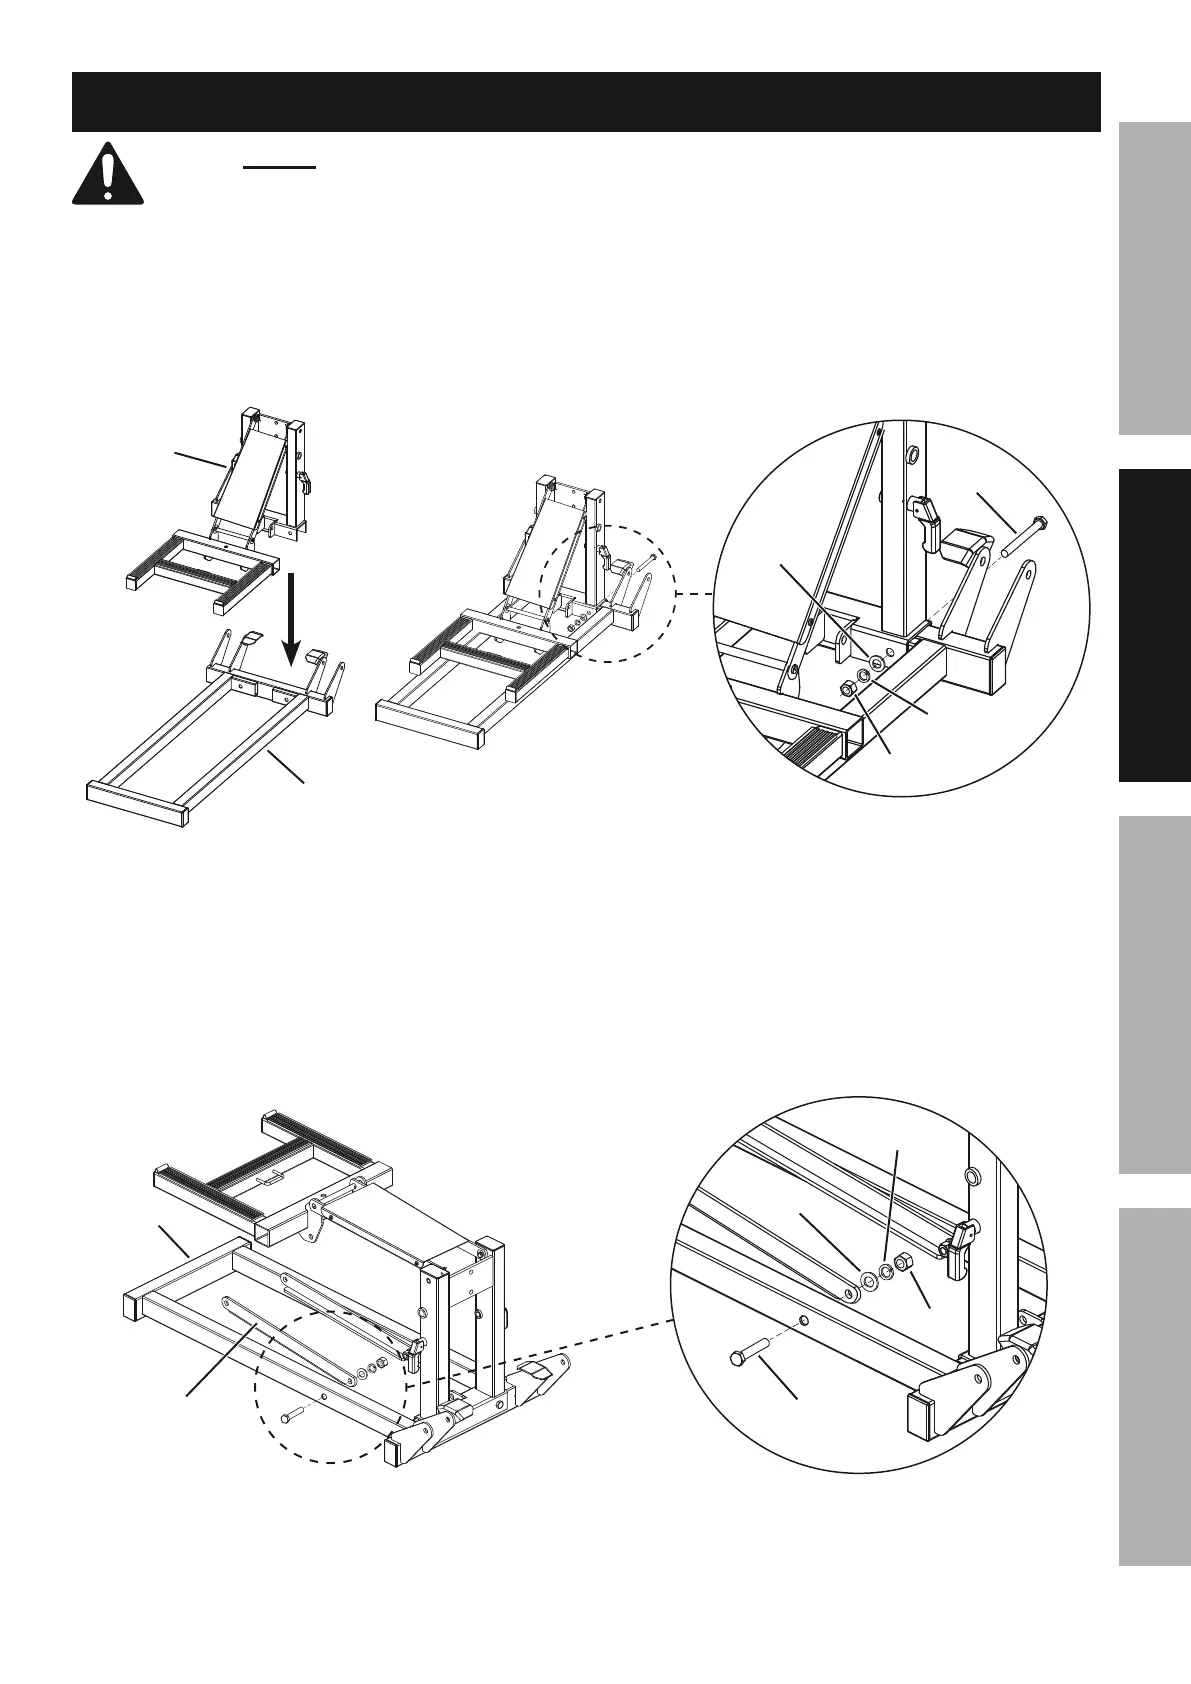
1. Place the Base (2) flat on a horizontal surface.
Place the Upper Lift Arm Assembly onto the end of the Base
as shown and align the bolt holes.
Secure the Upper Lift Arm Assembly to the Base using two Bolts (6),
Flat Washers (8), Lock Washers (9), and Nuts (10).
P&7$%WAX
M'$%W>YX
Q&4Z%Q&4Z%
[,#.*(%[,#.*(%
WDXWDX
;7,$%;7,$%
[,#.*(%[,#.*(%
W@XW@X
T//*(%T//*(%
Q"2$%F(5%Q"2$%F(5%
F##*5+7RF##*5+7R
P,#*%P,#*%
W\XW\X
E$*/%>-%%F$$,4.%T//*(%Q"2$%F(5%F##*5+7R%$&%P,#*
2. Place the two Support Bars (11) as shown and align with the bolt holes in
the Base. Note that flat sides of Bars must align against Base as shown.
Attach the Support Bars to the Base using one Bolt (7),
Flat Washer (8), Lock Washer (9), and Nut (10) per bar.
Finger tighten the hardware.
P&7$%WCX
M'$%W>YX
Q&4Z%Q&4Z%
[,#.*(%WDX[,#.*(%WDX
;7,$%;7,$%
[,#.*(%[,#.*(%
W@XW@X
E'//&($%E'//&($%
P,(%%P,(%%
W>>XW>>X
P,#*%P,#*%
W\XW\X
E$*/%\-%%F$$,4.%E'//&($%P,(#%$&%P,#*