Do you have a question about the Fisher & Paykel DD24DTI9 and is the answer not in the manual?
Verify all panels and parts are secure, electrical tests are done, and the product is level and operates freely.
Check water inlet hose connection, drain connection, and ensure correct drain hose installation to prevent sagging.
Ensure drain hose high loop is correctly positioned and all rack packaging is removed for proper operation.
Adjust water softener settings if applicable and turn on power/water to check for initial indicators and beeps.
Physically rotate spray arms to ensure they are correctly mounted and rotate freely.
Add water, run a test cycle, check knock sensor, and ensure proper drainage and water supply shut-off.
Complete and keep reference details including model, serial number, dates, and installer information.
This document outlines the final checklist for the installation of a Fisher & Paykel DishDrawer™ dishwasher, ensuring proper setup and functionality. It serves as a comprehensive guide for installers to verify that all aspects of the installation meet the required standards and that the appliance is ready for use.
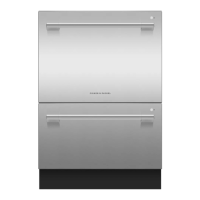
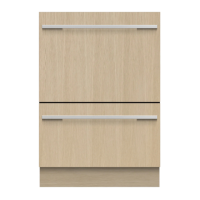
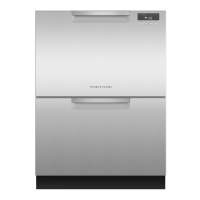
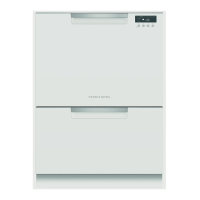
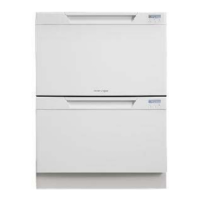
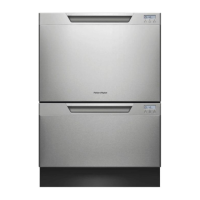
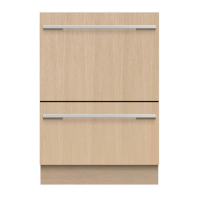
The Fisher & Paykel DishDrawer™ dishwasher is designed to provide efficient and convenient dishwashing. Its unique drawer-style design allows for flexible loading and operation, enabling users to run one drawer independently while loading the other, or to wash smaller loads without wasting water and energy. The appliance integrates seamlessly into kitchen cabinetry, offering a sleek and modern aesthetic. Key functions include various wash programs tailored to different soil levels and dish types, a water softening system for areas with hard water, and a robust drainage system to ensure hygienic operation. The dishwasher is equipped with internal control panels for program selection and status indication, making it user interaction straightforward. The design emphasizes ease of use, quiet operation, and effective cleaning performance.
The installation checklist highlights several critical usage features that are confirmed during the setup process. Firstly, the appliance must be level and securely fastened to the cabinetry, ensuring smooth operation of the drawers. The drawers are designed to open and close freely, without any resistance, which is crucial for proper sealing and efficient washing. The internal control panel, which lights up upon opening the drawers after power and water are supplied, indicates readiness for program selection. Users can select from various wash programs, and the appliance will beep to confirm selection.
For models equipped with a water softener, a key usage feature is the ability to adjust the water softener setting according to the local water hardness. This ensures optimal cleaning performance and prevents limescale buildup, extending the life of the appliance and improving wash results. The quick start guide and user manual provide detailed instructions on how to set this feature.
The dishwasher also incorporates a "Rinse" program, which is used during the final installation check. This program allows installers to verify the appliance's basic operational functions, including water intake, washing, and drainage. During this test cycle, a "knock sensor" feature can be checked by knocking twice on the door, which should pause the wash program, demonstrating a safety and convenience feature for users. This allows for interruption of a cycle if an item needs to be added or removed.
The spray arms, essential for effective cleaning, are designed to rotate freely, ensuring water is distributed evenly across all dishes. Installers are required to physically rotate them by hand to confirm this freedom of movement. This ensures that when the dishwasher is in use, water reaches every corner of the drawer, providing a thorough clean.
The drawer design allows for flexible loading, and the removal of any packaging or tape securing the racks is a crucial step before first use. This ensures that the racks can move freely and dishes can be loaded correctly. The appliance is designed to be intuitive, with clear indicators on the internal control panel guiding the user through program selection and operation.
While the document primarily focuses on installation, several points indirectly relate to maintenance and longevity. Proper installation is the first step in ensuring the appliance requires minimal maintenance.
One critical maintenance-related feature is the correct setup of the inlet and drain hoses. The inlet hose must have the supplied rubber washer fitted and be tightened correctly to prevent leaks, which could lead to water damage and appliance malfunction. This simple step is vital for preventing future maintenance issues related to water ingress.
The drain hose connection is equally important. Installers must ensure that any knockouts or plugs in the drain connection are drilled out and that the connection is properly made. The drain hose joiner must not support the weight of excess hose material, and the hose should be kept as fully extended as possible to prevent sagging. Any excess length should be kept on the dishwasher side of the highloop. Furthermore, if connecting to a sink trap, the highloop must be a minimum of 5 7/8" (150mm) higher than the drain hose joiner. These measures are crucial for preventing blockages, ensuring efficient drainage, and avoiding backflow of dirty water, all of which contribute to the appliance's hygienic operation and reduce the need for future plumbing maintenance.
The water softener feature, mentioned earlier, is also a key maintenance aspect. By adjusting the water softener setting to match local water hardness, users can prevent the buildup of limescale within the appliance. Limescale can reduce washing efficiency, damage internal components, and lead to costly repairs. Proper use of the water softener significantly extends the lifespan of the dishwasher and maintains its performance.
Regular checks, such as ensuring the spray arms are free to rotate, contribute to ongoing maintenance. If spray arms become obstructed, they can hinder cleaning performance and potentially lead to uneven washing. The design allows for easy inspection and ensures that users can quickly identify and resolve any issues.
The final check for water supply shut-off and drainage connection leakage after the "Rinse" program is completed is a preventative maintenance step. This ensures that all connections are secure and that the appliance is not leaking, which could cause damage to the kitchen environment or the appliance itself over time.
In summary, the Fisher & Paykel DishDrawer™ dishwasher is designed for user convenience and long-term reliability, with installation procedures that emphasize critical setup steps to ensure optimal performance and minimize future maintenance needs.
| Type | Built-in |
|---|---|
| Product Type | Dishwasher |
| Number of Place Settings | 14 |
| Energy Star Qualified | Yes |
| Noise Level | 44 dBA |
| Height | 820 mm |
| Finish | Stainless Steel |
| Control Type | Electronic |
| Drying System | Condensation drying |
| Installation Type | Built-in |
| Color | Stainless Steel |
| Width | 598 mm |
| Depth | 573 mm |
| Features | Child Lock |