www.fi shman.com 514-300-001 Rev C 4-07
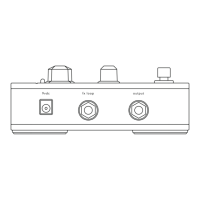
Figure 6. Adjust trim
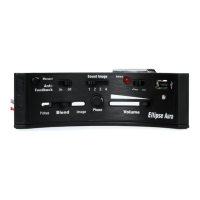
9. Upload Images
Install the included Aura Image Gallery software on
your computer. Connect the included “mini-B” USB
cable between the Ellipse Aura preamp and the
computer (fi gure 5). Follow the onscreen instructions
to upload Images.
Warning: If you upload Images before
installing the preamp, observe ESD handling
and other precautions outlined in the beginning
of these instructions.
10. Set Input Trim
The Input Trim is located below the USB port.
Once the instrument is strung up and the battery
is installed, set the input trim as follows:
1. Move the Image switch left to #1.
2. Hold down the Measure switch as you plug in
the guitar.
3. Use a miniature jeweler’s screwdriver to gently
raise or lower the Input Trim so the Battery LED
fl ashes occasionally with hard strumming.
4. To exit the setup, unplug the guitar.
For more convenient access, remove the preamp
module from its magnetic base before you set the
Input Trim. See fi gures 3, 4 and 6.
11. Use caution when you
clean the fi ngerboard or
perform fret work!
The powerful neodymium magnets used to secure
the preamp will attract steel-wool debris and fret
fi lings. These can damage the Ellipse electronics.
As a precaution, cover the soundhole before you
work on the fi ngerboard. Uncover only after all
debris is removed.
Figure 5. Upload Images
from Aura Image Gallery
 Loading...