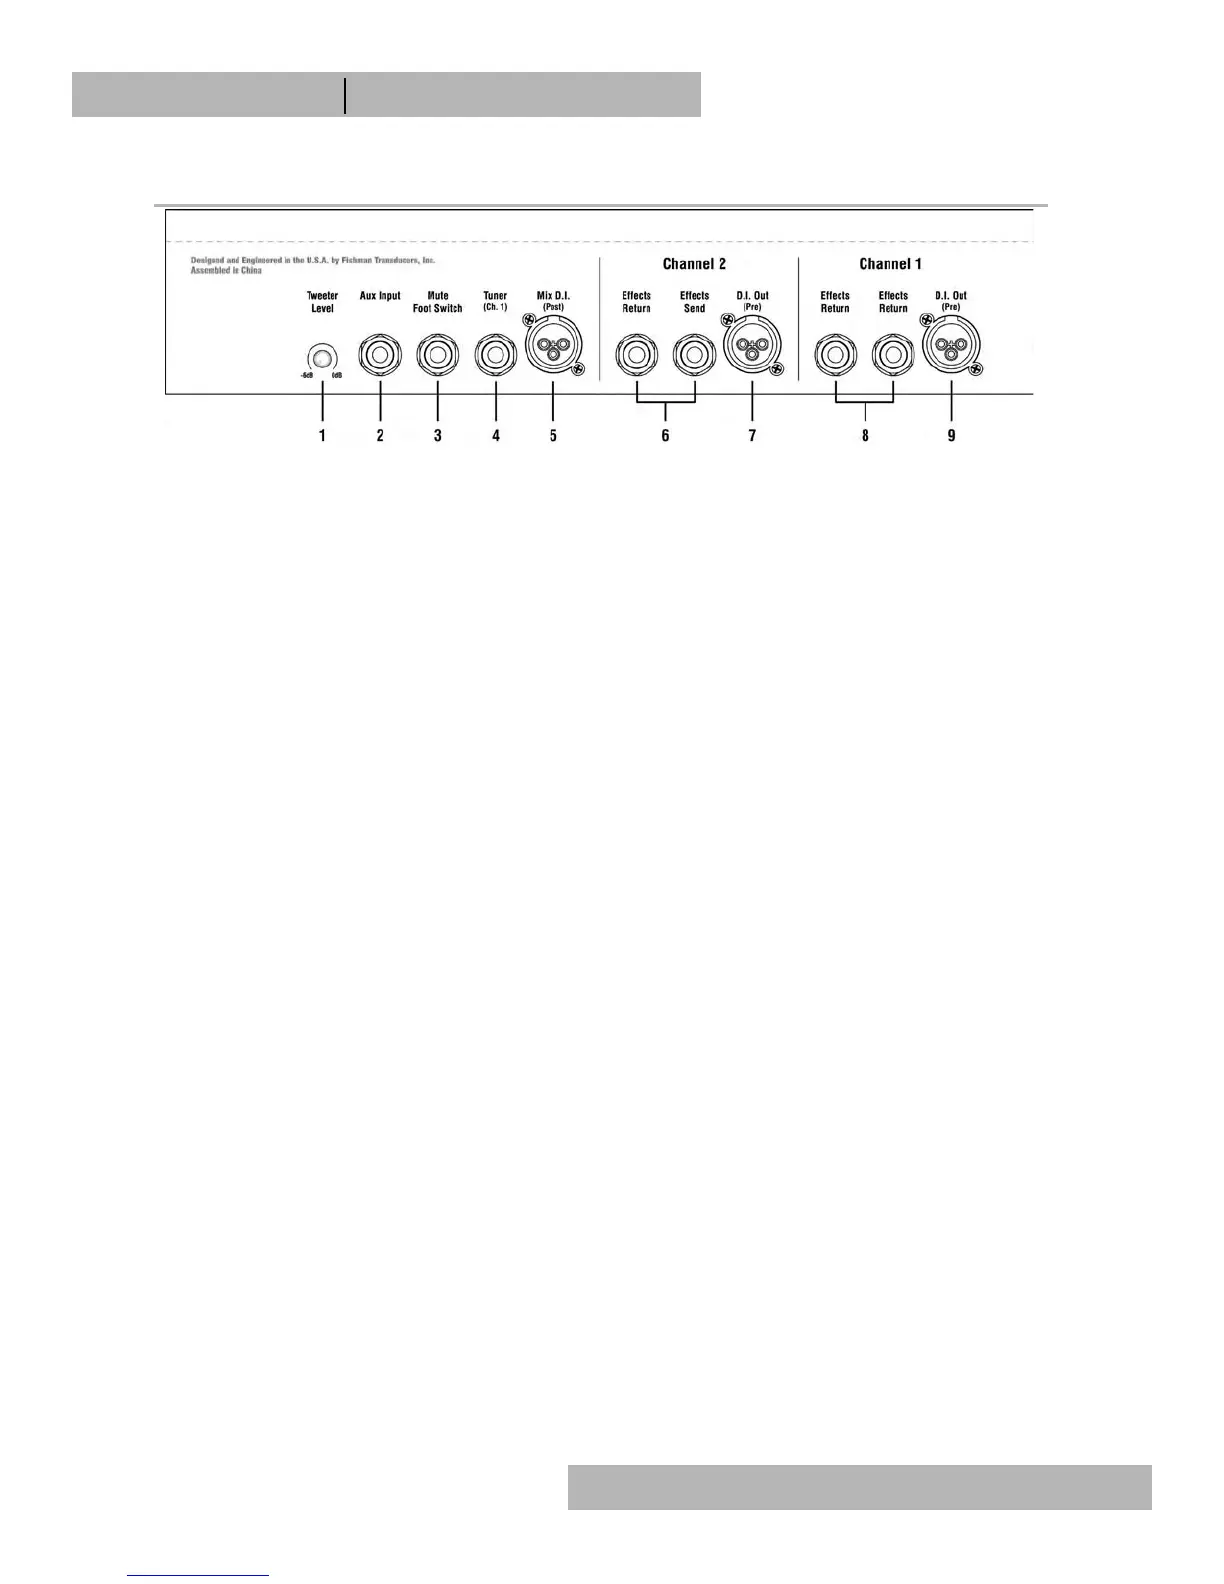
Rear Panel
1. Tweeter Level
Set the front panel controls flat and adjust the tweeter level to where it sounds best to you.
2. Aux Input
Plug in a line level stereo audio source such as a CD or MP3 player in this input. The 1/4 inch stereo (TRS) Aux Input
mixes the signals to mono when amplified, but will retain the source's stereo image through the headphones jack.
3. Mute Foot Switch
Plug a mono, on/off (latching type) foot switch into this jack for remote access to the Mute. The Mute Footswitch
duplicates and overrides the front panel Mute switch.
4. Tuner Out
Plug in an electronic tuner here. This output receives only the Channel 1 signal and is independent of the mute, so you
can tune with the speakers and the XLR outs muted. The Tuner Out can also be used as pre-EQ unbalanced D.I. out for
Channel 1.
5. Mix D.I. (Post)
Plug in here when you wish to send signals from both Channel 1 and 2 to a mixing console or a slave amplifier. This
post-EQ output is always ground isolated to prevent ground loop hum.
6. Channel 2 Effects Loop (Serial)
Patch an external effect (delay, reverb, chorus) through these jacks. Use a standard 1/4-inch shielded instrument cable
to connect the Channel 2 send to the input of the effect. Connect the Channel 2 return jack to the output of the effect. The
Channel 2 loop is located post-EQ and is compatible with battery-operated stompbox-style effects processors.
7. Channel 2 D.I. Out (Pre-EQ)
You’ll find that this true direct output produces an uncolored signal that is exceptional for recording. Use this output when
you want a flat D.I. signal to go to the board. In this case you leave it to the soundperson or recording engineer to dial up
your tone and effects from the console. This pre-EQ output is always ground isolated to prevent ground loop hum.
8. Channel 1 Effects Loop (Serial)
Patch an external effect (delay, reverb, chorus) through these jacks. Use a standard 1/4-inch shielded instrument cable
to connect the Channel 1 send to the input of the effect. Connect the Channel 1 return jack to the output of the effect. The
Channel 1 loop is located post-EQ and is compatible with battery-operated stompbox-style effects processors.
9. Channel 1 D.I. Out (Pre-EQ)
You’ll find that this true direct output produces an uncolored signal that is exceptional for recording. Use this output when
you want a flat D.I. signal to go to the board. In this case you leave it to the soundperson or recording engineer to dial up
your tone and effects from the console. This pre-EQ output is always ground isolated to prevent ground loop hum.
8
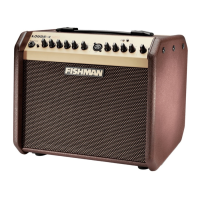
Acoustic Instrument Amplifier
Loudbox 100
TM

 Loading...