Do you have a question about the Flavel Caress traditional and is the answer not in the manual?
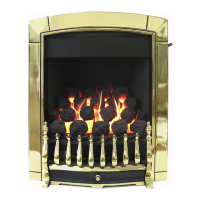
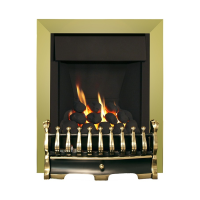
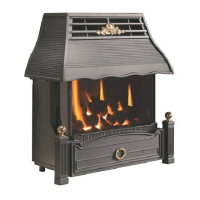
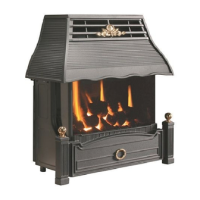
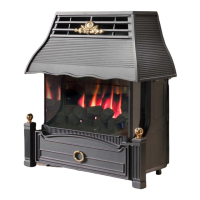
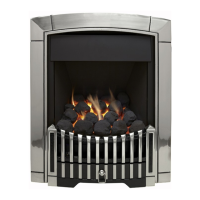
Details about the gas fire appliance, including model, gas type, dimensions, and specifications.
Legal and regulatory requirements for installing gas appliances, emphasizing safety and compliance.
Specifies requirements for flue diameter, height, and compatibility with brick-built or lined chimneys.
Guidance on hearth requirements and suitable materials for fireplace surrounds.
Defines the minimum vertical and horizontal clearances required between the fire and shelves.
Procedure for inspecting the chimney or flue for obstructions, integrity, and proper updraught.
Specifies the required dimensions for the fireplace opening and depth for debris collection.
Instructions for connecting the appliance to specific types of metal flue boxes.
Requirements for the hearth material, thickness, and dimensions.
Information on the appliance's safety system that shuts off the fire if flue blockage occurs.
Guidance on carefully unpacking the appliance and checking the contents against a packing list.
Step-by-step instructions for fitting the fire box into the fireplace opening.
Procedure for performing gas tightness tests and checking inlet pressure for manual control models.
Procedure for performing gas tightness tests and checking inlet pressure for slide control models.
Procedure for performing gas tightness tests and checking inlet pressure for remote control models.
Detailed instructions for correctly placing the ceramic fuel bed and coals.
Step-by-step guide on how to light the fire using manual controls.
Step-by-step guide on how to light the fire using slide controls.
Instructions for installing batteries into the remote control handset and control valve.
Procedure for operating the remote control fire directly via the control valve buttons.
Step-by-step guide on how to light the fire using the remote control handset.
Instructions for fitting the decorative trim onto Rhapsody and Calypso models.
Instructions for fitting the decorative trim onto Richmond models, noting magnetic fixing.
Instructions for fitting the trim using mounting brackets on Caress models.
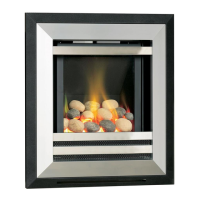
Procedure for attaching the fender to Rhapsody and Caress contemporary models.
Instructions for positioning the fender for Richmond, Calypso, and Caress traditional models.
Procedure for testing if combustion products are safely vented via the flue.
Steps for safely removing the burner assembly for maintenance or servicing.
Procedure for removing and replacing the piezo igniter component.
Instructions for disconnecting and removing the gas control tap.
Guidance on removing the Oxy-Pilot assembly, noting thermocouple replacement limitations.
Specific steps for removing the burner assembly on slide control models.
Procedure for removing the battery igniter unit.
Instructions for replacing the battery in the appliance.
Procedure for removing the Oxy-Pilot assembly, emphasizing thermocouple replacement.
Step-by-step guide for replacing the control cable for the operating lever.
Steps for removing the burner assembly for remote control models.
Instructions for safely removing the gas valve assembly.
Guidance on removing the pilot assembly, noting thermocouple limitations.
Instructions for replacing batteries located within the firebox assembly.
Recap of key installation requirements and safety considerations for the user.
Instructions for lighting and operating the fire using manual controls.
Instructions for lighting and operating the fire using slide controls.
Instructions for lighting and operating the fire using the remote control handset.
Guidance on operating remote control models manually via the control valve.
Procedure for replacing batteries in remote control models, including handset and valve.
Instructions for replacing the battery in slide control models.
Explanation of the spillage monitoring system and actions if the fire shuts down.
Safety precautions and instructions for cleaning the fire's trims, fender, and fuel bed.
Instructions for correctly assembling the fuel bed and ceramic components.
| Fuel Type | Gas |
|---|---|
| Style | Traditional |
| Control Type | Manual |
| Flue Size | 125 mm |
| Ignition Type | Piezo |