Do you have a question about the Flavel Diamond HE and is the answer not in the manual?
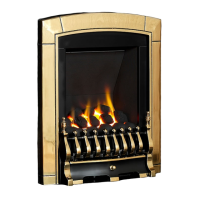
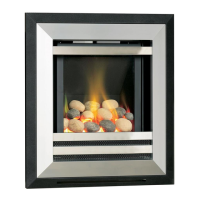
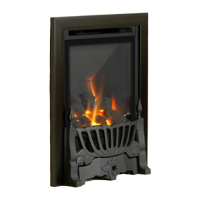
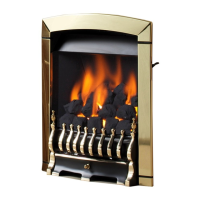
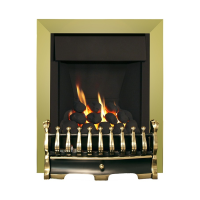
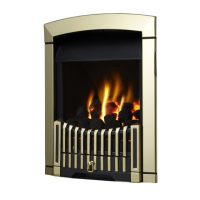
Details on the appliance model, gas type, and dimensions.
Legal and regulatory requirements for installing the gas fire.
Specifications for compatible flues and chimneys.
Requirements for fireplace and surround materials and clearances.
Guidelines for safe placement of shelves above the appliance.
Checklist for inspecting the flue or chimney before installation.
Minimum dimensions for the fireplace opening and debris space.
Instructions for fitting the appliance to metal flue boxes.
Specific guidance for installing the fire into pre-cast flues.
Information on the safety feature that monitors flue spillage.
Requirements for mounting the appliance on walls or hearths.
Procedure for unpacking the appliance and checking contents.
Detailed steps for installing the fire box into the fireplace.
Steps for removing glass panel and burner components.
Connecting gas supply and sealing unused apertures.
Details on cable fixing and alternative methods.
Procedures for manual, slide, and remote control models.
Instructions for fitting the ceramic coals and fuel bed.
Instructions for fitting the ceramic pebbles and fuel bed.
Step-by-step guide to lighting the fire using manual controls.
Step-by-step guide to lighting the fire using slide controls.
Procedure for installing batteries into the remote control handset.
Instructions for manually lighting the fire directly from the control valve.
Guide to configuring the remote handset settings.
Step-by-step guide to lighting the fire using the remote control.
Details on accessing and using advanced functions of the remote.
Instructions for attaching decorative trims, frets, or fascias.
Procedure for performing a smoke test to ensure safe operation.
Procedure for removing the burner assembly for manual control models.
Steps to remove the piezo igniter for manual control models.
Procedure for removing the control tap for manual control models.
Instructions for removing the oxy-pilot assembly on manual control models.
Procedure for removing the burner assembly for slide control models.
Steps to remove the battery ignitor for slide control models.
Guide to replacing the battery for slide control models.
Instructions for removing the oxy-pilot assembly on slide control models.
Procedure for replacing the control cable on slide control models.
Procedure for removing the burner assembly for remote control models.
Instructions for removing the remote gas valve.
Instructions for removing the pilot assembly on remote control models.
Guide to replacing batteries in the remote control system.
Key installation details and conditions for the user.
Instructions for manual, slide, and remote control operation.
Manual control procedures for remote and electronic systems.
Instructions for remote and slide control models.
Information on the safety feature that monitors flue spillage.
Guide to configuring the remote handset settings.
Details on accessing and using advanced functions of the remote.
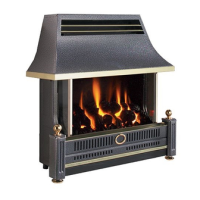
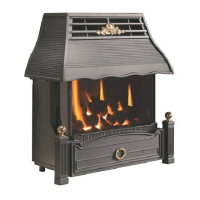
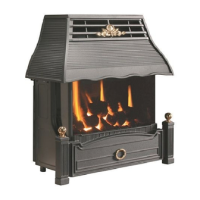
Instructions for coal and pebble models.
Guidelines for cleaning the fire, fuel-bed, and glass panel.
Step-by-step guide for removing and refitting the glass panel.
Instructions for attaching decorative trims, frets, or fascias.
List of parts that the user can replace and their part numbers.
Diagnosing issues with remote control and electronic models.
| Type | Gas Fire |
|---|---|
| Style | Contemporary |
| Fuel Bed | Coal |
| Gas Type | Natural Gas |
| Control Type | Manual |