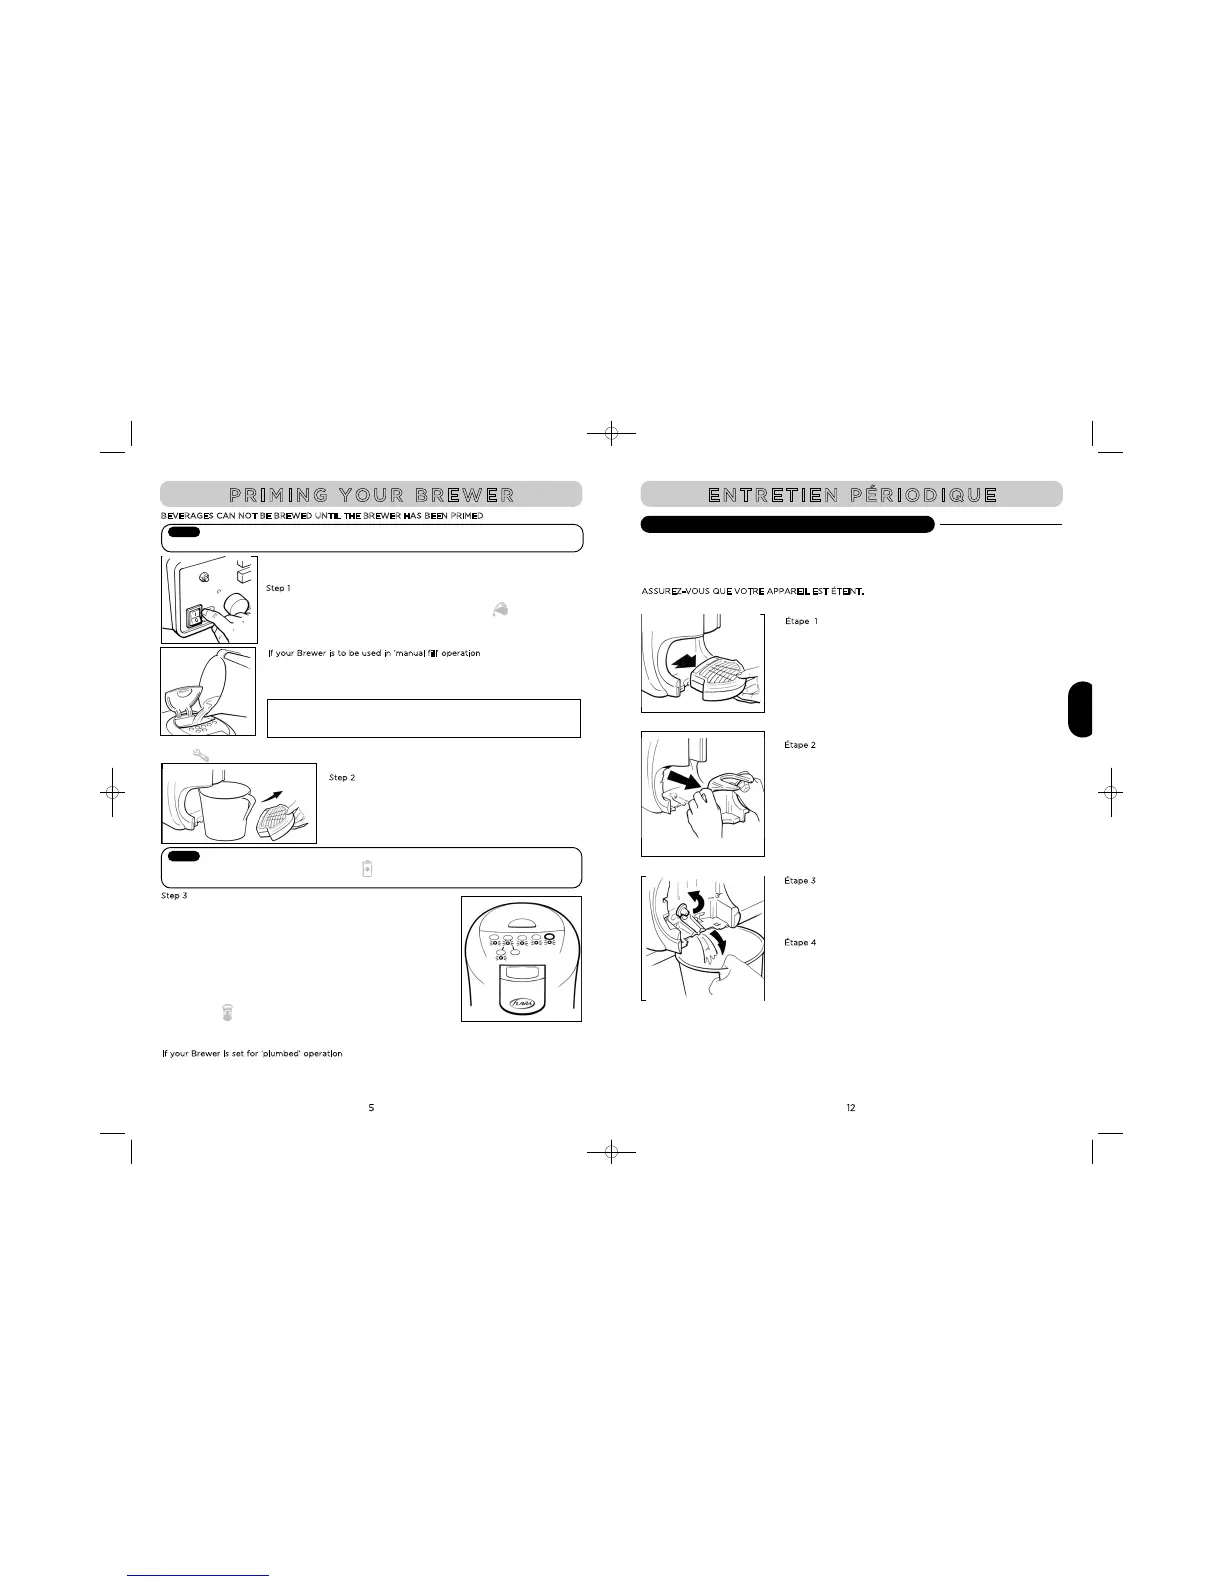
BEVERAGES CAN NOT BE BREWED UNTIL THE BREWER HAS BEEN PRIMED
The priming cycle fills the boiler with water and flushes the system through.
After this your Brewer will be ready for use.
Step 1
Plug the Brewer into the AC outlet. Turn the switch on the back of the
Brewer to the ‘ON’ position. The ‘ADD WATER`’ symbol on the top of
the Brewer will flash.
S
tep 3
Now Press the ‘HOT WATER’ button to begin the PRIME cycle.
The Brewer will start to pump water and after several seconds water will
be dispensed into the container. The water jet may be seen to ‘splutter’
for a short while at the start, this is normal.
If needed, the Prime cycle can be paused and re-started by pressing the
‘HOT WATER’ button. The Brewer will automatically stop pumping after
about 2 minutes after which the Prime cycle is complete. The Brewer will
pump approximately 60 fl oz (1.7L) of water into the collecting container.
The system is now primed and will begin to heat the water. The ‘PLEASE
WAIT’ symbol will flash while the water heats. When complete the
‘Drinks Selection’ lights will illuminate
Your Brewer is now ready to start making drinks.
I
f your Brewer is set for ‘plumbed’ operation
your Brewer will automatically draw sufficient water from the supply. Please wait as this process may
take a few moments. Please do not fill your Brewer manually as this may automatically return your
machine to being set for ‘manual fill’.
S
tep 2
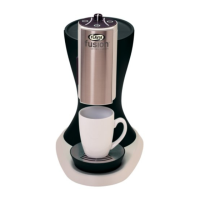
Remove the drip tray from the Brewer and place a large
container of at least 70 oz (2.0L) under the drinks dispense
area.
I
f your Brewer is to be used in ‘manual fill’ operation
Lift the ‘Filler Lid’ on the top of the Brewer, and carefully fill with cold
drinking water to no higher than the ‘MAX’ level. It is important to fill to the
‘MAX’level, on the first use, as this sets the brewer to ‘MANUAL FILL’
operation.
The ‘Hot Water’ button and ‘CALL OPERATOR’
symbol on the top of the Brewer will now flash
P R I M I N G Y O U R B R E W E R
If the Brewer is to be set for ‘plumbed’ operation refer first to the Section headed
CHANGING FROM ‘MANUAL FILL’ TO ‘PLUMBED’
Note
The priming cycle will be inhibited if the machine detects that a filterpack is inserted.
In this case the Insert/Remove Pack symbol will flash to indicate that the filterpack should
be removed. Lift the handle and remove the filterpack before continuing.
Note
Volume of water required for Initial Fill to ‘MAX’ level from empty.
With Filter Fitted = 110 fl oz (3.3L)
Without Filter Fitted = 120 fl oz (3.6L)
70 oz
COMMENT VIDER LE RÉSERVOIR D’EAU FROIDE
À l’occasion, il peut s’avérer nécessaire de vider le réservoir d’eau froide, par exemple quand on règle
l’appareil pour qu’il fonctionne en mode « alimentation en eau », quand on transporte (ou entrepose)
l’appareil ou quand on renouvelle la réserve d’eau.
A
SSUREZ-VOUS QUE VOTRE APPAREIL EST ÉTEINT.
E N T R E T I E N PÉRIODIQUE
Étape 1
Retirez le plateau d’égouttage.
Étape 2
Retirez la doublure entourant le gobelet en tenant les deux
bords extérieurs et en tirant vers l’avant.
Étape 3
Tirez l’appareil vers l’avant jusqu’au bord du comptoir et placez
un grand récipient dessous.
Étape 4
Retirez le joint en caoutchouc et videz l’eau. Notez qu’il se peut
que l’eau s’écoule vite, selon la quantité d’eau que contient le
réservoir.
CAN
70-41-2871 US C200 Ops Guide.qxd:OPS Guide US CAN Amend.qxd 22/7/09 09:15 Page 16