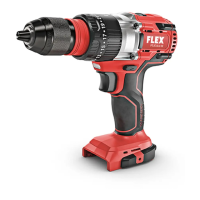
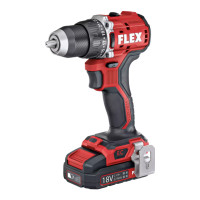
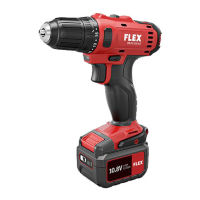
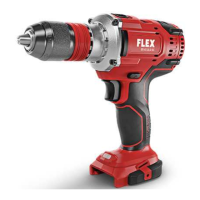
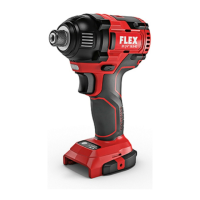
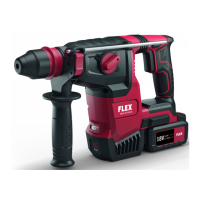
DD 2G 18.0-EC / PD 2G 18.0-EC / IW 1/2" 18.0-EC / ID 1/4" 18.0-EC
26
Switching on the power tool
To switch the power tool on:
Press the trigger switch.
The power tool trigger switch allows the
operator to increase the speed in
increments up to the maximum speed.
To switch the power tool off:
Release the trigger switch.
NOTE
–
The power tool is equipped with a brake
which stops the cutting accessory as
soon as the trigger switch is released.
–
When using the power tool continuously,
the operator should work primarily with
the trigger switch fully depressed.
Workplace lamp on/off switch
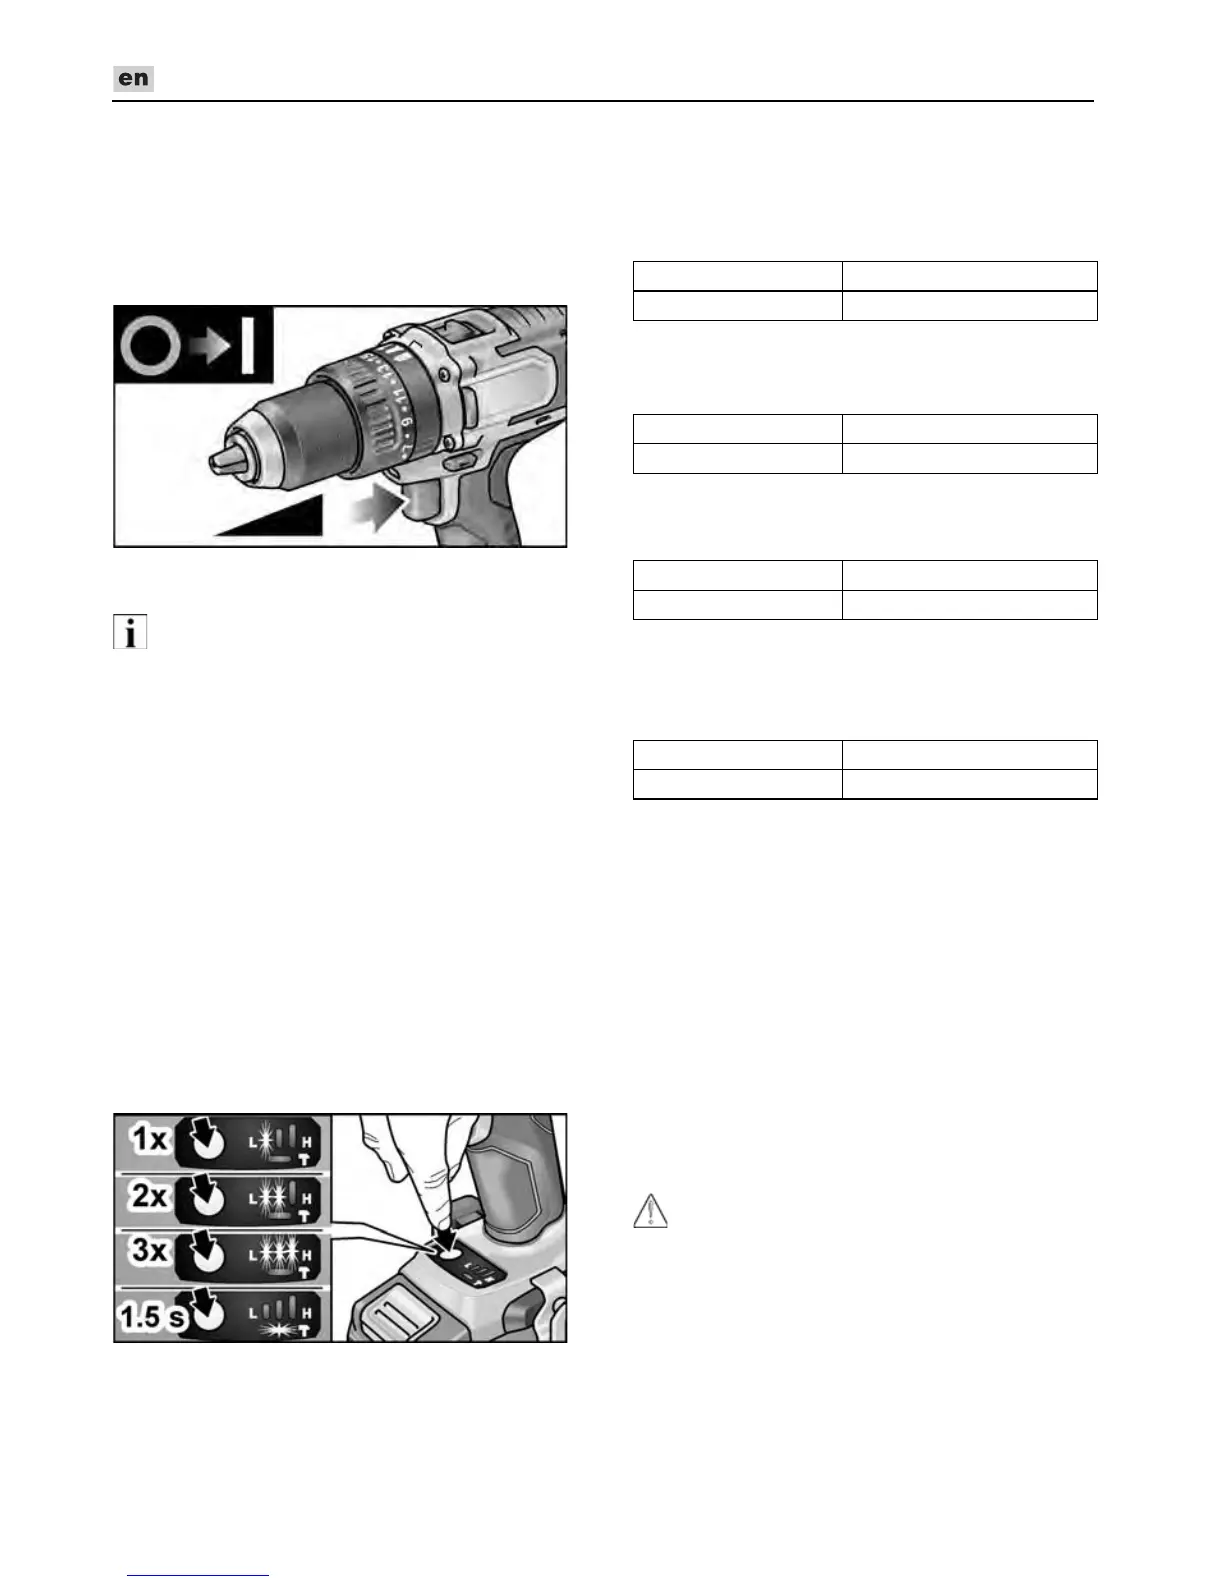
1. Turn direction of rotation preselector
switch (2) to “Forwards” or “Reverse”.
2. Press electric tool on/off switch (1)
– Workplace lamp lights up
3. Release electric tool on/off switch (1)
– Workplace lamp goes out
automatically after approx. 10 sec.
Speed and torque preselector switch
IW 1/2” 18.0-EC / ID 1/4“ 18.0-EC
Change speed/torque
1. Activate on/off switch (1)
2. Press mode switch briefly (approx. 0.5 sec.).
– An LED lights up – torque:
3. Press mode switch briefly
– Two LEDs light up – torque:
4. Press mode switch briefly
– Three LEDs light up – torque:
5. Press mode switch briefly
– An LED lights up – torque switches
back to:
Torque can be increased again as described.
During reverse operation of the electric tool
– which only has one speed – the LEDs in
the base go out automatically.
Change single impact mode to impact
driver mode
Press mode switch for approx.
1.5 seconds.
– LED mode indicator lights up – single
impact mode active
– LED mode indicator not lit – impact
driver mode active.
Working with the power tool
CAUTION!
Before carrying out any work on the power
tool, move the direction preselector switch (2)
to the middle position.
IW 1/2“ 18.0-EC: 150 Nm / 1500 rpm
ID 1/4“ 18.0-EC: 60 Nm / 1500 rpm
IW 1/2“ 18.0-EC: 180 Nm / 2000 rpm
ID 1/4“ 18.0-EC: 105 Nm / 2000 rpm
IW 1/2“ 18.0-EC: 250 Nm / 2500 rpm
ID 1/4“ 18.0-EC: 225 Nm / 2500 rpm
IW 1/2“ 18.0-EC: 150 Nm
ID 1/4“ 18.0-EC: 60 Nm