20
DGE 25 18.0-EC
To remove, press the release button (1.)
and pull out the battery (2.) (see gure C).
CAU
TION!
When the tool is not in use, protect the
battery contacts. Loose metal parts may short
circuit the contacts; explosion and re hazard!
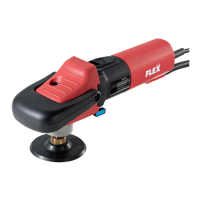
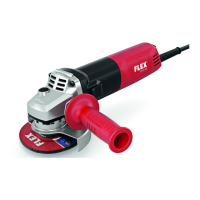
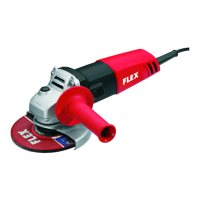
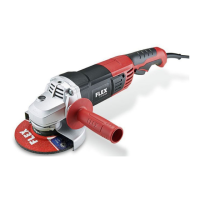
Fitting accessory (see gure D &
E &F)
WARNING!
Remove the battery from the power tool
before carrying out work on the power tool.
There is risk of injury from unintentionally
pressing the on/o switch.
WARNING!
Only use accessories with shanks that
match the installed collet. Smaller shanks
will not be secure and could become loose
duringoperation. Ensure that the accessories
used meet the working conditions.
WARNING!
Danger of burns! The accessories will become
hot during use. Wear gloves when changing
accessories.
Remove the battery.
Clean the grinding spindle and all the
parts to be tted.
Press the spindle button 3, loosen the
clamping nut 2 by using an open-ended
spanner 8 and turning it counterclockwise
(see gure D).
Insert the accessory all the way into the
collet 1.
Exposed shaft length cannot be more than
10mm (see gure F). The shank of the
accessory must be inserted at least 20 mm
into the collet.
Hold the spindle button 3, tighten the
clamping nut 2 by using an open-ended
spanner 8 and turning it clockwise (see
gure E).
CAU
TION!
In the process of disassembling and
assembling the accessories, avoid the edge of
the accessories and other parts from hurting
your hands.
WARNING!
Do not start the machine when the clamping
nut is not secured to avoid objects ying out
and hurting people.
Changing the clamping nut (see
gure G)
WARNING!
Risk of damage to the collet if the clamping
nut is tightened on an empty collet.
Remove the battery pack.
Hold the spindle button 3, loosen the
clamping nut 2 by using an open-ended
spanner 8 and turning it counterclockwise.
Remove the clamping nut 2 with collet
from the tool.
Position the new clamping nut with collet
on the tool.
Hold the spindle button 3, tighten the
clamping nut 2 by using an open-ended
spanner 8 and turning it clockwise.
Filter cover (see gure H)
Using the lter cover 7 will improve the
performance and extend the life of the tool.
Remove the battery pack.
To attach the lter cover 8, snap the hook
of one section of the lter cover into the
groove (1.) at tool's foot rst, and then
press the other end into the other groove
(2.).
To remove the lter cover, pry the lter
cover away from the tool.
To clean the lter cover, tap it against
a hard surface or blow it clean with
compressed air.
Switching on the power tool (see
gure I)
To start the power tool, slide the on/o
switch forwards (1.).
To lock the on/o switch in position, push
the on/o switch forwards and down until
it clicks into place (2.).
To switch o the power tool, release the
on/o switch; or, if the switch is locked,
briey push the on/o switch backwards
and down and then release it.
Speed preselection (see gure J)
WARNING!
It is not recommended to adjust the speed
when the output shaft is rotating.
 Loading...