10/29/2020 REV. 003 17
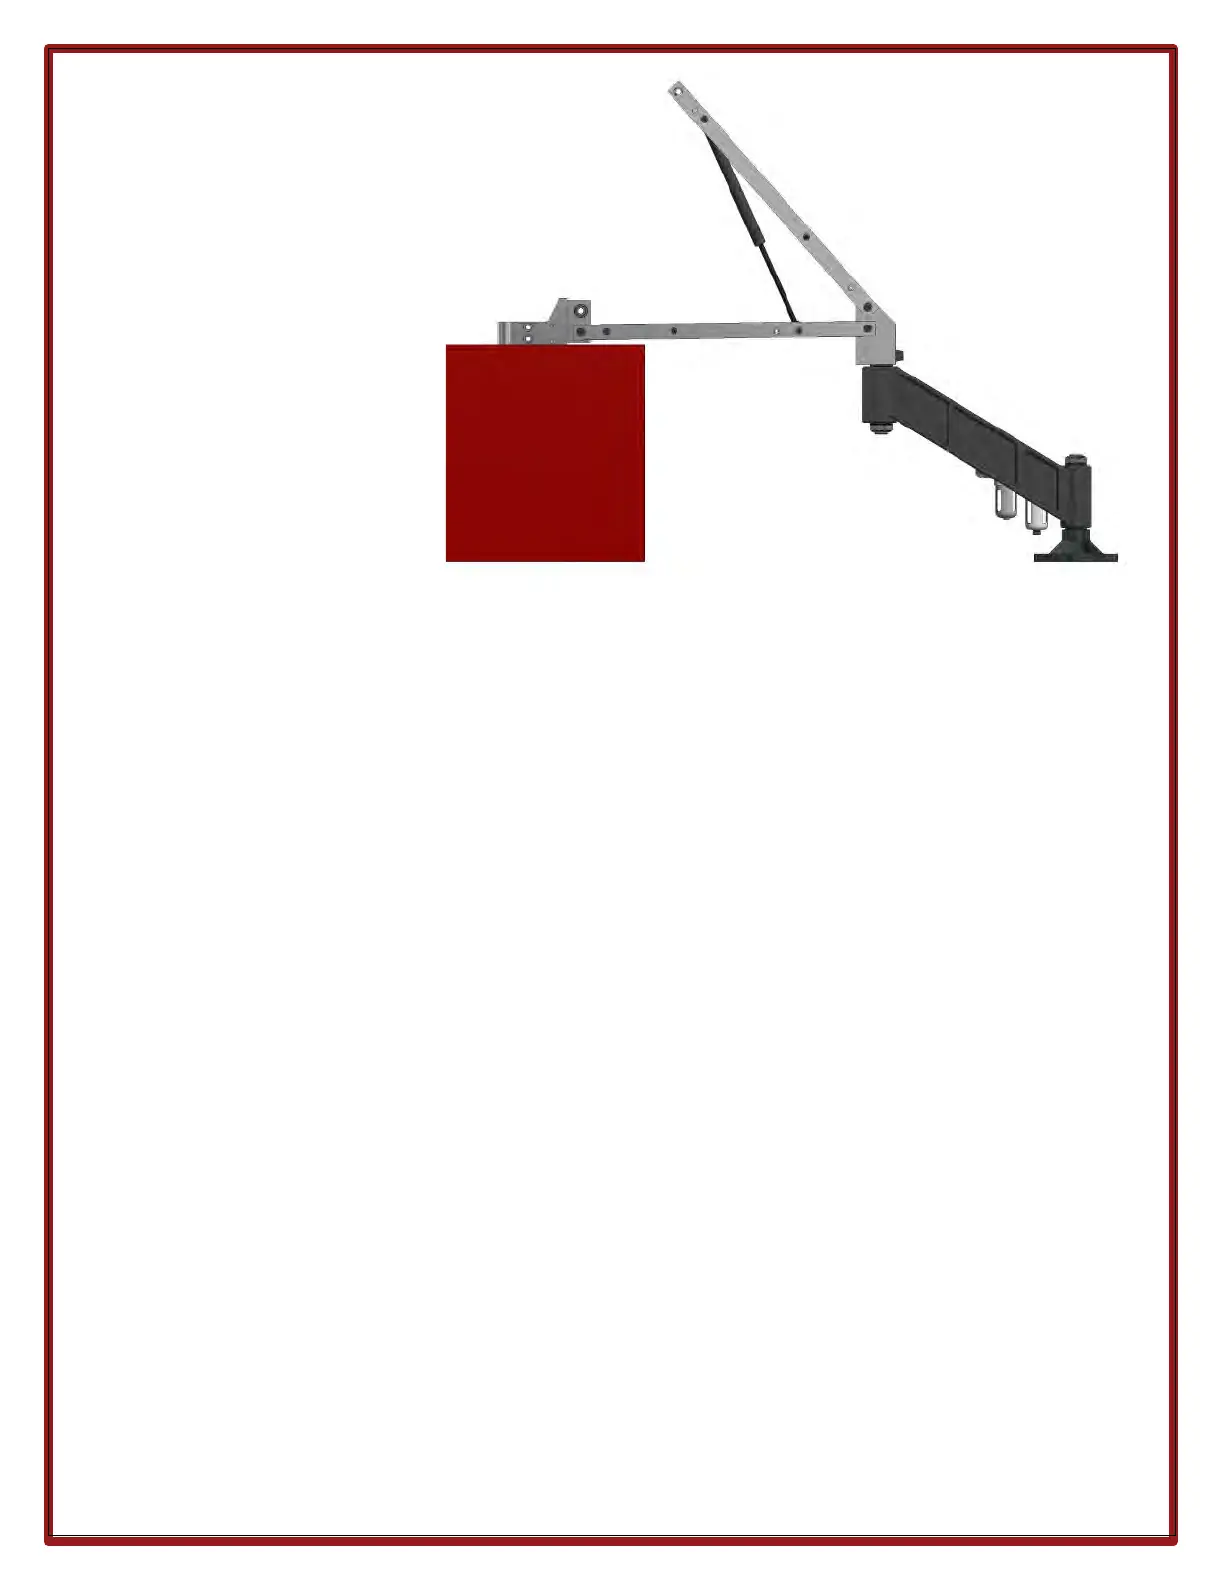
11. Raise the bottom two arms in
the horizontal position and
place onto a riser. The riser
should be approximately 14” tall
and be capable of withstanding
150 lbs. of force. The angle
mount should be positioned in a
straight line with the arms. See
Figure 12.
12. Place a small amount of grease
or oil onto one of the arm pin
washers and position the
washer over the arm pin hole on
the inside of the upper arm. This
will keep the washer from
falling.
13. With the motor mount and lower arms supported on the riser, compress the upper arms downward until
the arm pin can be pushed into the hole and through the washer that was just installed.
14. Once the arm pin and washer are started, it is necessary to install the remaining washer on the other side.
Tap the arm pin until there is enough clearance to lower the second washer between the upper arm and
front block.
NOTE: If the bearing unseats itself from the front block, it may be necessary to gently push it back into
place by sliding a flat screwdriver between the upper arm and front block.
15. Once the second washer is in place, tap the arm pin through. Place Loctite 242 or 243 on the arm screw
threads and install the arm screws.
NOTE: Do not overtighten the arm screws. The screws should be snug only. Overtightening could affect the
smooth movement of the arm.
16. Slide the arm guard cover over the arms and start all 4 bolts before tightening. Attach the bottom arm
guard plate and start all 6 bolts before tightening.
17. Slide the boot back onto the arm. Place a new cable tie on the arm boot where it connects to the front
block.
18. Install the motor back into the motor mount and secure it with the two socket head screws. Reattach the
tube to the quick connect fitting on the motor.
NOTE: The slots on the motor body need to line up with the two socket head bolts.
Always re-adjust the arm’s counterbalance after replacing cylinders. (See pg. 7)