Figure 3 QR Code for Registration
Figure 4 Laser Safety Label
EN-US English
QUICK STEPS
1. Register the TG275 to activate 2–10 year warranty extension
(See Figure 3, QR Registration Code, page 2).
2. Long press the Power button to switch the TG275 ON or OFF.
3. Scan a test area using the default MSX® mode (thermal plus
visible image).
4. Use the cross-hairs and the laser for targeting (30:1 Distance-
to-Spot ratio). The laser’s circular target accurately identifies
test spots. See the temperature reading on the display.
5. For visible image mode only, use the menu system.
6. Slide the high temperature lever to the right to measure > 400℃
(752℉).
7. Pull the trigger to capture images (see Working with Images).
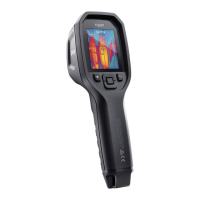
CAMERA PARTS
(See Figure 1, Camera Parts, page 1).
1. Display area
2. Return button (back up in the menu system)
3. Laser pointer button
4. Up/Down & Power (long press)/Menu (short press) buttons
5. Lanyard post
6. Accessory mount
7. High temperature lever for use > 400℃ (752℉)
8. 160 x 120 pixel Lepton® IR camera
9. Laser pointer
10. USB-C jack compartment (IP 54 rating when closed)
11. Spot thermal sensor
12. Flashlight (LED)
#NAS100020; r. AG/62674/62674; mul
2
 Loading...