Performance Verification
3.5 Display And Backlight Test 3
3-5
• Do NOT press
F3
now! If you did, turn the Analyzer off and on, and start at
4.
5. Press
F1
PREVIOUS three times. The Analyzer shows Contrast (CL 0100):
6. Press
F3
CALIBRATE
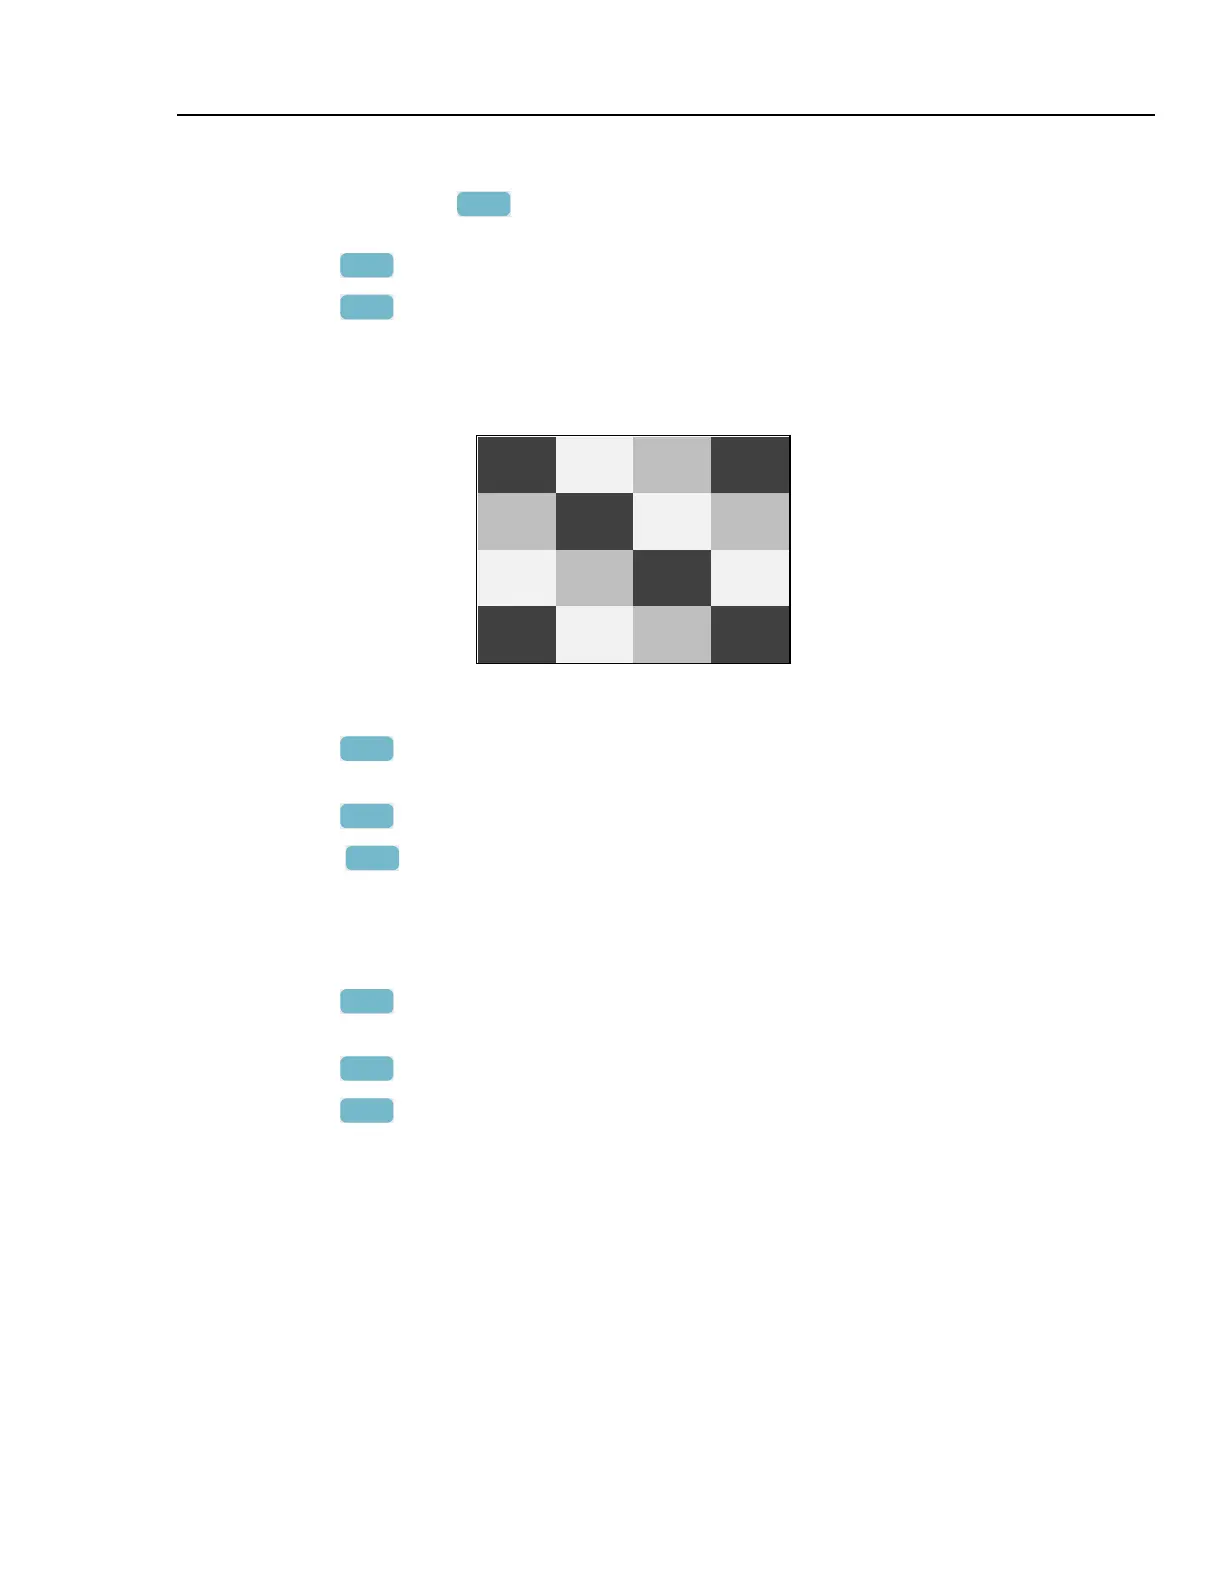
The Analyzer shows a dark display; the test pattern as shown in Figure 3-1 may be
not visible or hardly visible.
Observe the display closely, and verify that the display shows no abnormalities, as
for example very light pixels or lines.
Figure 3-1. Display Pixel Test Pattern
7. Press
F2
.
The test pattern is removed; the Analyzer shows
Contrast (CL 0100):
8. Press
F2
again to do the next step Contrast (CL 0110):
9. Press
F3
CALIBRATE
The Analyzer shows the display test pattern shown in Figure 3-1, at default contrast.
Observe the display closely, and verify that the display shows no abnormalities. Also
verify that the contrast of the upper left and upper right square of the test pattern is
equal.
10. Press
F2
.
The test pattern is removed; the Analyzer shows
Contrast (CL 0110):
11. Press
F2
again to do the next step Contrast (CL 0120):
12. Press
F3
CALIBRATE
The Analyzer shows a light display; the test pattern as shown in Figure 3-1 may not
be visible or hardly visible.
Observe the display closely, and verify that the display shows no abnormalities.
13. Turn the Analyzer OFF and ON to exit the calibration menu and to return to the
normal operating mode.
If the maximum, minimum, or default display contrast is not OK, then you can set these
items without performing a complete calibration adjustment; refer to Section 4 for
detailed information.