QuickStart: FLUKE Ti20
© 2011 The Snell Group / 322 N. Main St. / Suite 8 / Barre, VT / 05641 / 800.636.9820 / www.thesnellgroup.com
FLUKE Ti20 Page 1
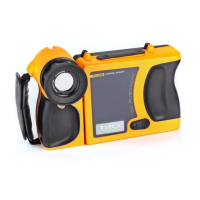
1. MEMORY: The Fluke Ti20 houses internal memory for image storage.
2. POWER: To install or replace a battery open the Battery Compartment with a small flat tip screwdriver, turning
the locking screw ¼ turn counterclockwise. Connect the battery terminal to the wired internal connector, insert
battery into pistol grip, close and lock by turning the locking screw ¼ turn clockwise.
The battery can now be charged in the camera by simply connecting the included charger to the Power
connector under the black rubber cover on the side of the camera.
Individual batteries can also be charged externally to the camera using the included adapter.
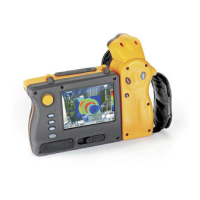
3. START: Press and briefly hold the center button key [F2] until the camera turns on. You will now see a live
image in the default start screen displayed on the LCD as above.
4. FOCUS: The Fluke Ti20 manually focuses by rotating the Focusing Ring in the front of the camera.
5. AUTO ADJUST (Level& Span): On start-up the camera defaults to AUTO mode as shown in the Mode
Indicator in the upper left corner of the LCD. AUTO mode allows the camera to determine the level and span
settings based on the minimum and maximum temperatures observed.
6. MANUAL ADJUST (Level& Span): To manually adjust level and span from the default screen, press [F2]
button one time, the menu and the functions of the
corresponding [F] buttons have now changed to perform new
tasks (Fig 1).
Pressing the Manual [F1] button will now let you choose
between adjusting LEVEL or SPAN (Fig 2).
(continued on back)
Trigger
(Pause and
Un-pause)
Battery Compartment
Locking Screw
Power &
USB Por
Cover
Function Buttons Keys
[F1] [F2 on/off] [F3]
LCD Screen
Focusing Ring
Laser Pointe
Wrist Strap Attachment
Tripod Moun
Default Start Screen Display
Image Indicators
Current function of each of the three
F
buttons
Laser on/off
Battery Life
Center Point
Mode
Range
Span/Level
Center Point
Temp
Fig 1
Fig 2
DONE SPANLEVEL
MENU
UTOMANUAL