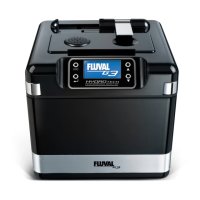
HYDRO TECH PERFORMANCE MONITOR
ADVANCED FILTRATION SYSTEM
www.fluval-g.com
EN.11
•Replacethemechanicalandchemicalcartridges
back into place making sure to align them
properly and then turning the knobs clockwise
to “ ” cartridges into place.
•Ifthecartridgeliddoesn’tclose,thecartridges
have not been installed properly.
STEP 4: INSTALL RIM ATTACHMENTS
A. Placement
Insert two suction cups
on each side of the rim
attachment assemblies
so the suction cups are
facing each other.
•Onerimattachmentwillholdtheintakestrainer
and the other the output nozzle or spray bars.
•Atoppositeends,placetherimassemblyover
aquarium’s back rim, making sure the rim with
the nut is on the outside.
B. Install Telescopic intake stem
•Pushthetelescopicintakestemfullyintothe
cross rim assembly up to the top. The intake
strainer must be placed at least 3 in (7.5cm)
from the bottom of the aquarium gravel.
Important: Position the intake strainer as far away
as possible from any air source (e.g. air stones,
aeration devices, protein skimmers, the output
nozzles or spray bars). Air entering the intake
strainer will reduce filter efficiency.
C. Install Output nozzles
The “Y” outlet comes
with the output nozzles
attached.
To use the spray bars, first remove the output
nozzles by twisting them to one side so they pop off
the “Y”. You can then attach the spray bars directly
to the “Y” outlet.