6
INSTALLATION INSTRUCTIONS - EVO 12 AQUARIUM
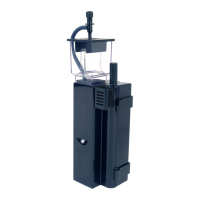
The Fluval Sea Mini Protein Skimmer is recommended
for use with the Fluval Sea Evo 12 Aquarium. Its
compact size allows it to fit comfortably into the
designated skimmer slot located on the back of the
aquarium. For EVO 12 Aquarium installation, use the
specially designed housing clips (without suction cups).
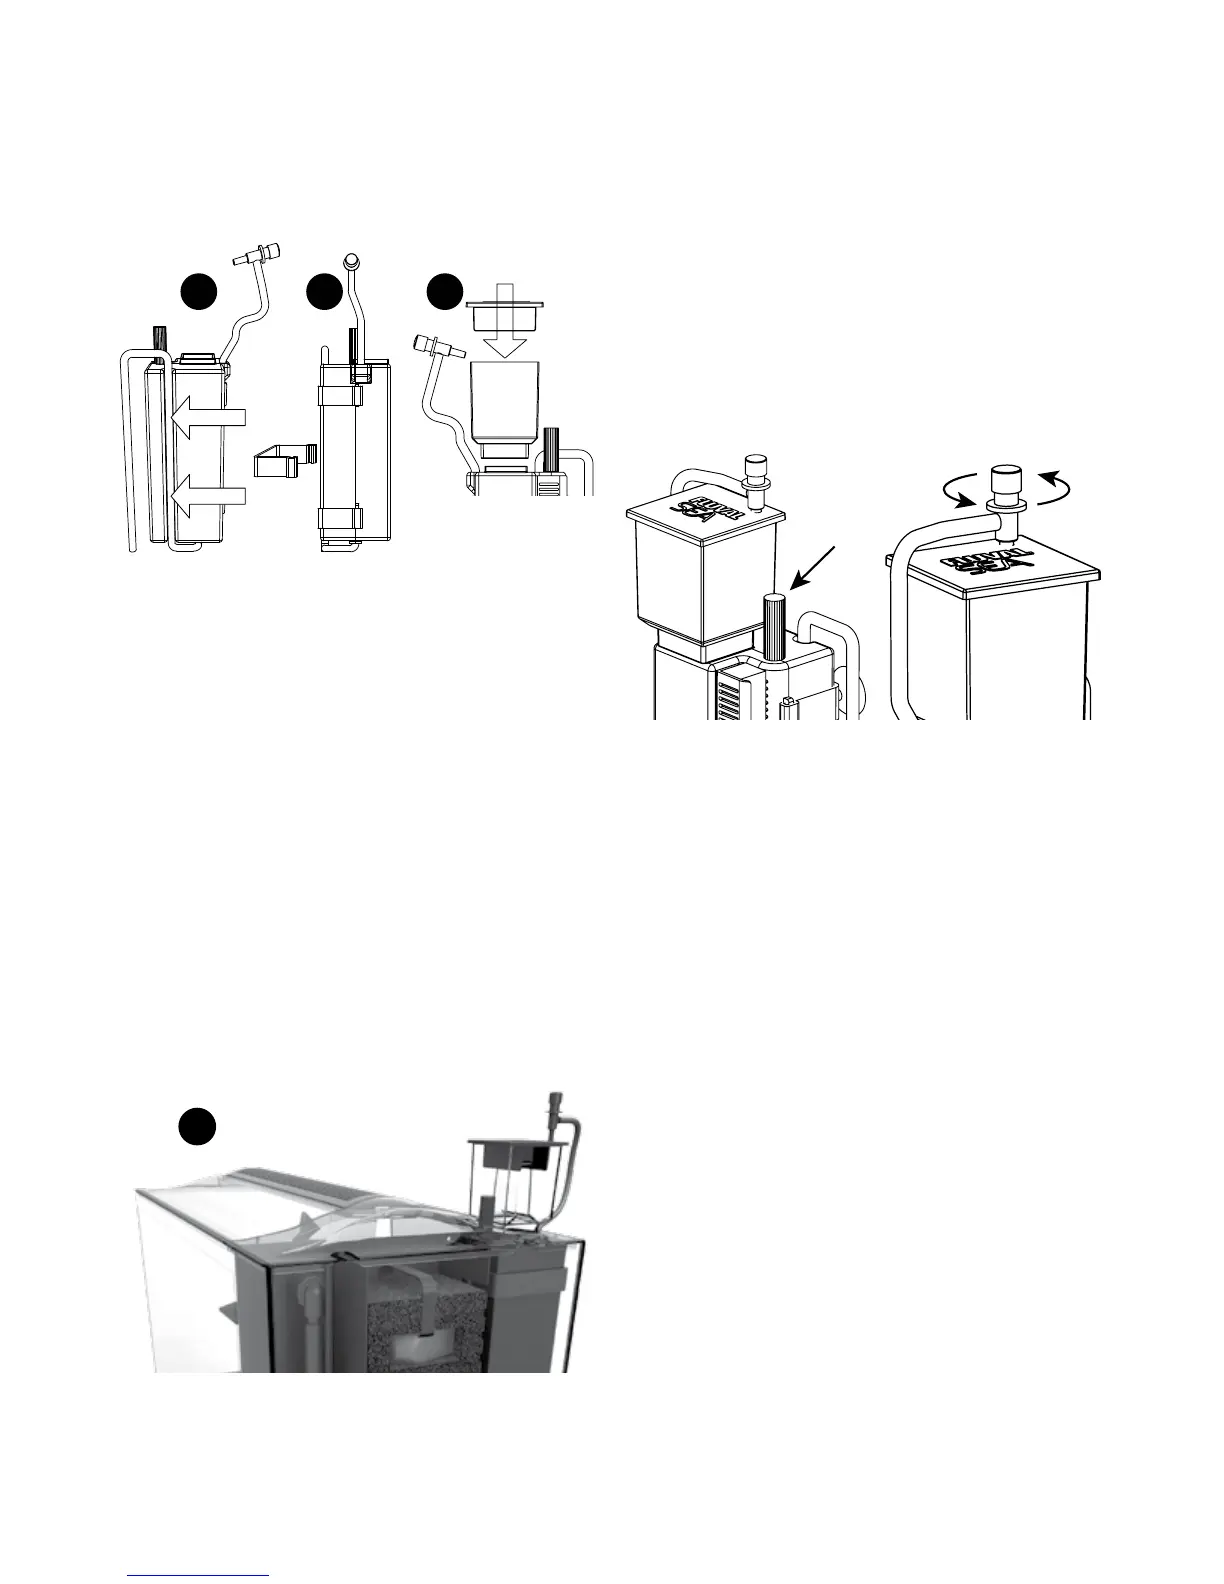
A
B
C
A) Ensure the power cord is routed through the
integrated channel on the rear housing.
B) Slide the housing clips over the rear housing and
lock the clips to the front housing.
C) Install collection cup on top of the skimmer and cover
the collection cup with the lid. Ensure the air intake tube
(with air intake valve) is correctly installed on the top
of the lid.
D) Install the skimmer in the designated slot on the
back of the aquarium.
After placing the skimmer in the aquarium, plug in the
power cord to the electrical outlet. Ensure the creation
of a “drip loop” in the power cord for safe operation.
Allow the skimmer to operate for a few minutes before
any adjustments are made. The 32-needle wheel
impeller will mix the air and water to create bubbles
(foam). After a few minutes, turn the water level control
valve to increase or decrease the foam level in the
collection cup.
D
OPERATING INSTRUCTIONS
NOTE: The following instructions on regulating water
level and airflow are only indicative for the start up
of the skimmer. It will then be up to you to adjust the
system to better fit your aquarium needs.
IMPORTANT: The skimmer needs to run at least three
to seven days before it starts foaming properly and the
setting becomes final.
1. Water-level adjustment: Turn the water level
control valve to raise the water level inside the reaction
chamber for the type of desired foaming (skimming)
action.
2. Air regulation: The air flow can be regulated by
adjusting the air intake valve. Air regulation is very
important and depends on the aquarium stocking, the
type of foaming action desired, etc. The Fluval Sea
Mini Protein Skimmer is designed to operate with the
air intake valve completely open to optimize the ratio
between the air volume, the reaction chamber, and the
quantity of water skimmed.
(water level control valve) (air intake valve)
Dry Skimming Action:
• For heavily-stocked aquariums or for dark foam/
skimming, adjust the water level control valve to allow
the minimum amount of water to enter the skimmer.
Dry skimming produces dry foam (froth) with dark,
concentrated waste material (less volume).
Wet Skimming Action:
• For aquariums with normal stocking levels or for light
foam/skimming, adjust the water level control valve to
allow a greater amount of water to enter the skimmer.
Wet skimming produces wet foam with light, diluted
waste material (more volume).
Attention: It is advisable to make air intake and
water level adjustments in small increments. For every
adjustment, you will need a few hours before verifying
if the foam production suits your needs. Repeat this
process until you achieve the desired setting.
Collection Cup
• Always operate the skimmer with the lid and the air
intake tube correctly positioned. The air tube should
always be positioned correctly on the collection cup lid
and should never hang over the side of the aquarium to
prevent the drainage of the aquarium itself.