E2E1
x3
E4 E5
E6
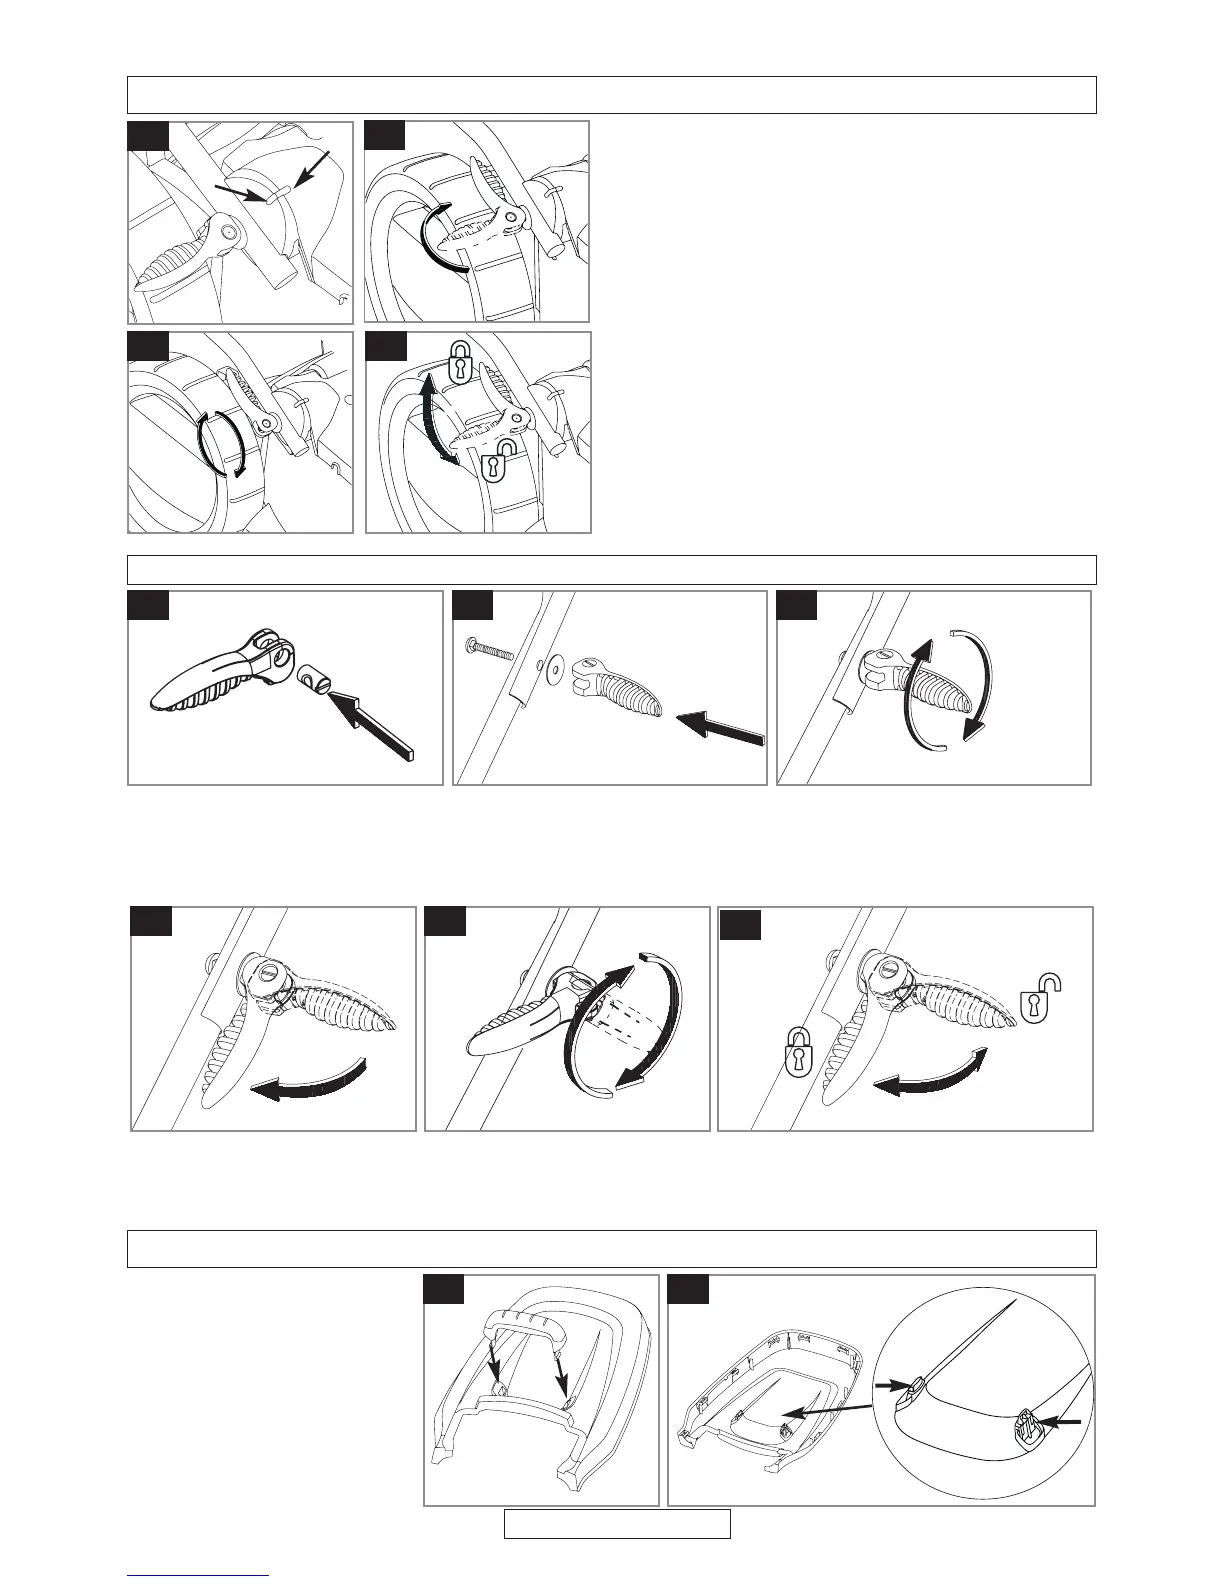
4. Fold down the Cam Lock towards the Handle
as illustrated in fig E4, and continue to turn
clockwise (E5) until tightened.
5. The Cam Lock can be unlocked and locked as
illustrated in fig E6.
Repeat for the other side.
E3
Assembly of Upper Handles to Lower Handles
1. Insert the Barrel Nut into the Cam Lock as
illustrated in fig E1.
2. Attach the Upper Handle to the Lower Handle
with the Round Headed Bolt, Washer and
Cam Lock as illustrated in fig E2
3. Turn the Cam Lock 3 times clockwise, as
illustrated in fig E3.
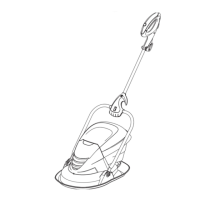
Grassbox Assembly
Assembly of Lower Handles to Lawnmower (cont’)
D7
D8
D6
7. Ensuring the raised markings on the Cam Lock
and the deck are aligned (D5), fold down the
Cam Lock towards the Handle as illustrated in
fig D6, and continue to turn clockwise (D7)
until tightened.
Repeat for the other side.
8. The Cam Lock can be unlocked and locked as
illustrated in fig D8.
Grassbox Handle Assembly
1. Locate the grassbox
handle into the slots in the
grassbox upper and push
until it clicks into position.
(F1)
2. Looking at the underside of
the lid (F2), ensure the
clips of the grassbox
handle are securely
located.
D5
F1
F2
PAGE 5