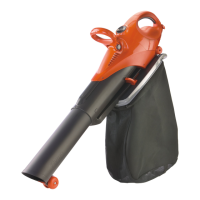
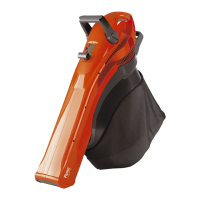
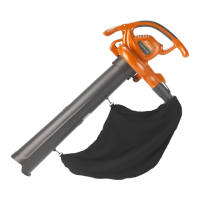
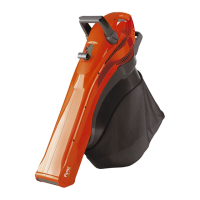
3. OPERATION
DANGER! Risk of injury!
Cut injury when the rotor blades turn or the
product starts accidentally.
v Disconnect the product from the mains and wait
for the rotor blades to stop before you adjust or
transport the product.
To connect the blower / vacuum [ Fig. M1 / M2 ]:
WARNING! Risk of electric shock!
To avoid damage to the mains cable, it must
be inserted into the cable lock.
v Before you operate insert the mains cable into
the cable lock.
1. Loop the mains cable, insert the loop into the cable lock
and pull tight.
2. Connect the mains cable into a 230 V mains socket.
Work positions: [ Fig. N ]:
The product has 2 work positions.
v Move the mode indicator to position [1] for blower mode
or to position [2] for vacuum mode.
Blower mode [ Fig. O1 ]:
Move at work away from solid objects such as kerb stone
edge / walks, large stones, vehicles, and fences.
Clean corners by starting in corners and moving outward.
This will prevent an accumulation of debris which could fly
into your face.
Be careful when you work near plants. The force of the air
flow could damage tender plants.
Vacuum mode [ Fig. O2 ]:
Move slowly back and forth over the material as you
vacuum.
Avoid to move the vacuum tube into a pile of debris as this
can close the vacuum tube.
For best results, keep the vacuum tube approx. 3 cm
above the ground.
To start the blower / vacuum [ Fig. O2 ]:
To start:
1. Make sure that the access screw is tightened
(do not overtighten).
2. Hold the additional handle with one hand.
3. Hold the main handle with the other hand and pull the
start lever.
The blower / vacuum starts.
To stop:
v Release the start lever.
The blower / vacuum stops.
To empty the debris bag [ Fig. R1 / R2 ]:
DANGER! Risk of injury!
Sharp debris can cause injury.
v Do not place your hands in the bag when you
empty the debris bag.
2. Locate the additional handle over the buttons and
release the buttons.
3. Adjust the additional handle to the most comfortable
operating position by depressing the buttons and
moving the handle.
To assemble the debris bag [ Fig. E1 / E2 / E3 / E4 ]:
IMPORTANT: Do not tighten the Tie Wrap before
attaching the Debris Bag to the Debris Bag Frame.
If mistakenly done so, use a pointed tool to loosen
the Tie Wrap clip.
1. Slide the Tie Wrap into the top hem of the Debris bag
[ Fig E1 ].
2. Thread the Tie wrap completely round the hem and
locate the two ends of the Tie wrap together [ Fig E2 ].
3. Attach the Debris Bag to the Debris Bag Frame
[ Fig E3 ].
Make sure that the Tie Wrap ends are at the opposite
end to the Debris Bag Frame handle.
4. Once the Debris Bag is located onto the Debris Bag
Frame, pull the Tie Wrap until the Debris Bag is secure
[ Fig E4 ]. The excess end of the Tie Wrap can either
be removed or tucked into the top hem.
Attaching the debris bag:
To attach the debris bag [ Fig. F ]:
1. Locate the bag frame into clip on the underside of
product.
2. Lift the handle towards until the bag latch locates and
click into place.
To remove the debris bag [ Fig. G ]:
1. Gently press the bag latch down.
2. Lower the handle of the bag frame away from the
product.
3. Move the bag frame forward.
To assemble the shoulder harness [ Fig. H / J ]:
1. Attach the shoulder harness to the product.
2. Adjust the shoulder harness as required to ensure it is in
the most comfortable position and the collection tube is
positioned slightly above the debris.
To secure the access screw [ Fig. K / L ]:
IMPORTANT: The product will not operate if the
access screw is not tightened.
1. Remove the label from over the access screw.
2. Turn the access screw 6 - 8 times clockwise until tight
(do not overtighten).

 Loading...