FS8 Co-Pilot™ user guide 8 FMA Direct
Mount the Pitch/Roll Sensor on a helicopter
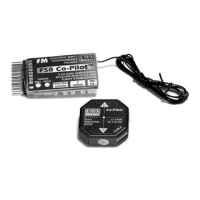
1. Attach two pieces of double-sided adhesive tape to the top
and bottom of the boom behind the swashplate. Do not use
Velcro®.
2. Place the Sensor on the top piece of tape with the cable socket
facing forward and the windows angled 45° from the
helicopter’s centerline. The Sensor must be horizontal when
the helicopter is sitting on its skids. Secure the Sensor to the
boom with a cable tie.
WARNING: You must mount the Sensor securely,
so it won’t come loose in flight. If it comes loose,
you may lose control of the aircraft.
3.IMPORTANT: Carefully remove the protective stickers
from the four sensor windows.
Go to “Mount the optional Vertical Sensor.”
Æ
Mount the optional Vertical Sensor
The Vertical (“Z”) Sensor enables the flight stabilization system
to determine when the airplane is inverted (so the aircraft rolls
out from inverted, rather than performing a half loop). A giant
scale airplane will need the Vertical Sensor because it can’t be
easily moved into position (nose straight down or one wing
straight down) on the ground for infrared calibration.
n If you want to use the Vertical Sensor, continue in this section.
n If you don’t want to use the Vertical Sensor, go to “Mount the
Button/LED Module.”
1. Locate a mounting spot for the Vertical Sensor (typically on
side of the fuselage or helicopter cockpit) Follow these
guidelines:
n The windows on the Vertical Sensor must point directly up
and down when the airplane is in straight and level flight.
n The lower window on the Vertical Sensor must have a clear
view of the ground. The upper window must have a clear
view of the sky.
n The sensor must be away from the muffler and exhaust
spray (exhaust spray will cloud the sensor’s infrared win-
dows and degrade calibration).
n Helicopter blades will not affect the sensor’s view.
2. Use sandpaper to roughen the surface where the Vertical Sen-
sor will be mounted. Clean the roughened area with rubbing
alcohol and allow to dry.
3. Clean the bottom of the Vertical Sensor with rubbing alcohol
and allow to dry.
4. Attach a 1¼" piece of “stiff” Velcro® to the roughened area
on the aircraft.
5. Attach a 1¼" piece of “fuzzy” Velcro® to the side of the Sen-
sor marked “Mount this side to fuselage.”
WARNING: You must mount the Sensor securely,
so it won’t come loose in flight. If it comes loose,
you may lose control of the aircraft. Other mounting
methods can be used, as long as the Sensor re-
mains securely in place during all flight conditions.
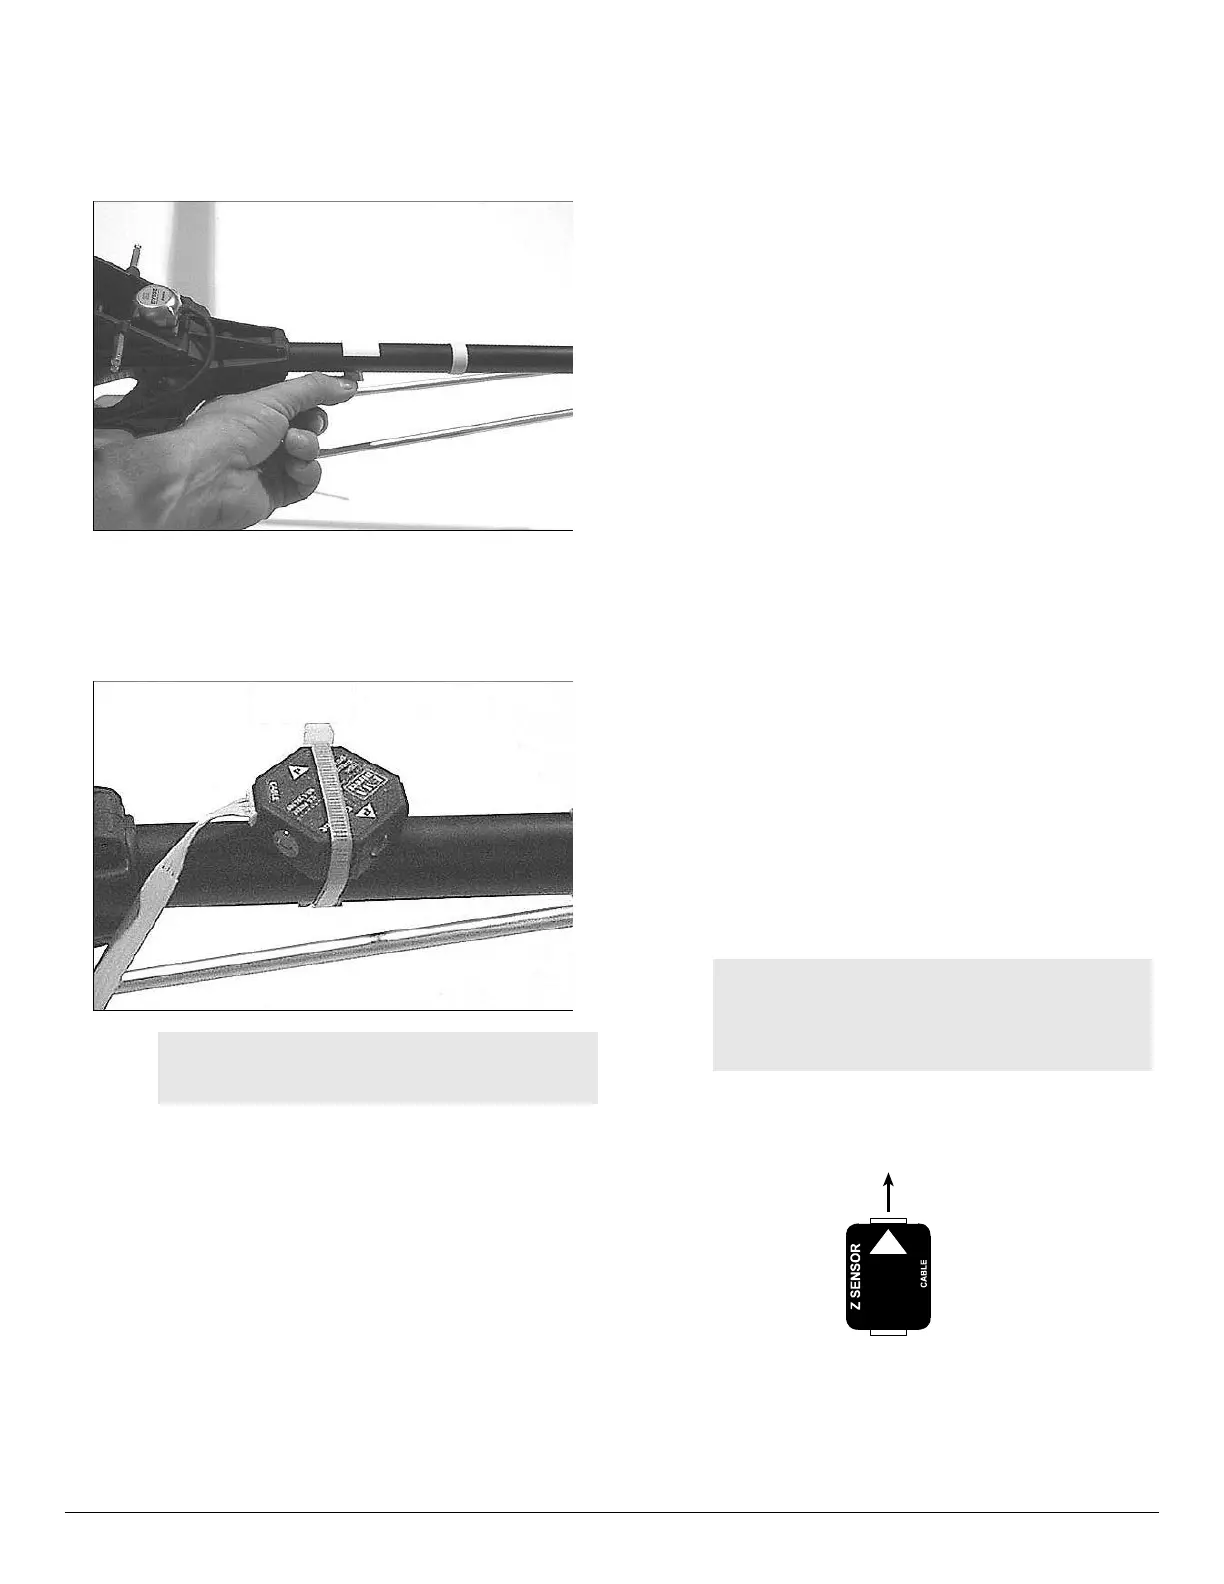
6. Mount the Sensor with the arrow pointing directly up when
the airplane is in a straight and level attitude.
UP
MOUNT
THIS
SIDE TO
FUSELAGE
Up
7. IMPORTANT: Carefully remove the protective stickers
from the two sensor windows.
Go to “Mount the Button/LED Module.”
Æ
 Loading...