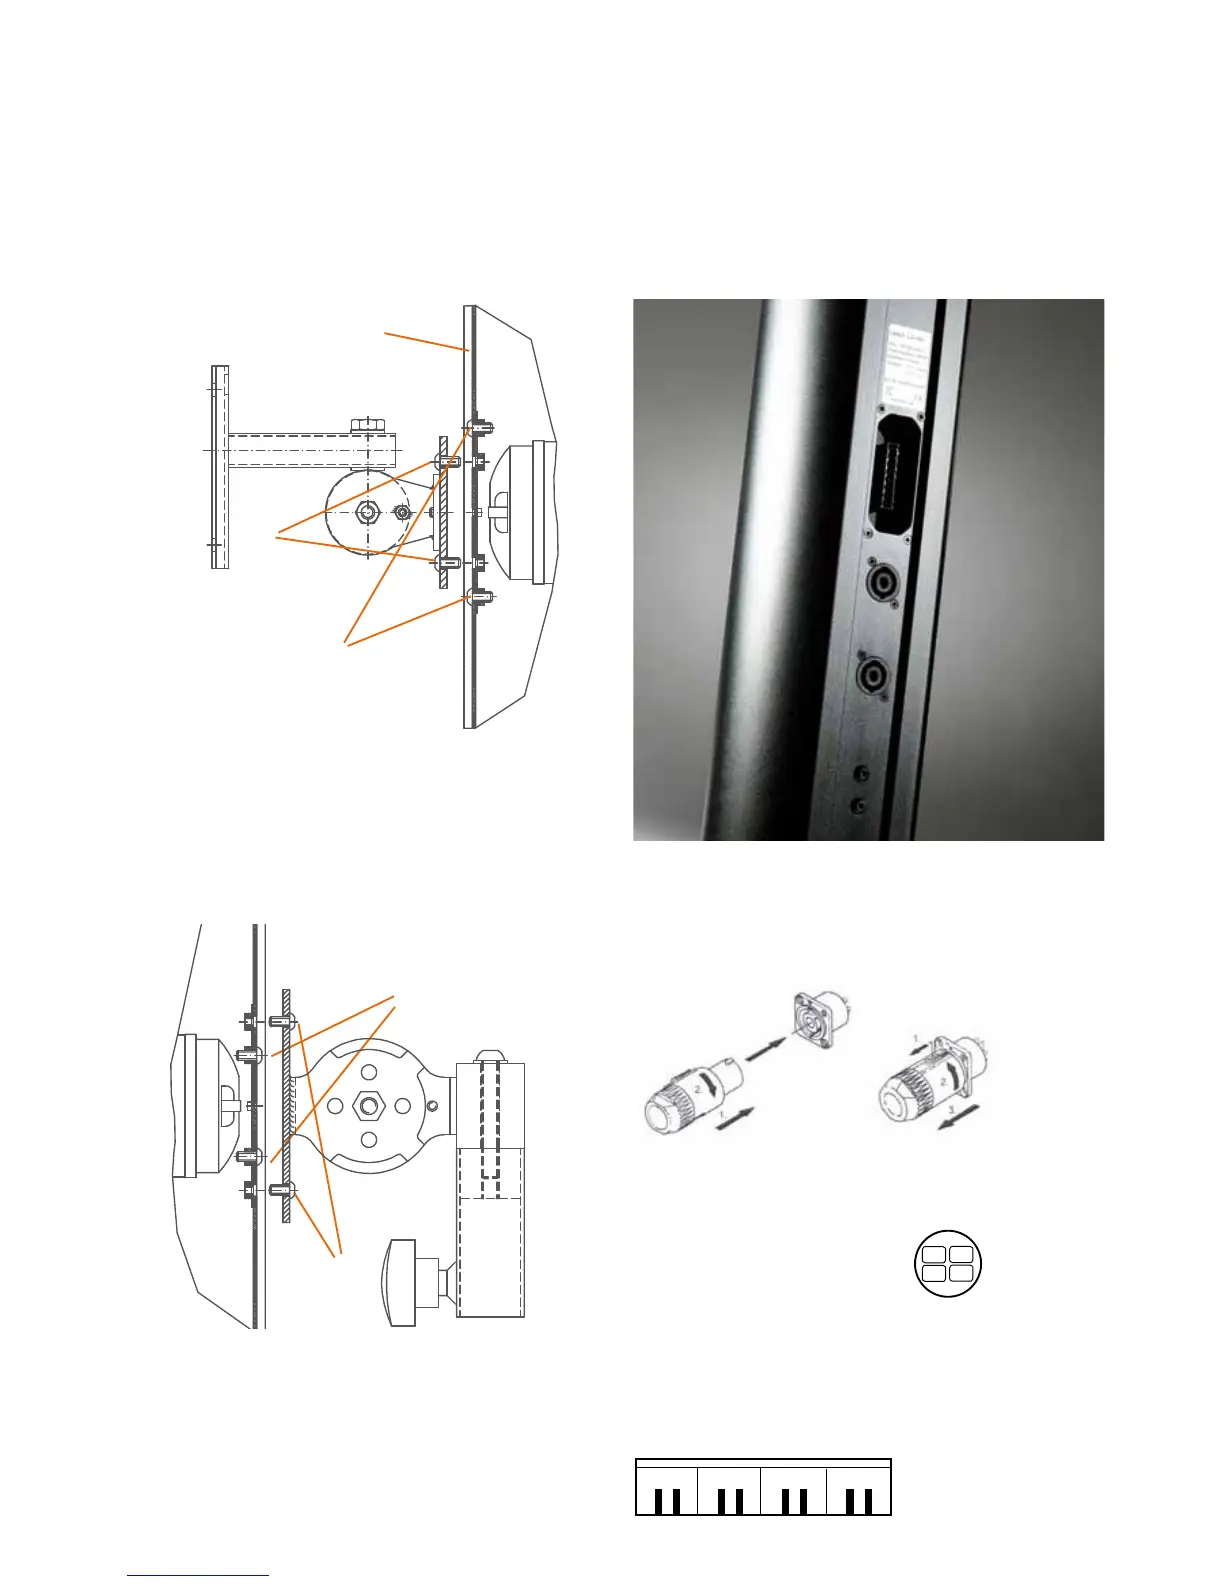
5.6 Dual connector panel - Speakon and 8-way
phoenix terminal Linea LX
2. 8-way phoenix terminal
LowZ version (low impedance)
Note
8-way Phoenix terminal strip, two adjacent pins are always
connected in parallel to loop through another speaker system. The
connector is included in the delivery.
In- In+
You can either use the Speakon sockets or connect the stripped
cable ends 8-way Phoenix terminal.
1. Connecting Speakon connectors to the terminal
Configuration of loudspeaker´s Speakon sockets:
Note
Both Speakon sockets are wired internally in
parallel.
1+/1- In
2+/2- paralleled
+2
-2
+1
-1
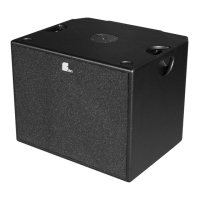
Wall bracket installation
Problem:
The screws used should not be longer than 20mm otherwise the
solenoid on the adjacent high-frequency driver will be damaged!
Unscrew the two mounting screws (1) M6x12. The wall bracket
cannot be mounted to the speaker housing using the same screws
because they are too short. Exchange the screws (1) with the longer
screws (2) M6x20 to mount the wall bracket.
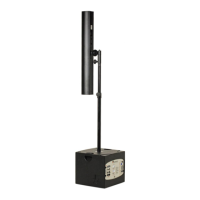
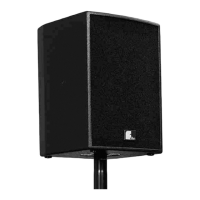
5.5 Important assembly instruction for SA-6 and
wall bracket WAT-08k/08/12
Installing the stand adapter
The 4 screws (1) and (2) must be unscrewed before the stand
adapter SA-6/7 can be mounted. Secure the SA-6/7 using the
screws (2). The adapter plate on the SA-6/7 covers the vacant
screw holes (1) so the screws (1) are no longer required.
(1)
high-frequency driver
(2)
Linea LX-100/150
(Rückseite / rear)
(1)
(2)
high-frequency driver
Fohhn | 33
 Loading...